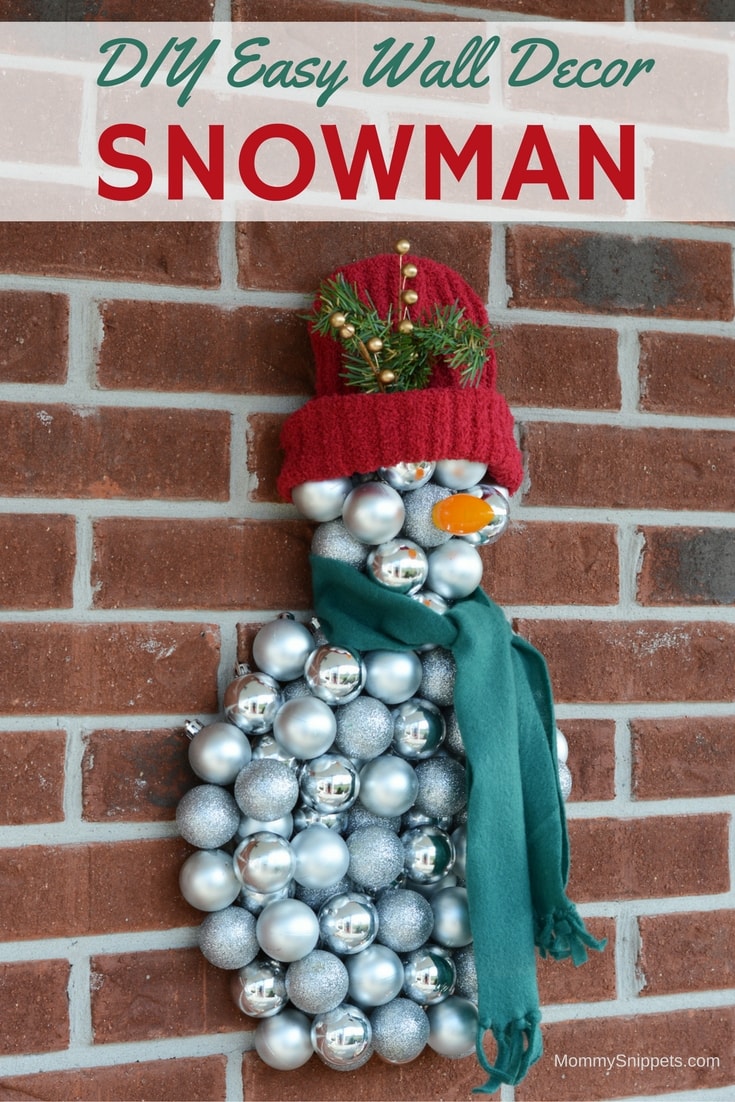
How to Make an Easy Snowman Wall Decoration with Christmas Ornaments
This post contains editorial samples and/or affiliate links to products I recommend. While this adds no additional cost to you, I will earn a small commission on any sales made.
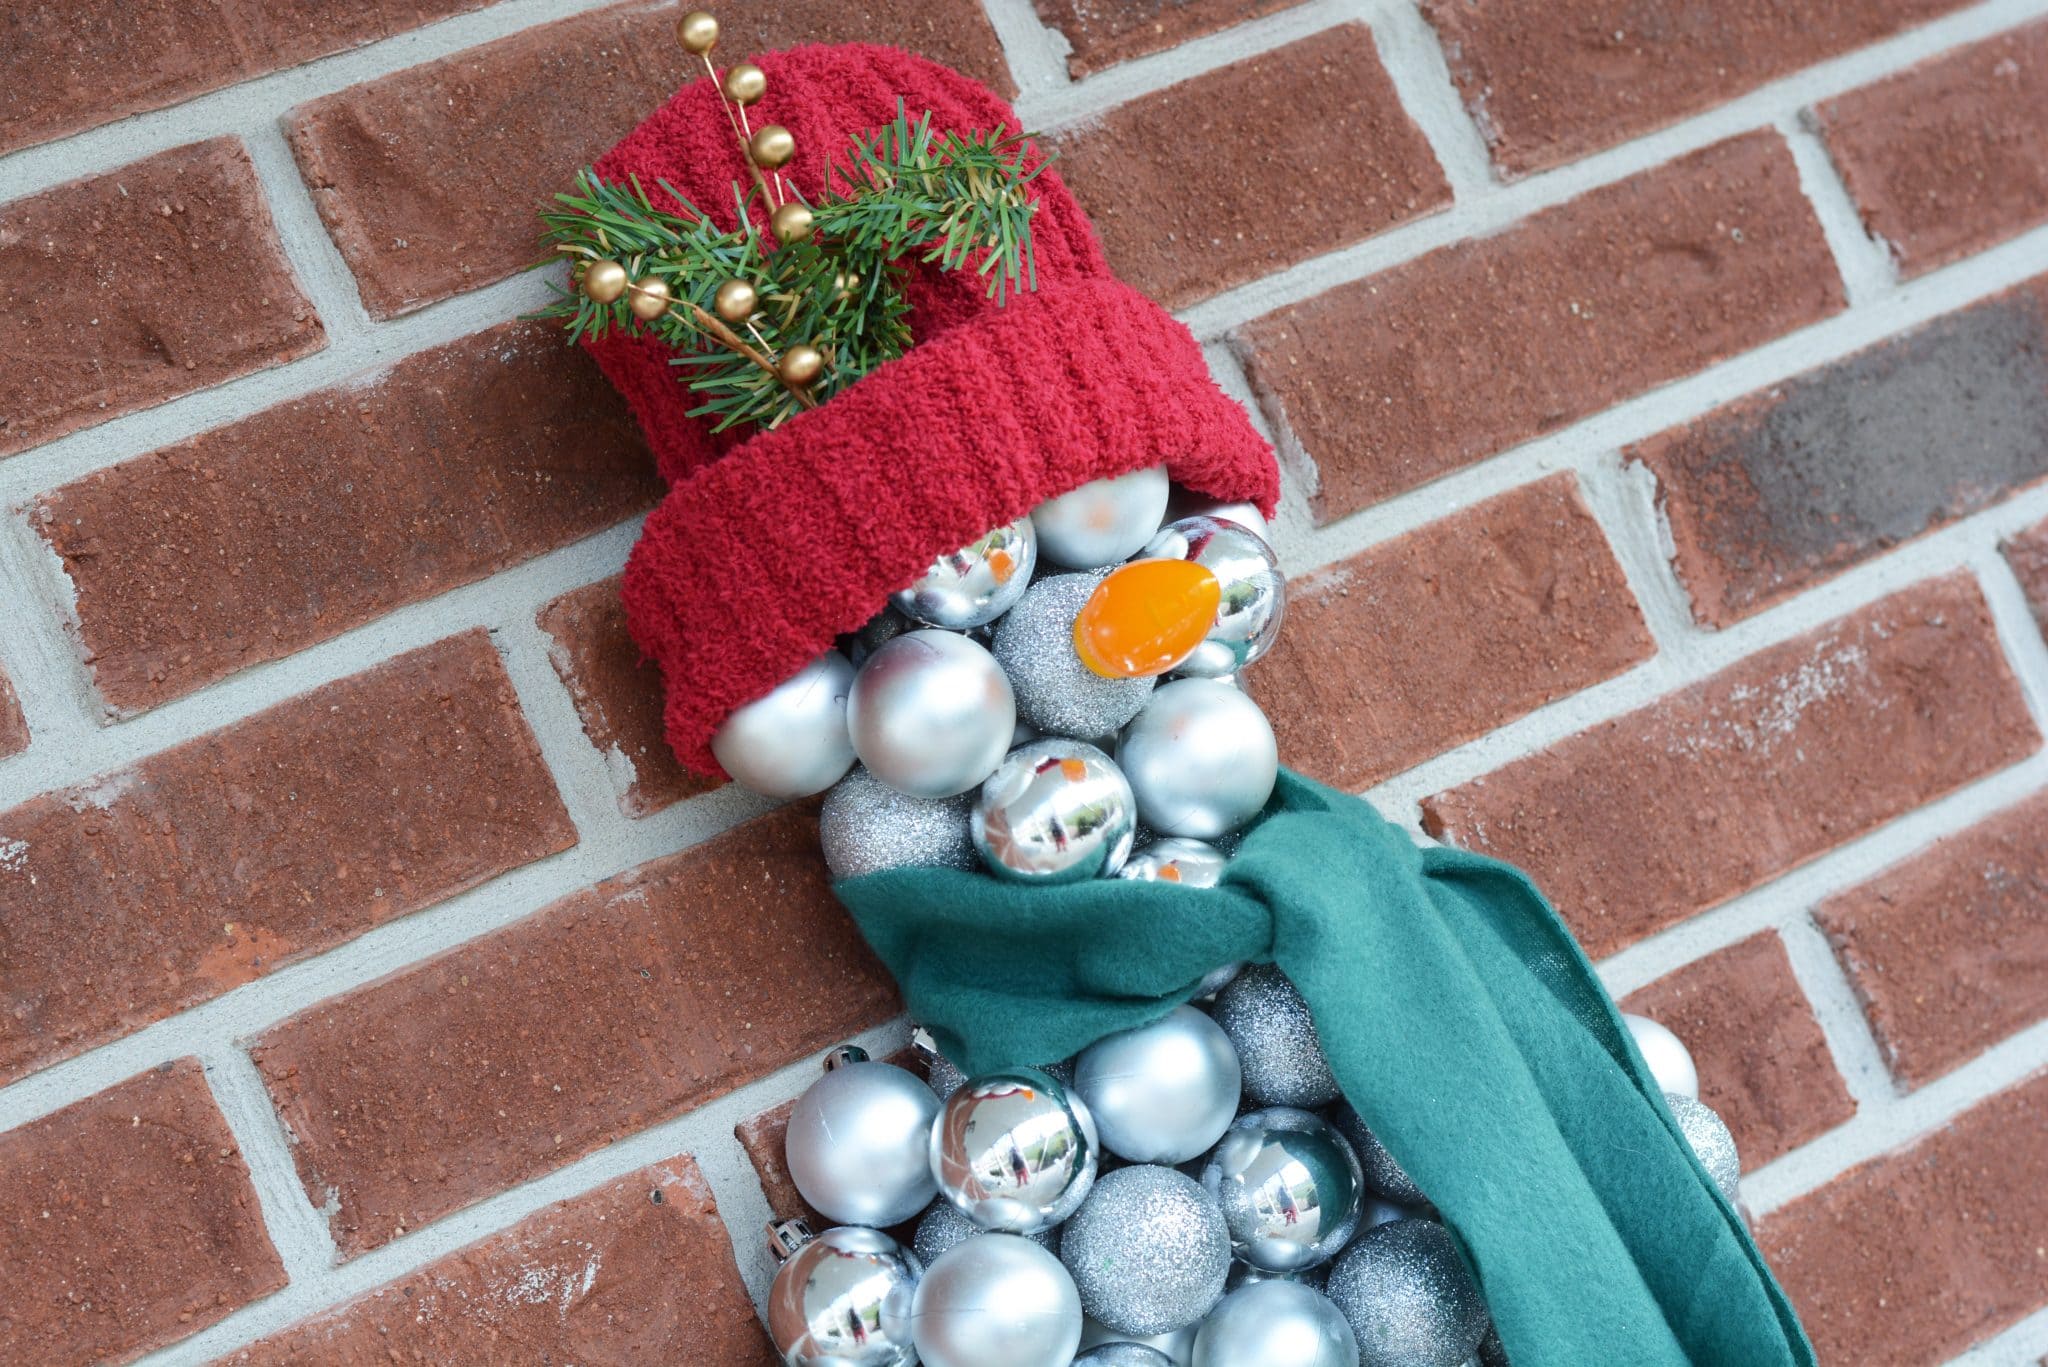
How to make an Easy Snowman Wall Decoration with Christmas Ornaments
Being in South Texas means a white Christmas is only something we dream about but that never stops us from reminding ourselves that we can have our own snowmen.
Sure, they may not be made of snow but we can be creative!
(Who remembers our DIY Christmas Snowman Fridge?)
A Christmas snowman decoration counts, right?
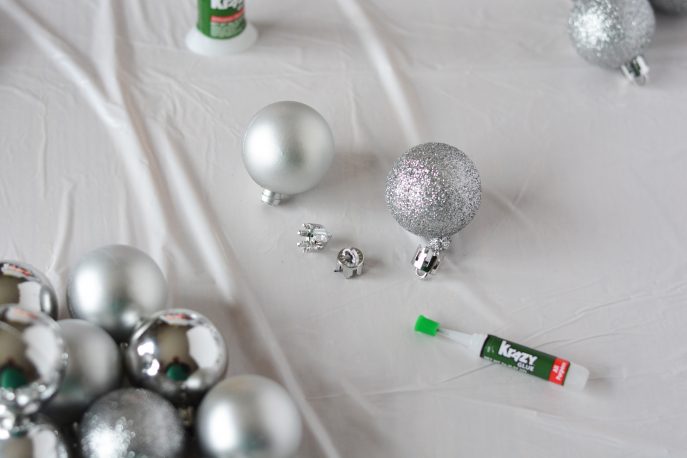
With a few ornaments, Krazy Glue, and patience, we now have a classy diy snowman wall decoration that welcomes guests coming in.
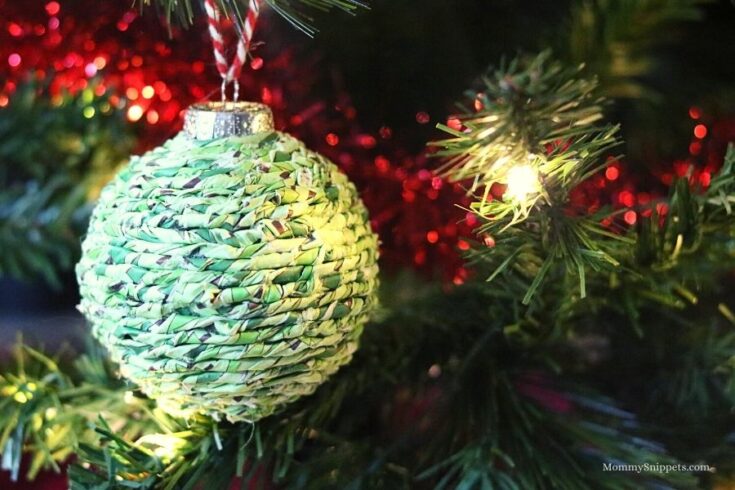
This is by far one of my favorite Christmas ornament crafts.
I promise this is an easy project to take up, with a beautiful end result.
Krazy Glue makes it so easy to bond anything together so think BIG!

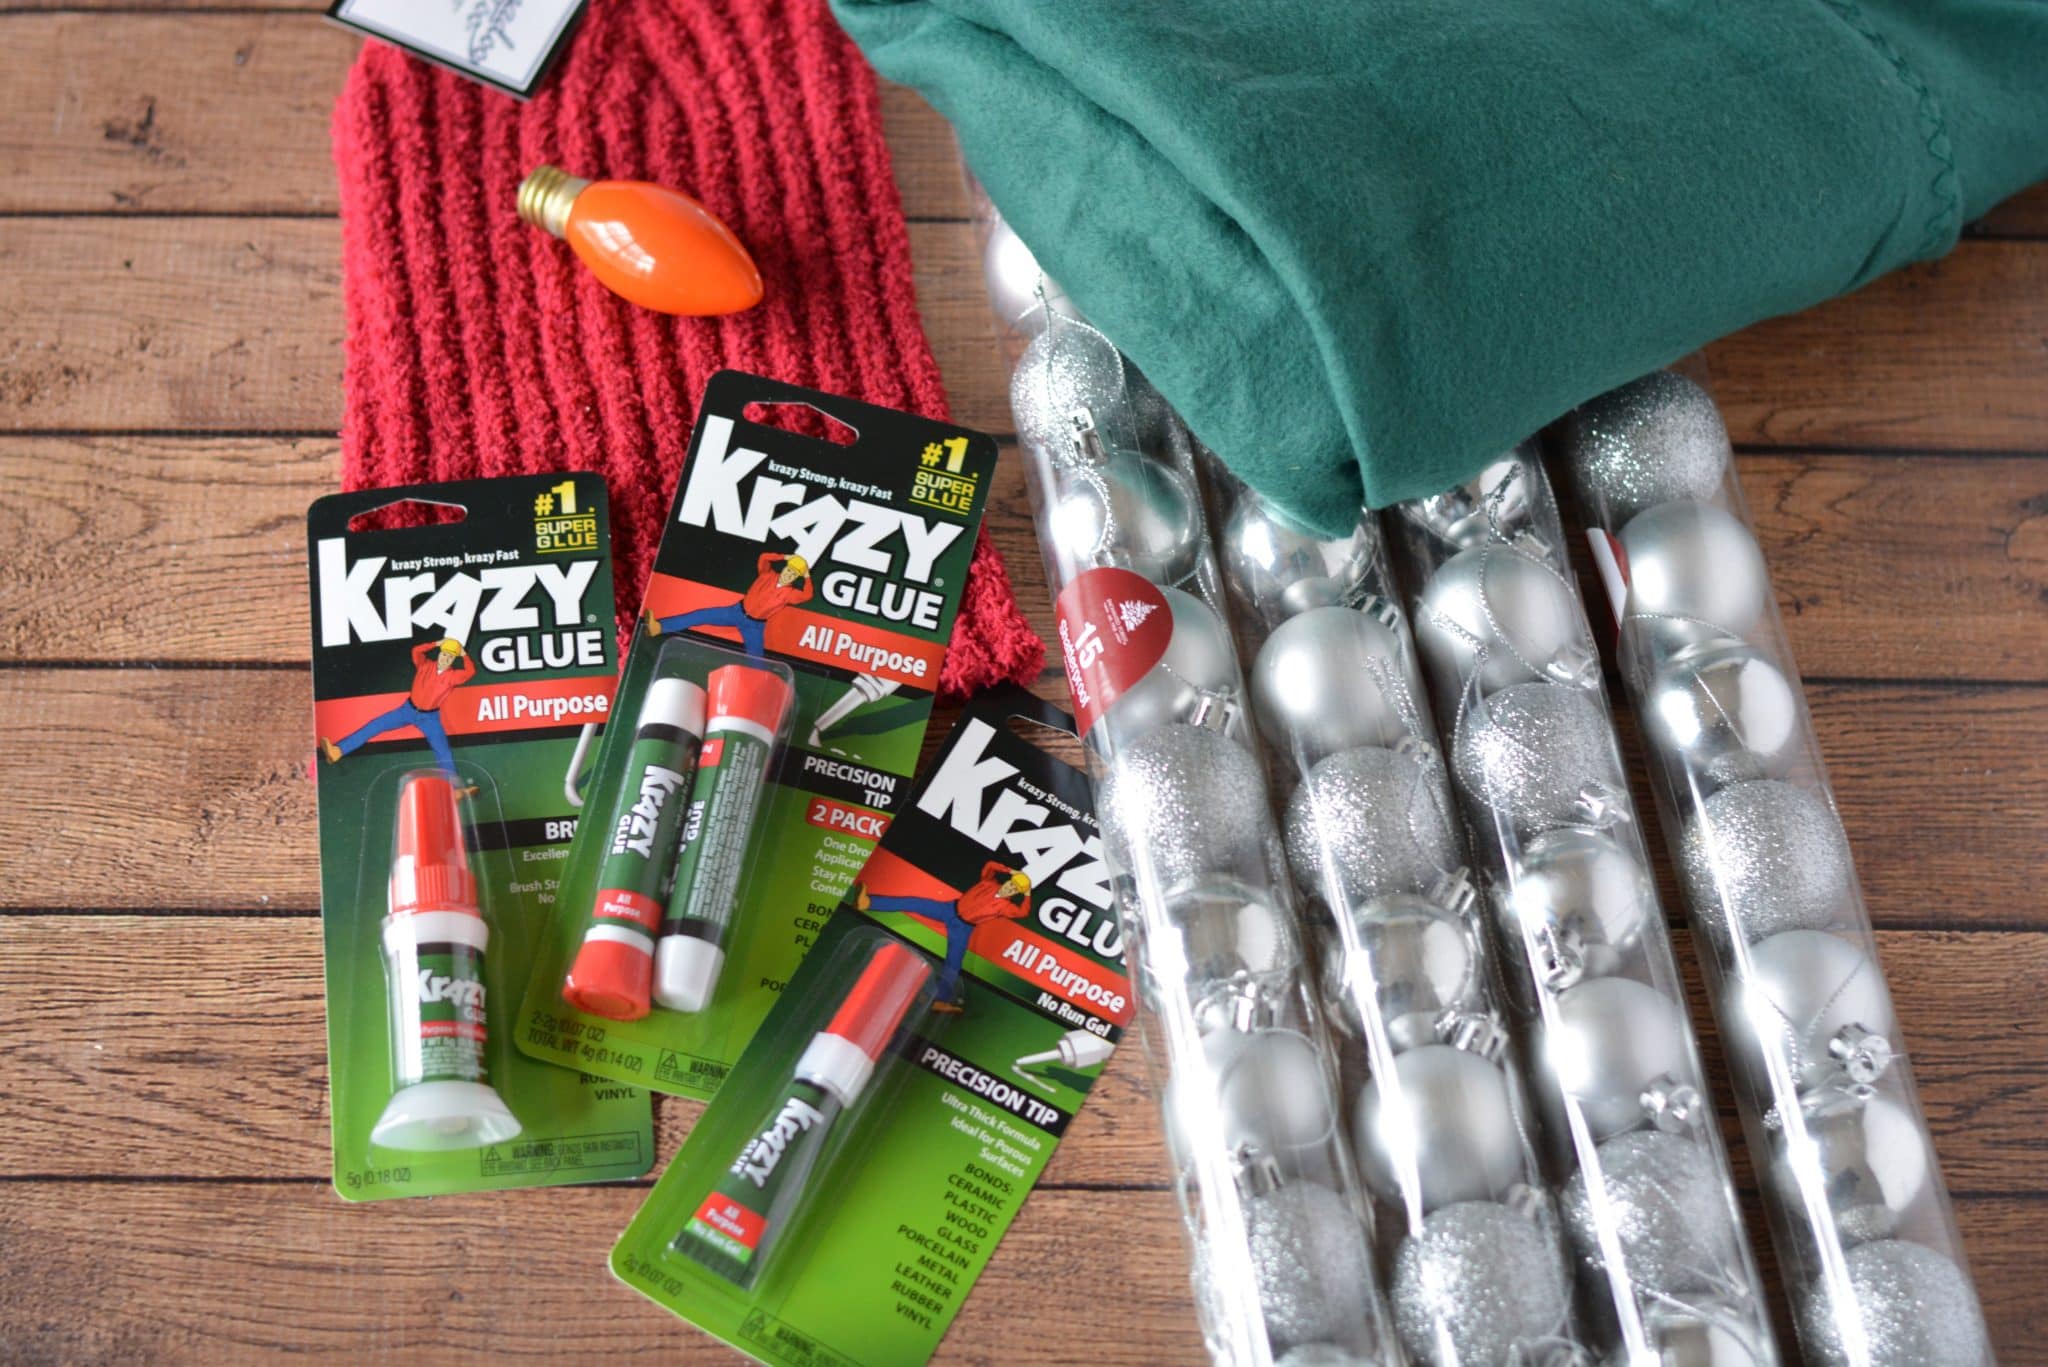
Materials required:
109 Plastic/Shatterproof Silver Christmas Ornaments (approximately 1.5″ in width)
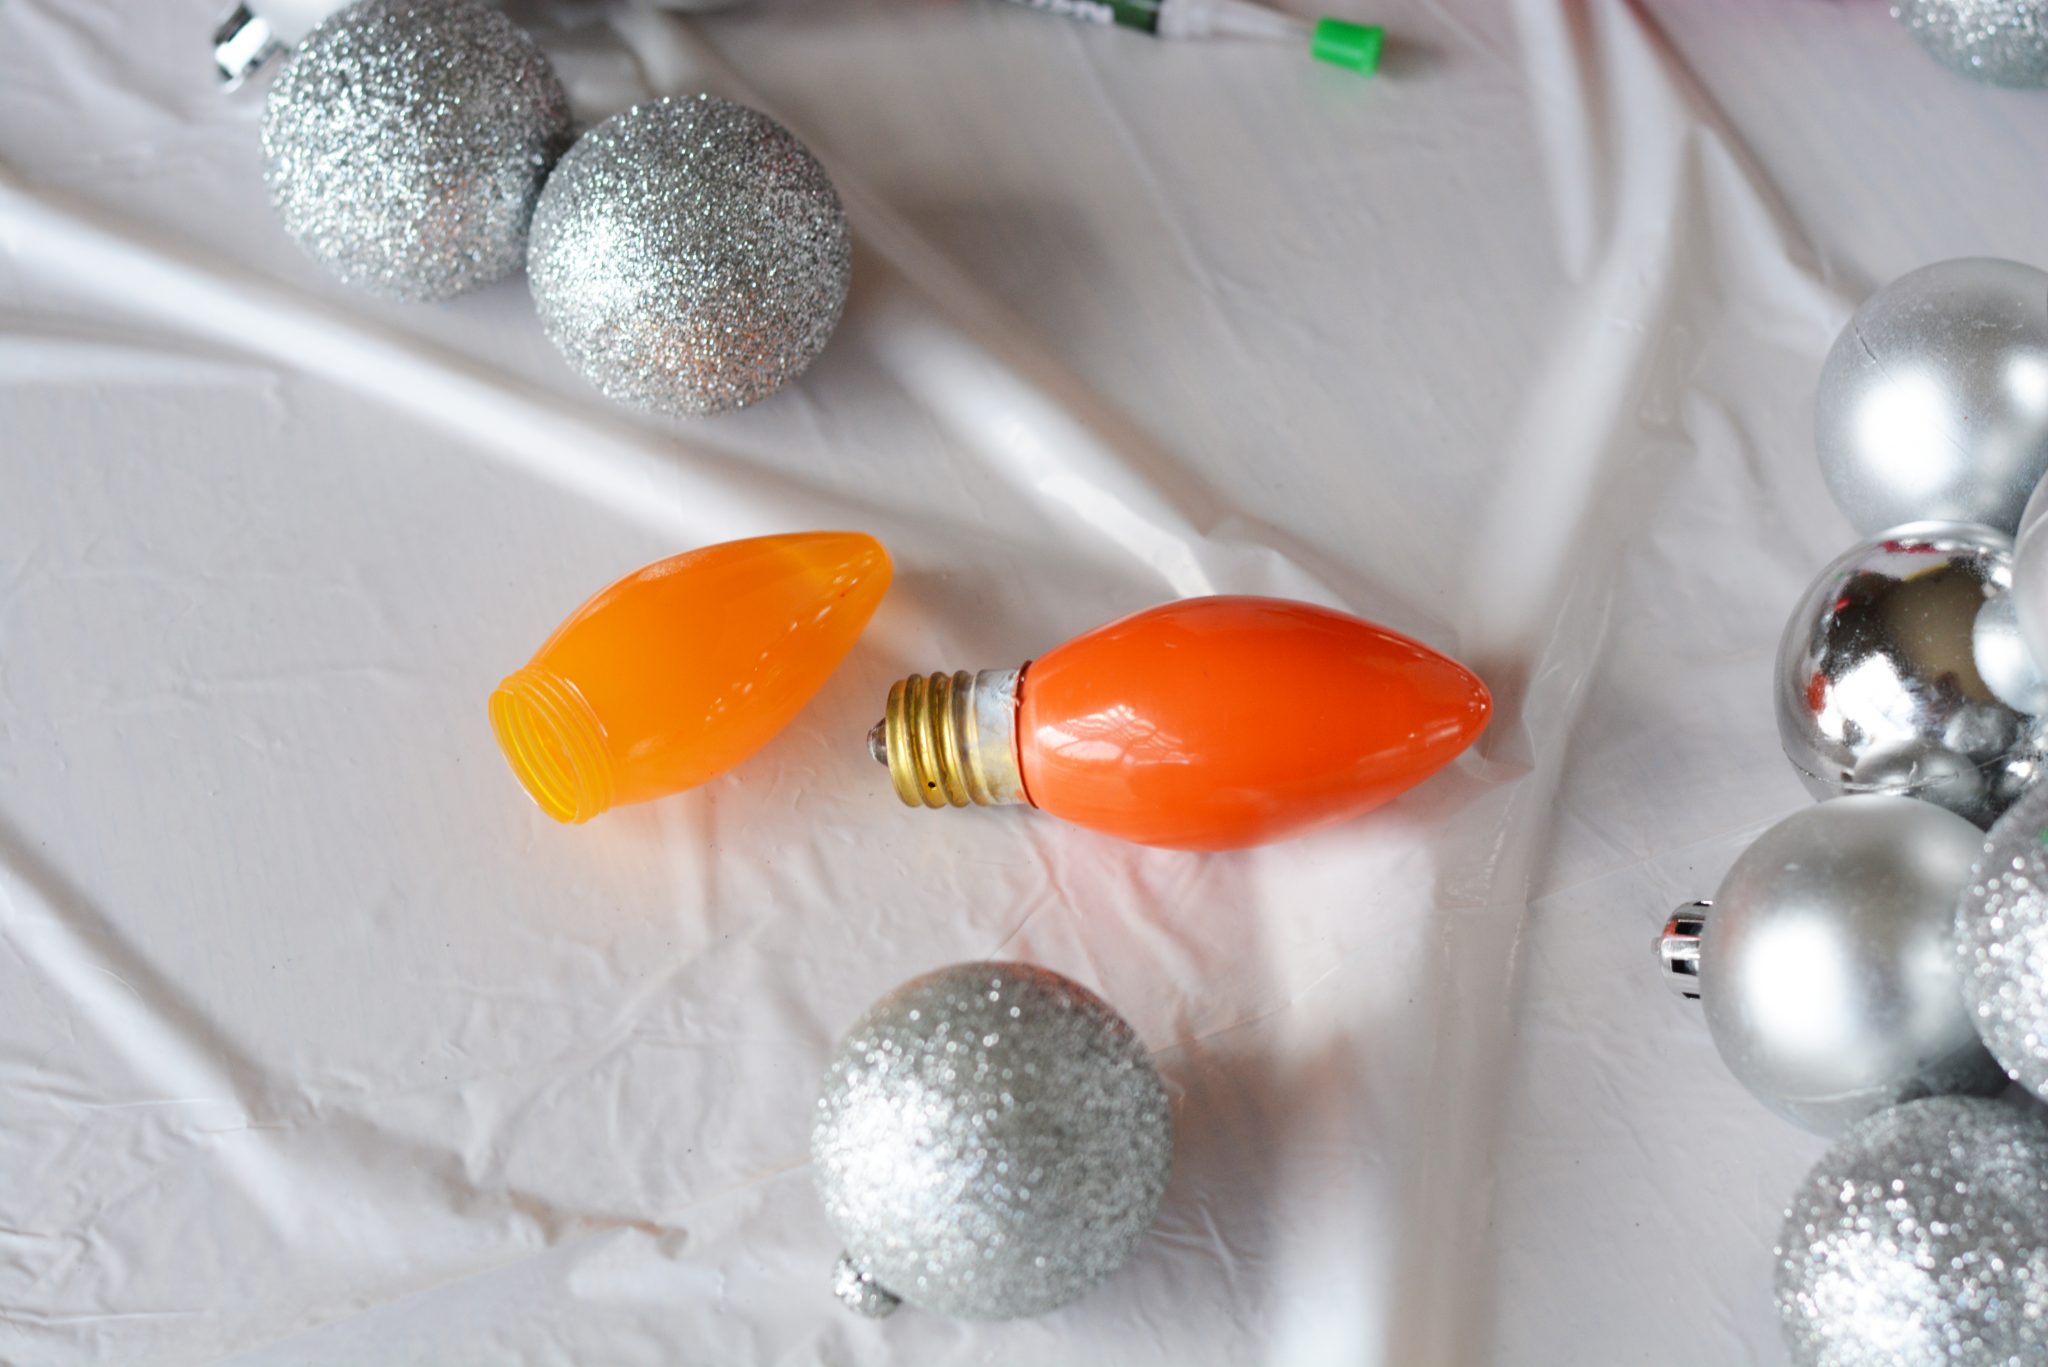
1 orange C9 light bulb cover (from a LED set) or 1 orange C9 light bulb
1 Krazy Glue All Purpose Precision Tip One Drop Application
2 containers of Krazy Glue All Purpose No Run Gel Precision Tip
1 small/children’s winter hat
1 piece of fleece, cut to 3.5″ x 36″
Faux Greens
Gold Floral Balls
Plastic Trash Bag
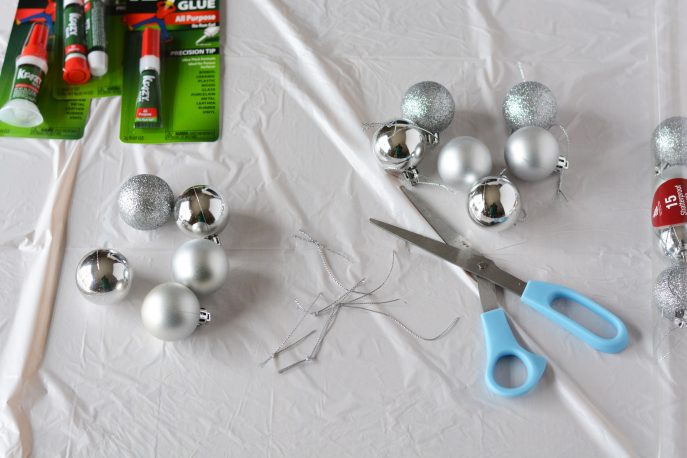
Scissors
Bread Tie
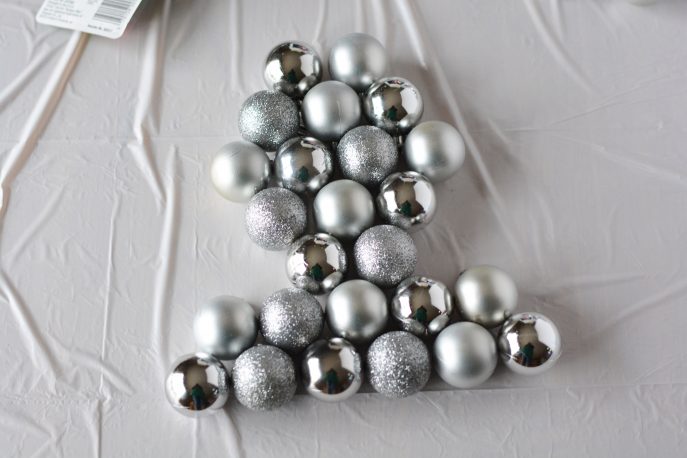
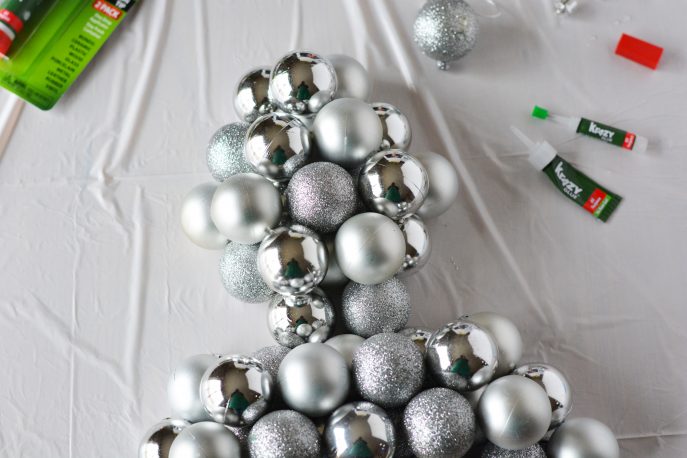
Begin at the top of your snowman’s head.
Lay out five rows of bulbs in this order 2, 3, 4, 3, 2.
Carefully make sure all the bulbs touch.
 This is important.
Use Krazy Glue All Purpose Precision Tip One Drop Application to drip one glue drop at the contact point where the two bulbs meet.
Let the bulbs set for a few minutes.
Continue to add bulbs for the body, 8 rows of bulbs with 5, 6, 7, 7, 7, 6, 5, 4 bulbs in each row respectively.
Make sure the bulbs touch and butt them up to the bulbs of the head.
Continue to use the glue to add a drip at the contact point of each bulb.
Wait 2-3 minutes to ensure it has set well.
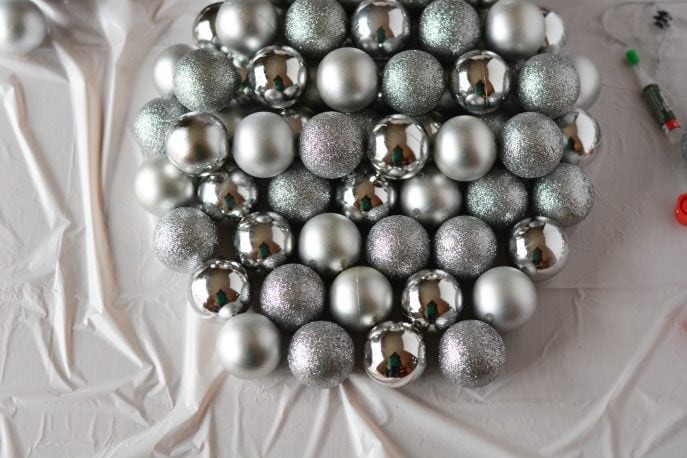
Begin to add the second layer of bulbs on top of the first.
Remove all the strings and the plastic ends from the bulbs.
It’s easiest if you just leave the string on the bulb and use it to pull away from the bulb.
It pops right off.
Place the second layer of bulbs in between the first layer of bulbs.
You’ll need the following in each row: 1, 2, 3, 2, 1 and that should give you the head and neck of the snowman.
For the body, you need the following number of bulbs in each row: 4, 5, 6, 6, 6, 5, 4, 3.
Working with one row and one bulb at a time, place the bulb on the first row and add a dab of Krazy Glue All Purpose No Run Gel Precision Tip Glue to the contact points (bottom of the second row of bulbs) of the bulbs.
Continue, one bulb at a time, one row at a time until your snowman is complete.
Once you’ve glued the bulbs on the bottom, look at the top and add a drop of Krazy Glue All Purpose Precision Tip One Drop Application in a Stay Fresh Container glue where the bulbs touch within the 2nd row.
Add Krazy Glue All Purpose Precision Tip One Drop Application in a Stay Fresh Container glue to the base of the orange bulb cover and add the nose.
Allow it to set again.
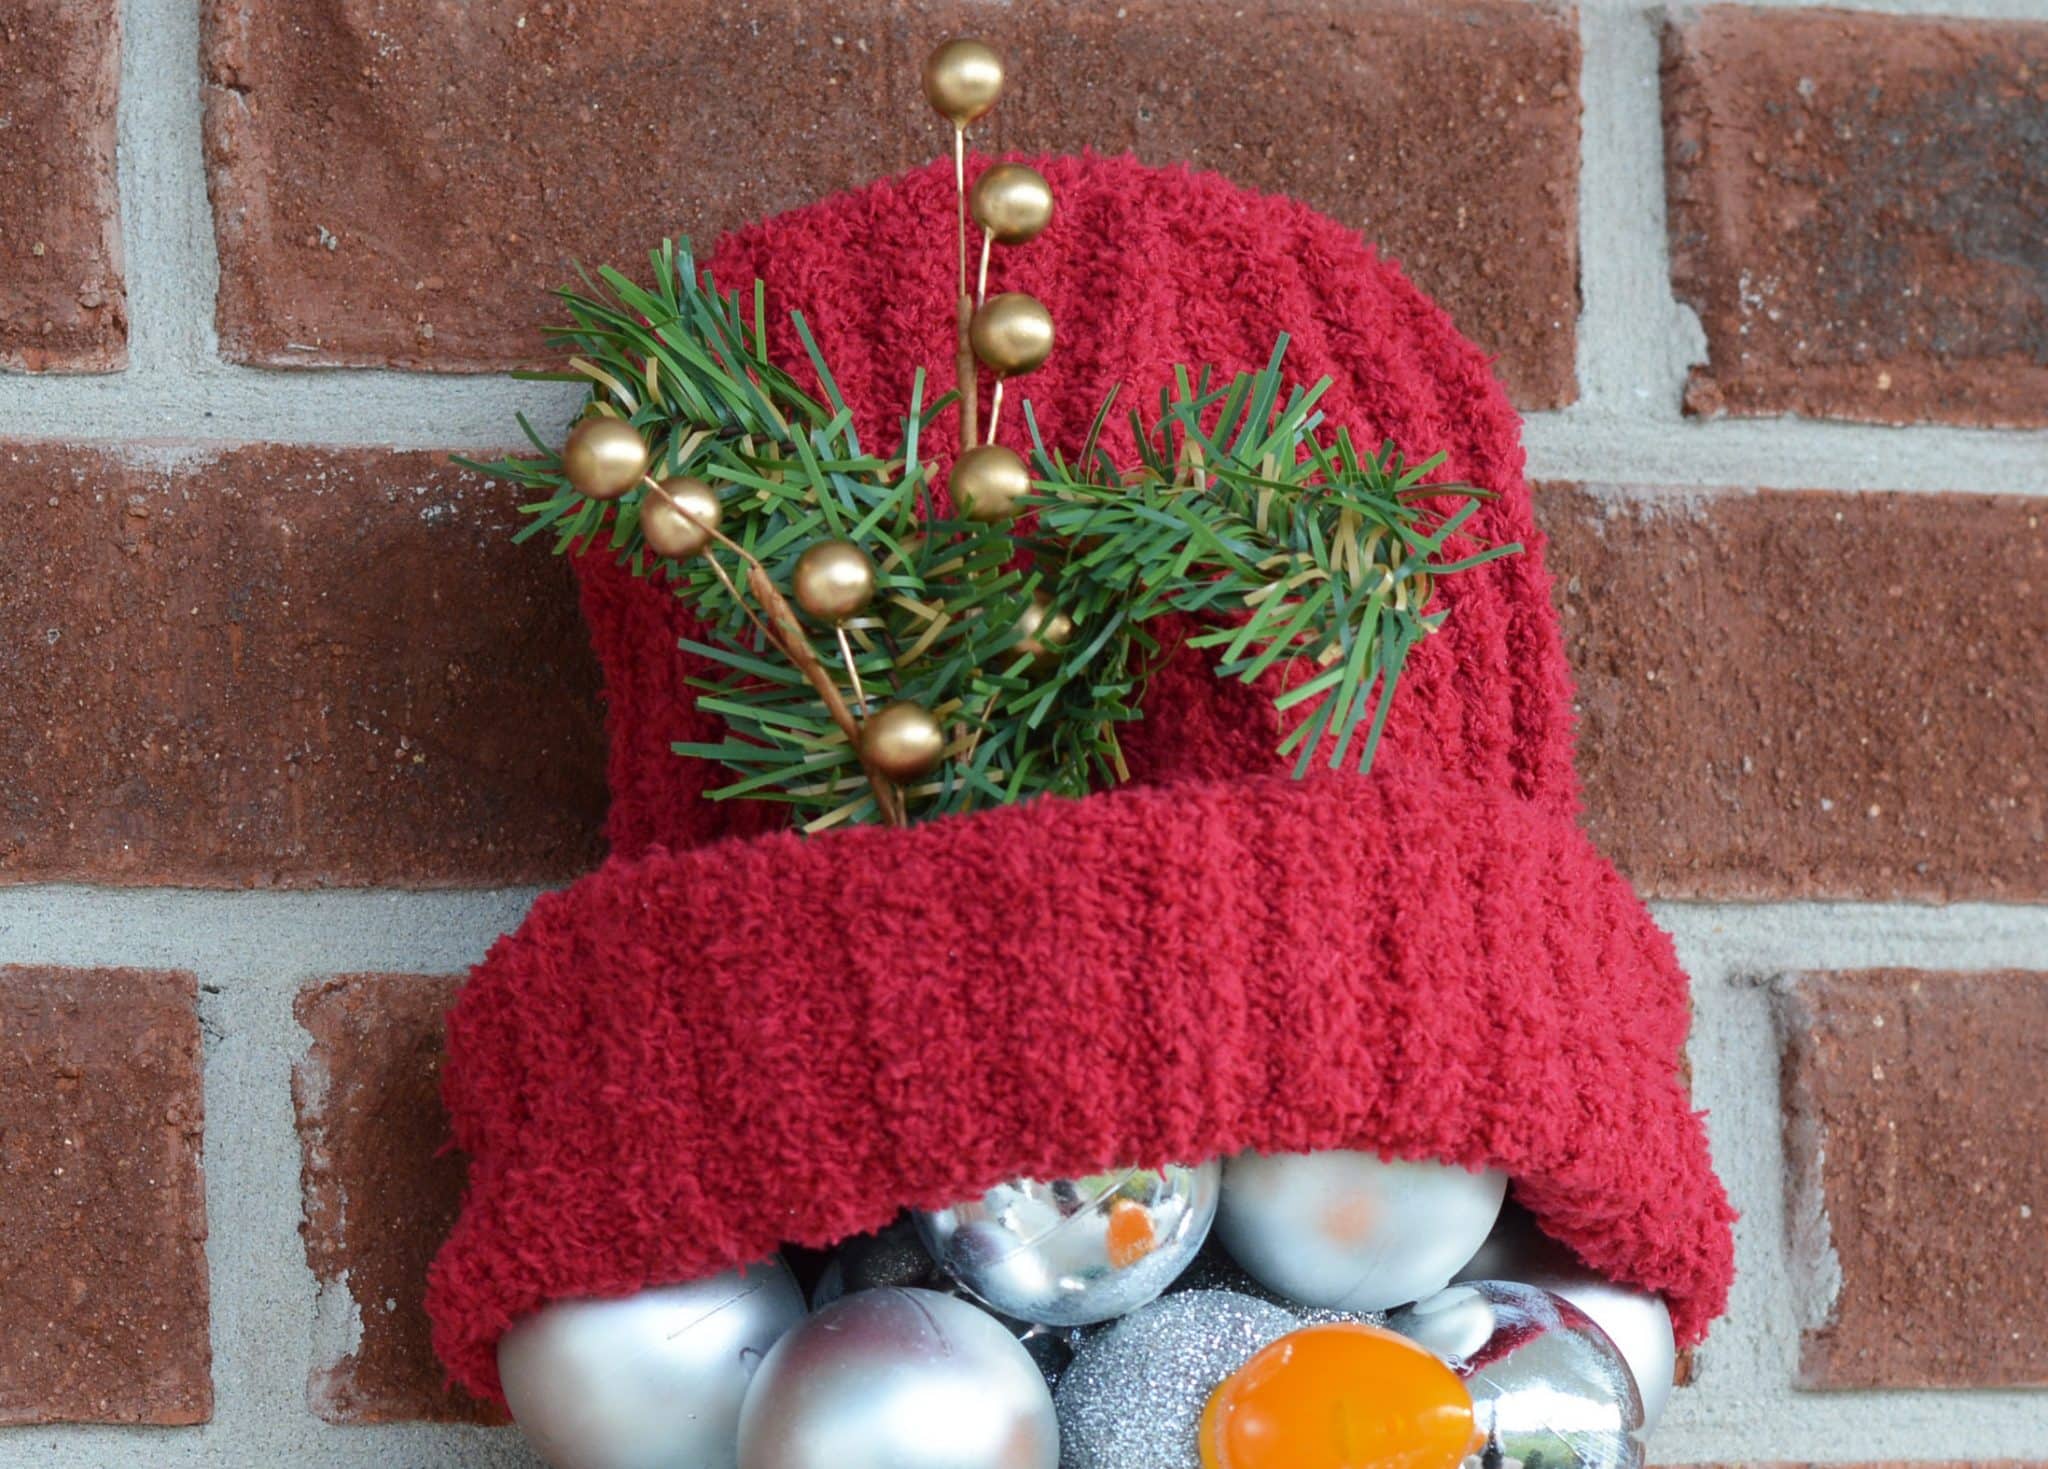
To assemble the hat:
Slide the hat onto the snowman’s head once dry.
Roll up the brim and tuck some greens and faux gold berries into one side of the hat.
To create the scarf:
Cut 2″ slits into the short end of the fleece
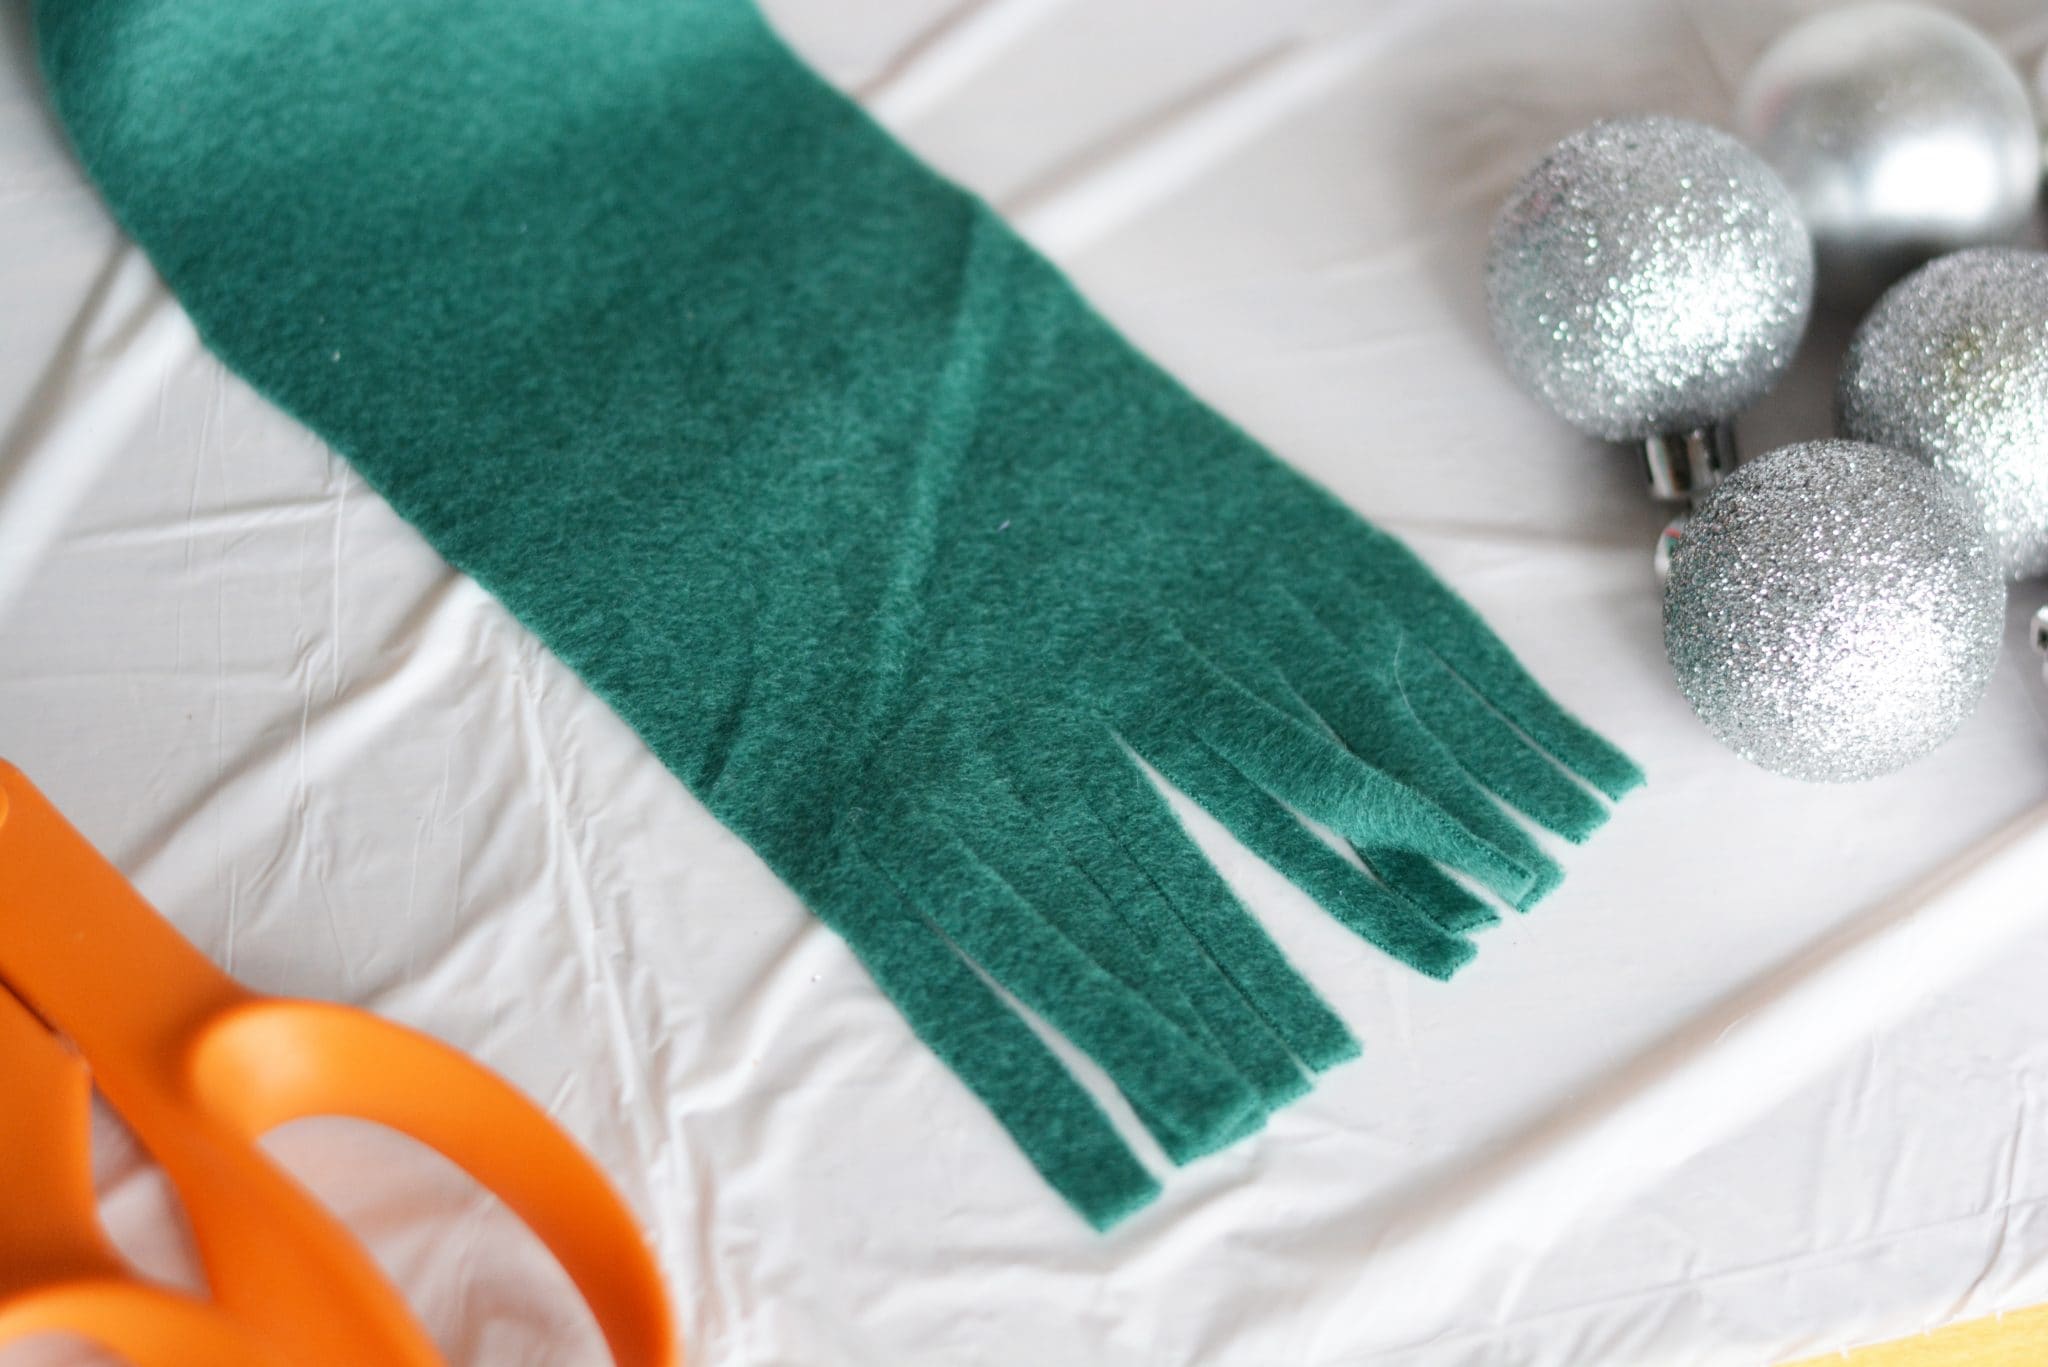
and tie a knot using a slip knot to create a frayed scarf.
Wrap the scarf around the snowman’s neck.
Add a small bread tie hook or wire to the back of one of the bulbs to hang the snowman.
Affix with Krazy Glue All Purpose Precision Tip One Drop Application.
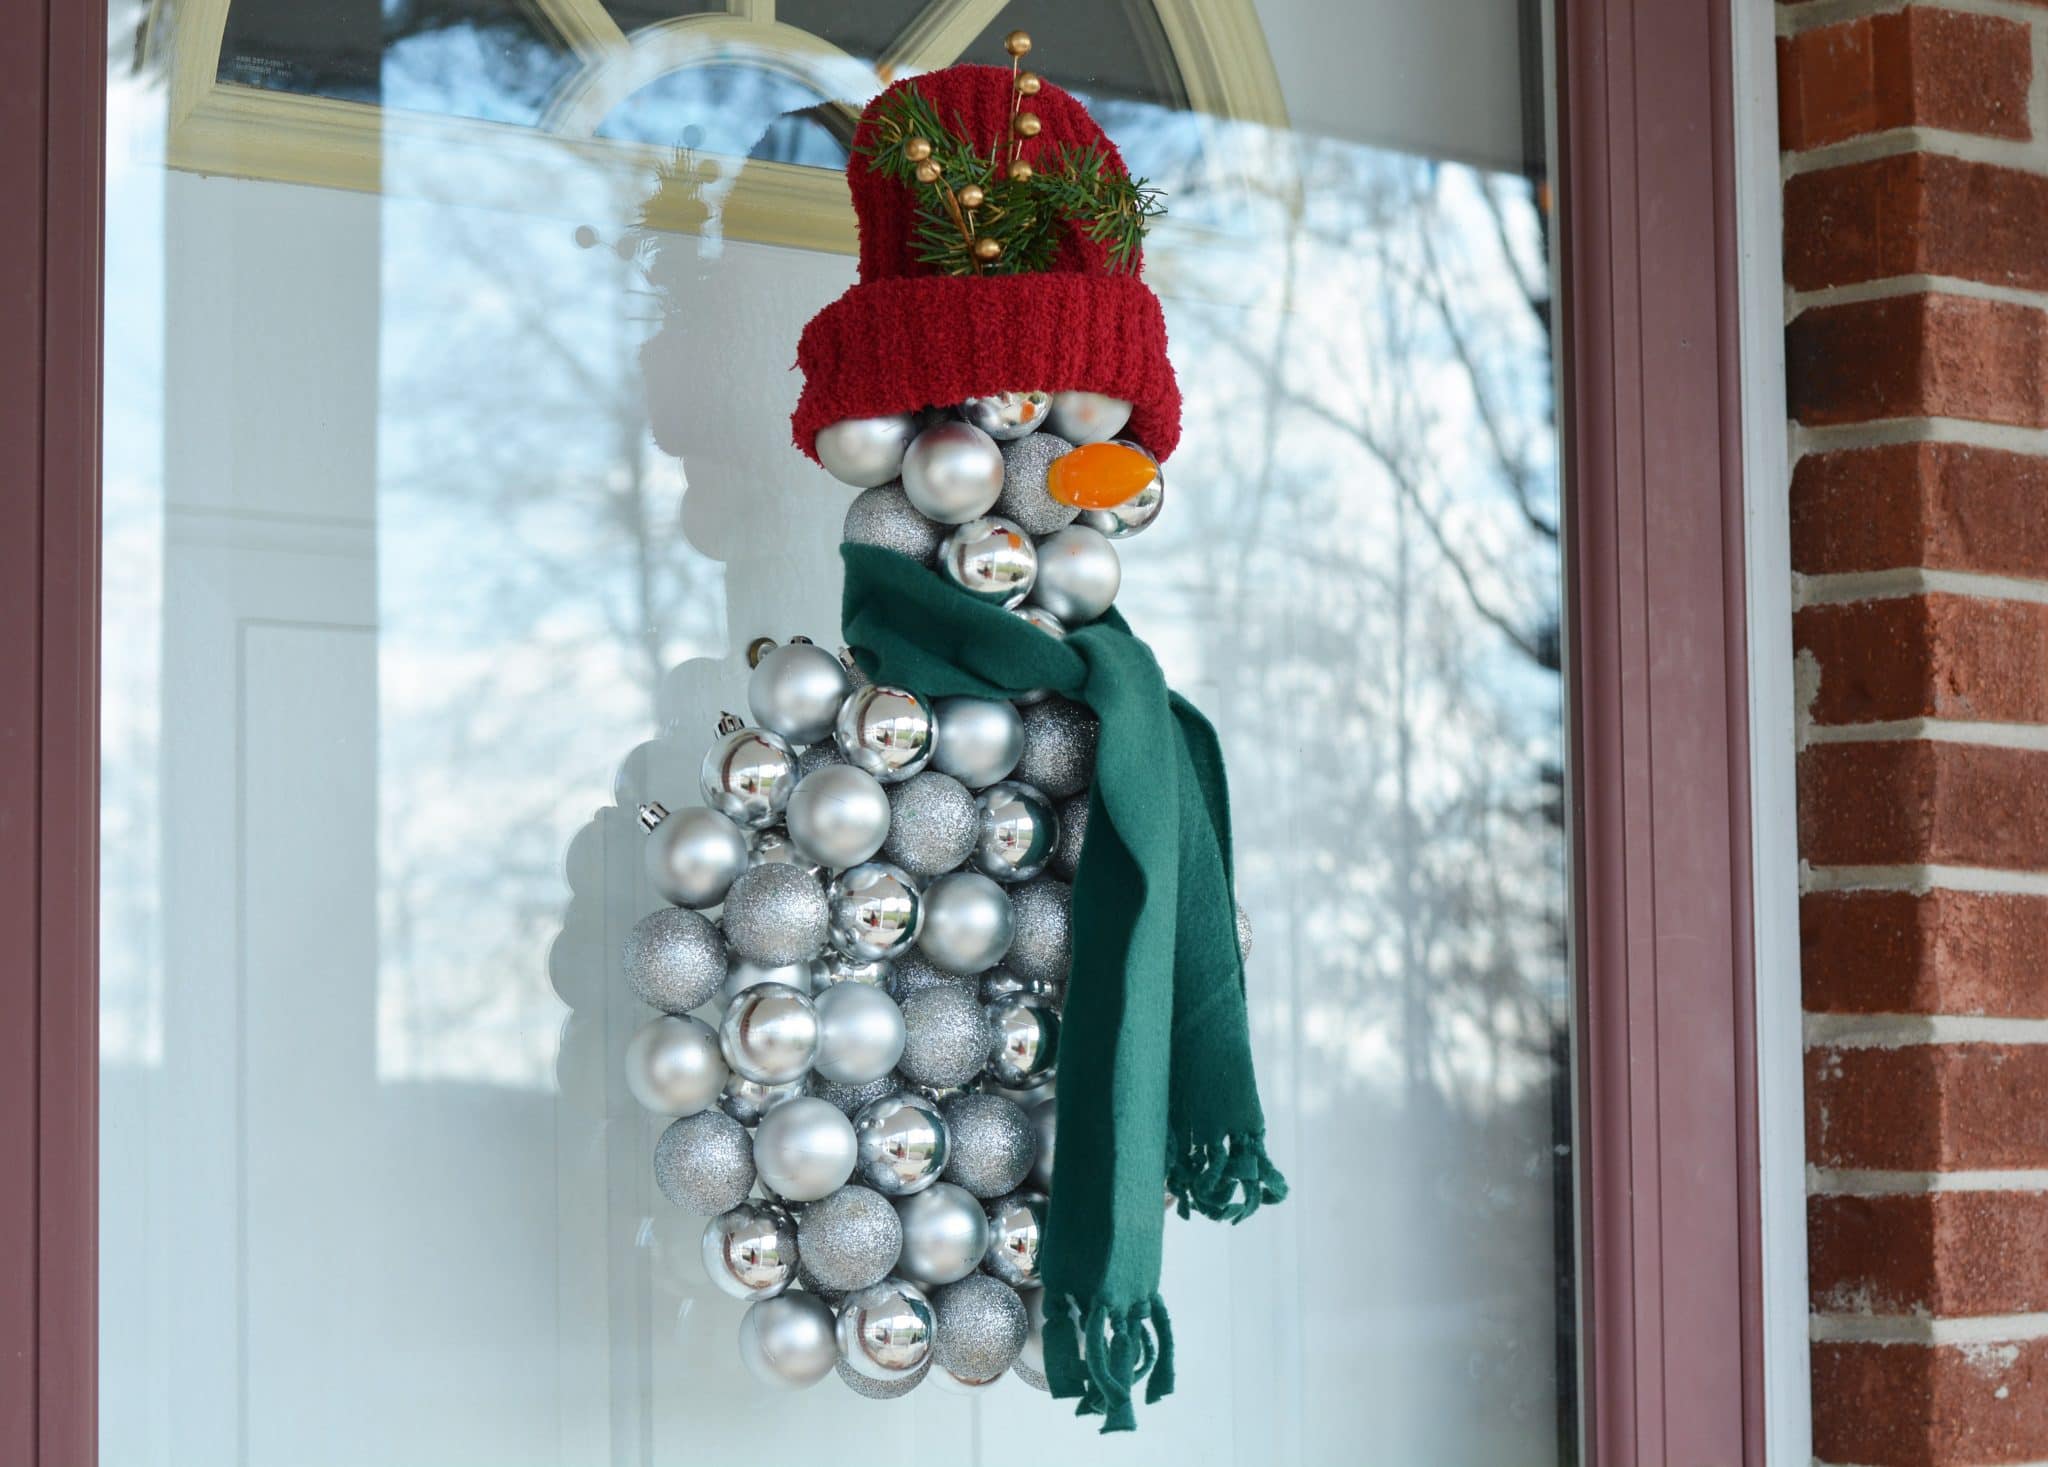
And there you have it, your adorable wall Snowman decoration, once finished, will stand approximately 20″ x 12″ in dimension.
You can even hang him on your door, instead of a wreath.
Now wasn’t that easy?
Crazy, creative, and quite an out-of-the-box idea, right?
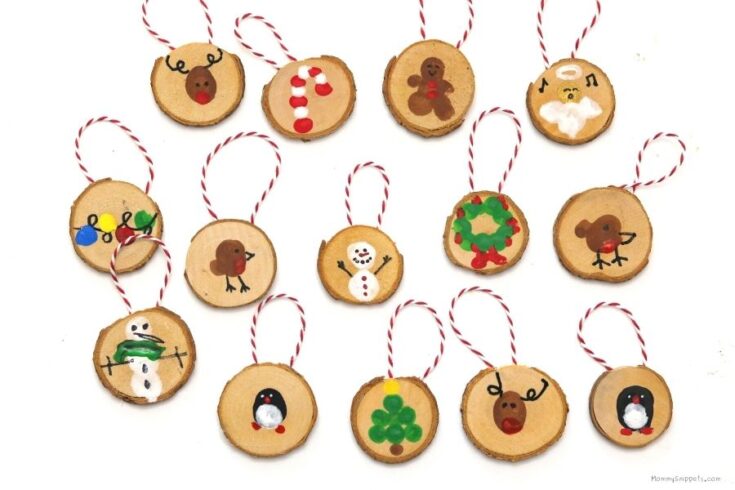
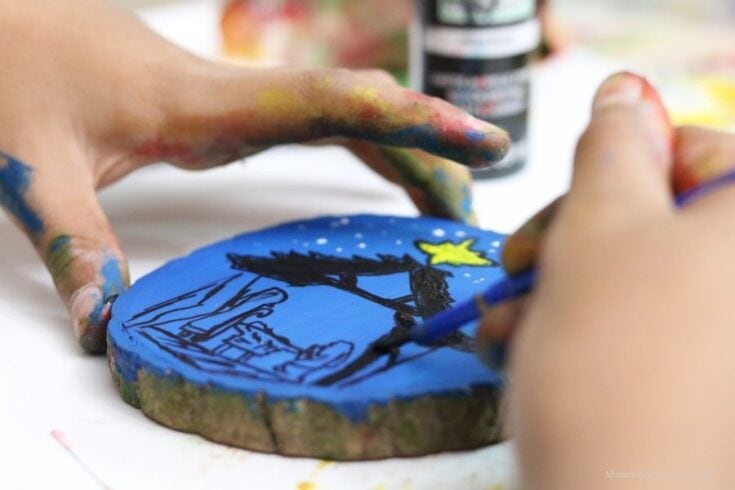
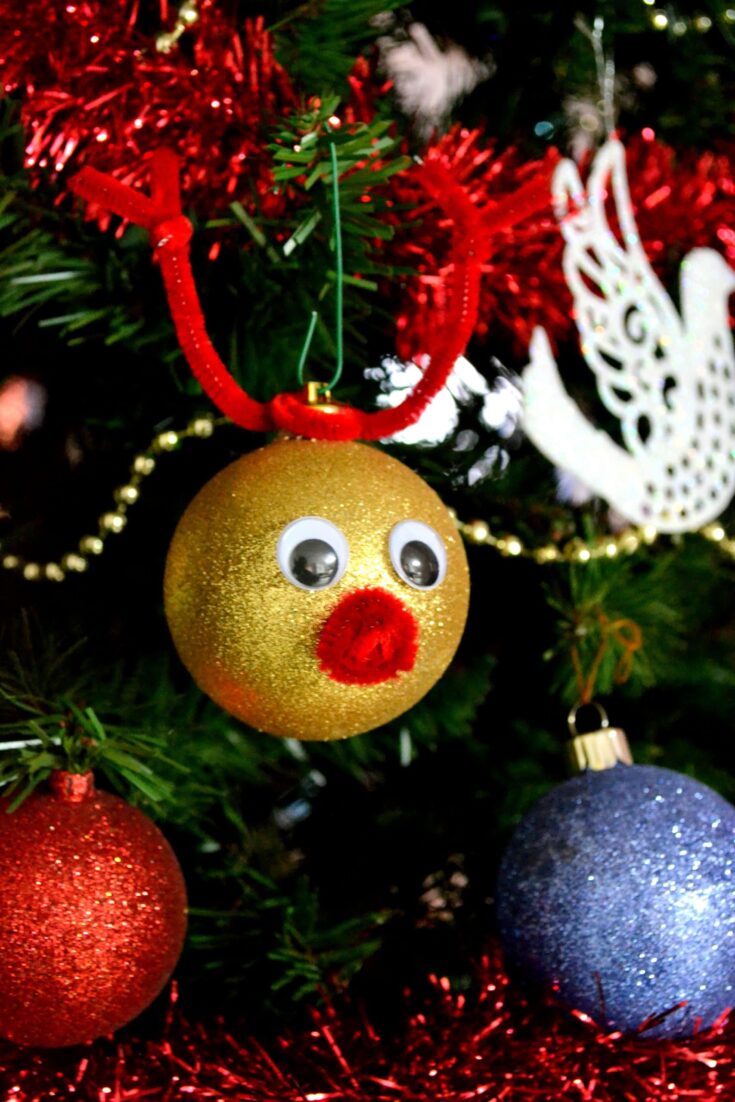
If you loved this beautiful Christmas decor is, you will love these EASY Christmas Craft projects:
Easy Christmas Craft Projects for the Family
Don’t forget to grab these free Christmas Printables and if you loved these, there’s lots more from where these came from! (Wink!)
I’d love to hear from you. Hop over to chat with me on Facebook and/or Twitter