Easy Girl Scout SWAPS idea for a Spring event
This post contains editorial samples and/or affiliate links to products I recommend. While this adds no additional cost to you, I will earn a small commission on any sales made.
This easy Girl Scouts SWAPS idea would be perfect for a Spring event, Easter event, or even to share at camp. Flower SWAPS are always easy and popular for all ages, and this one includes a ladybug, a sweet symbol of love and friendship!
With a Girl Scout Ambassador and a Brownie in the house, when it comes to SWAPS, I think of what would work for both age ranges, especially if the girls attend an event with girl scouts from every level.
This being my Brownie’s first year as a girl scout, I wanted to have her get excited about making SWAPS for an upcoming Easter event.
If you’re wondering what SWAPS are, here‘s a quick explanation with an example.
Her girl scout sisters in the troop will meet up later this week to churn out these easy Spring-themed SWAPS.
To make a few “prototypes”, we spent last evening making a few.
As a Mama, who loves having emergency craft supplies on hand, I recognize some Girl Scout Mamas prefer to work with what’s available at home; hence we have two versions of this easy Girl Scout SWAPS idea. 
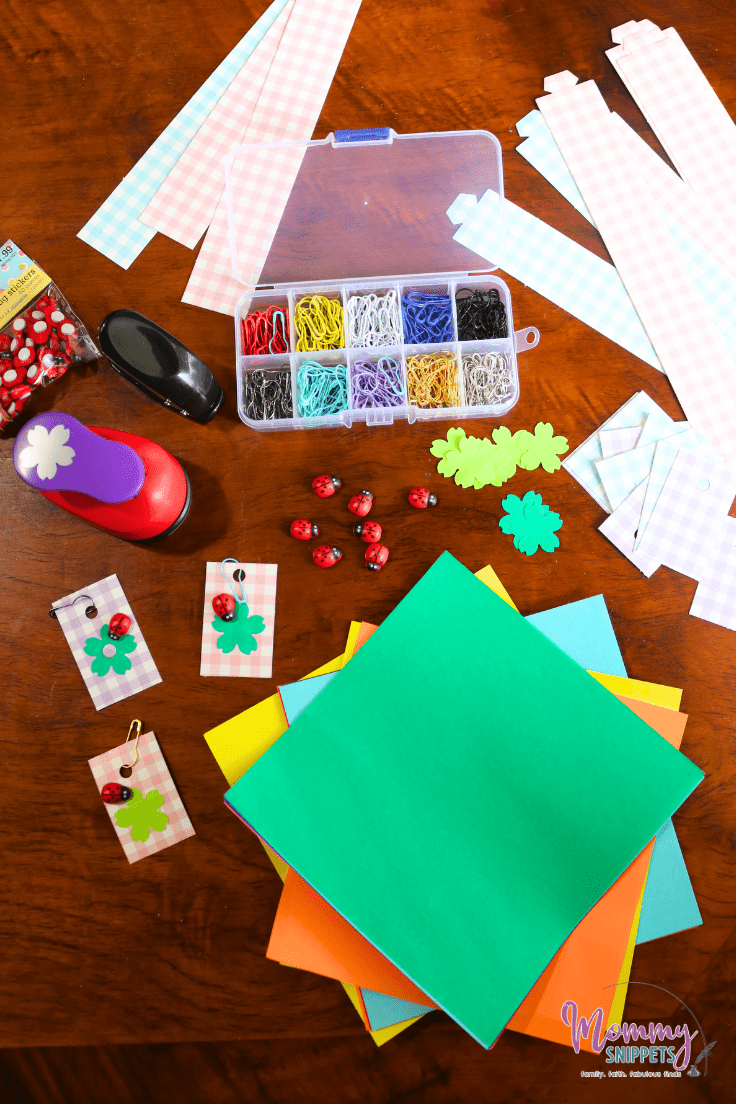
Materials Needed To Make This Easy Girl Scouts SWAPS idea.
- Colorful Card Stock Strips or Colorful Card Stock.
- 1″ Flower Punch
- A Hole Punch
- A Ruler
- Scissors
- Ladybug Stickers (optional)
- Colorful Paper (optional)
- Glue Stick
- Safety Pins– I like using no loop pins.
 Tips To Make This Easy SWAPS for Girl Scouts
 Tips To Make This Easy SWAPS for Girl Scouts
You can make these SWAPS in several ways, but this way will save time and keep younger girls engaged as it’s a quick SWAPS.
Do I need a flower punch?
You don’t need a flower punch.
A flower cutout will work, or flower stickers would be a quick alternative to use instead.
Can I use card stock instead of construction or regular colorful paper?
You sure can. We just had some spare colorful origami paper lying around and figured it would be easiest to use with the flower punch.
Do the flowers need to be a certain color?
Absolutely not! I actually thought the girls could use different colors, but my 9-year-old asked if we could make them all green as green is the Girl Scouts’ color.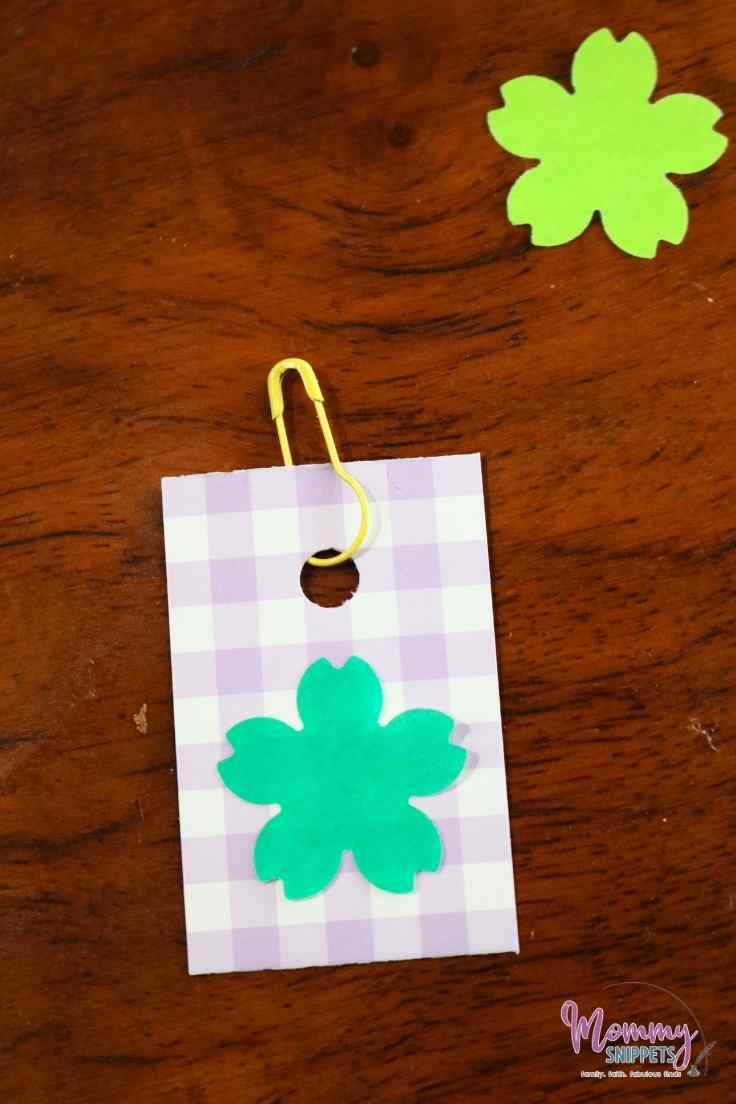
Why not, right?
I thought that was a great idea; hence, all our flowers are green.
Ready to learn how to make this easy SWAPS?
How to Make This Easy Girl Scouts SWAPS for your next Girl Scouts event
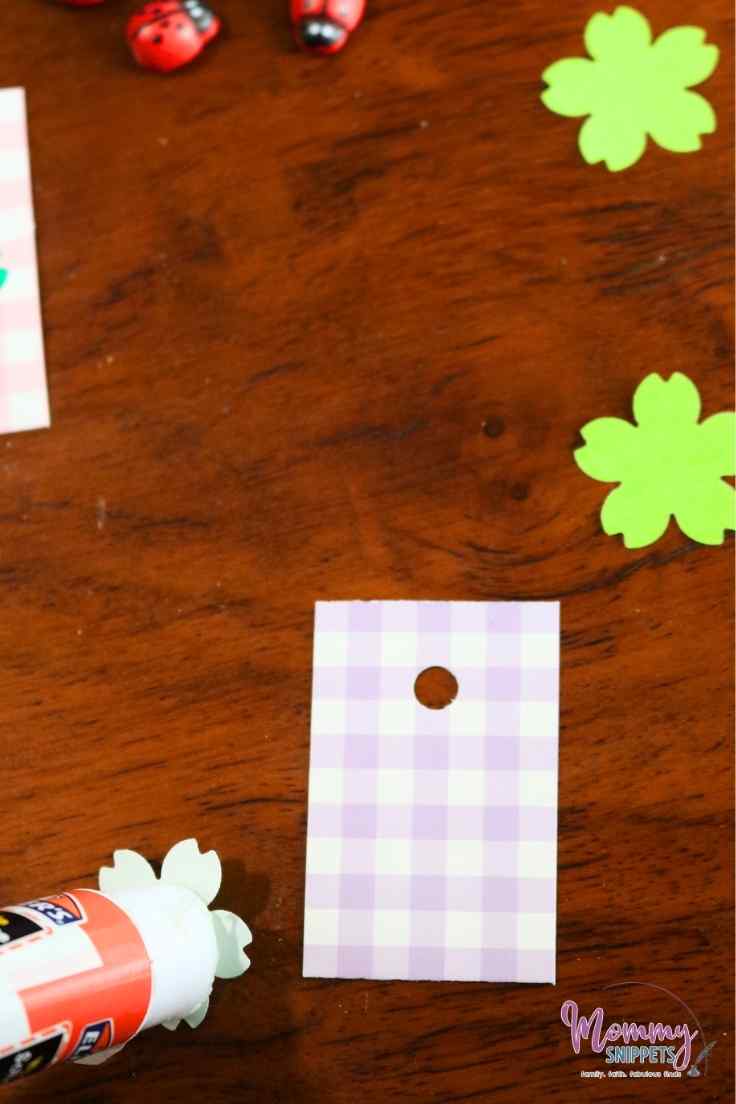
1. Start by cutting the card stock into 2″ x 1.25″ bars.
(We found some Easter craft chain strips at Hobby Lobby on clearance, so we used those.)
2. Punch a hole on the top of the card stock bar, ensuring the hole is in the center.
3. Now, take your choice of colorful paper, and using your flower punch, make a flower.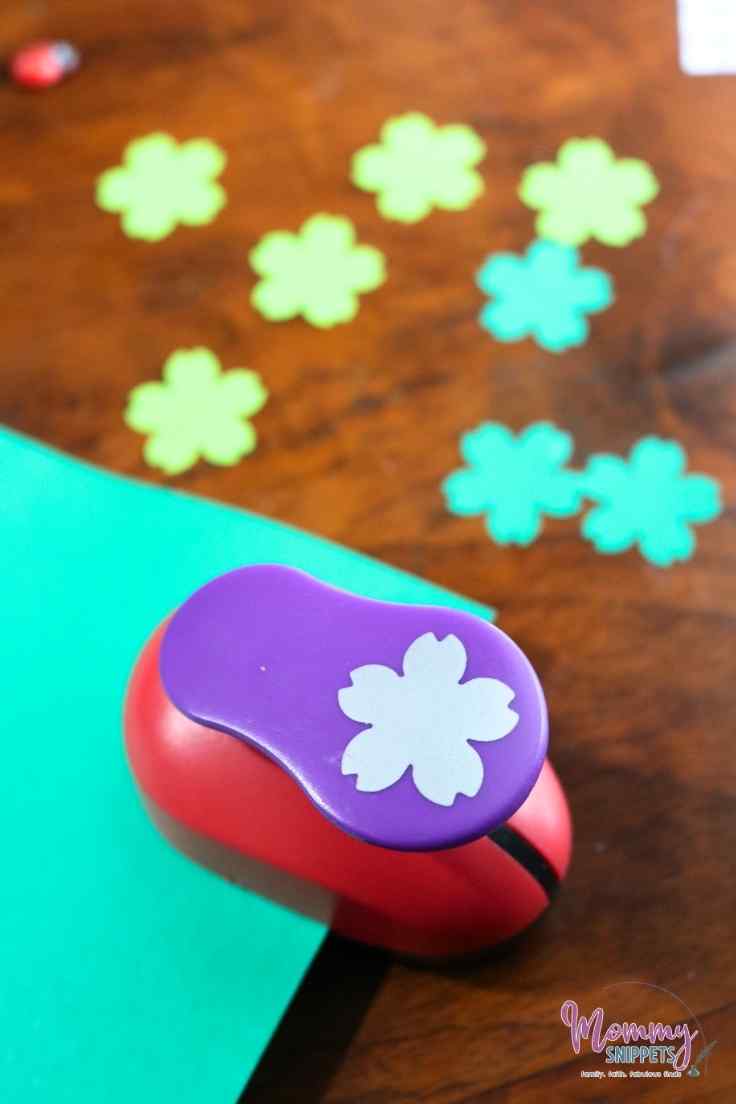
4. Glue this flower onto the bar.
 Align this to sit in the center of the bar, below the hole.
5. Add the sweet ladybug to the flower.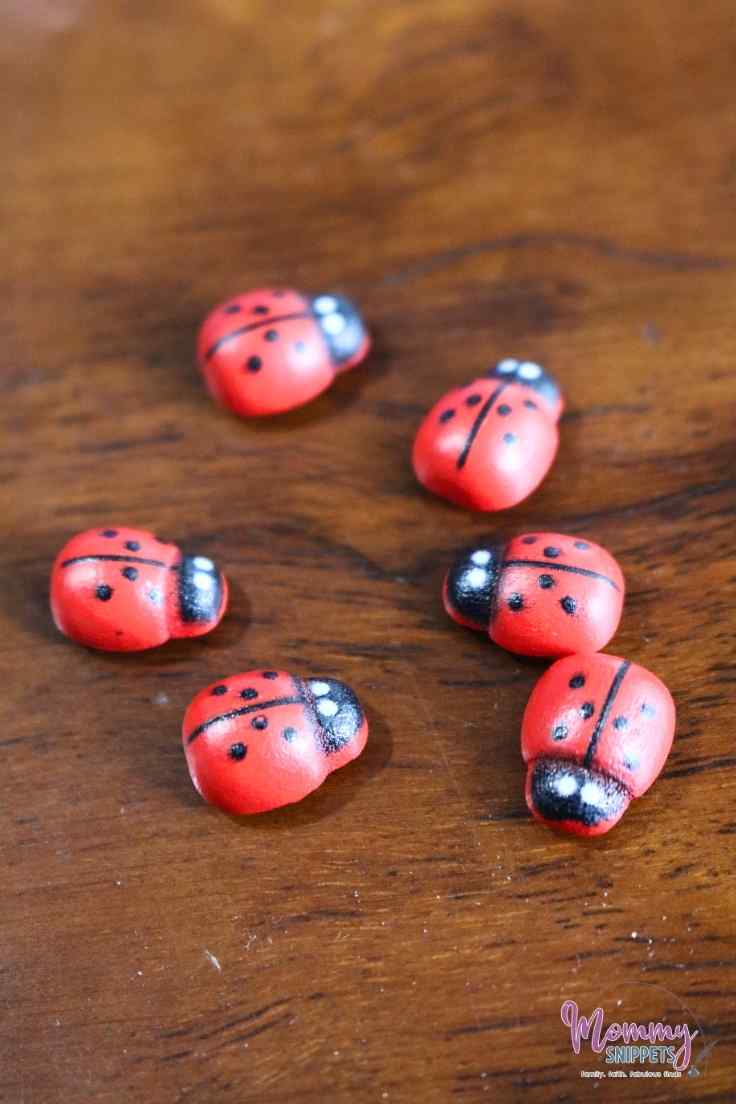
6. Finish off this SWAPS by looping the safety pin through the hole.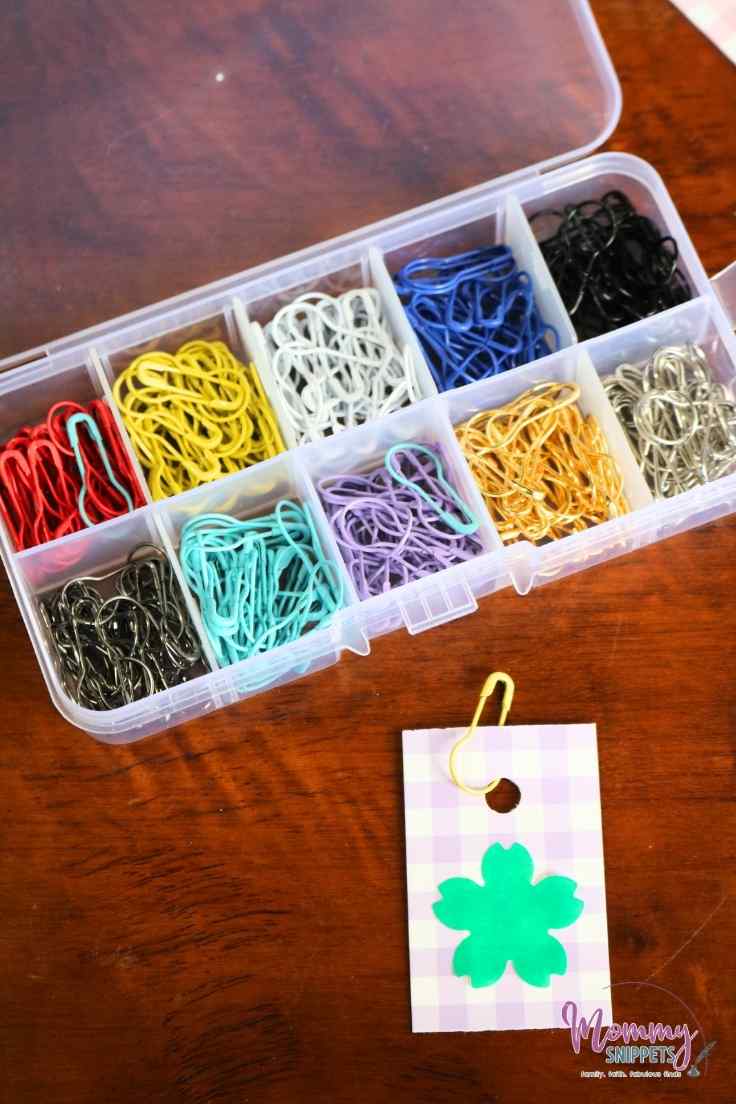
Your girl scout can write her name and troop number below the flower or on the other side of the SWAPS.
Another alternative to this SWAPS would be to make it without the ladybug.
Use the mini round created by your hole punch when making the hole on the bar to become your flower’s pistil.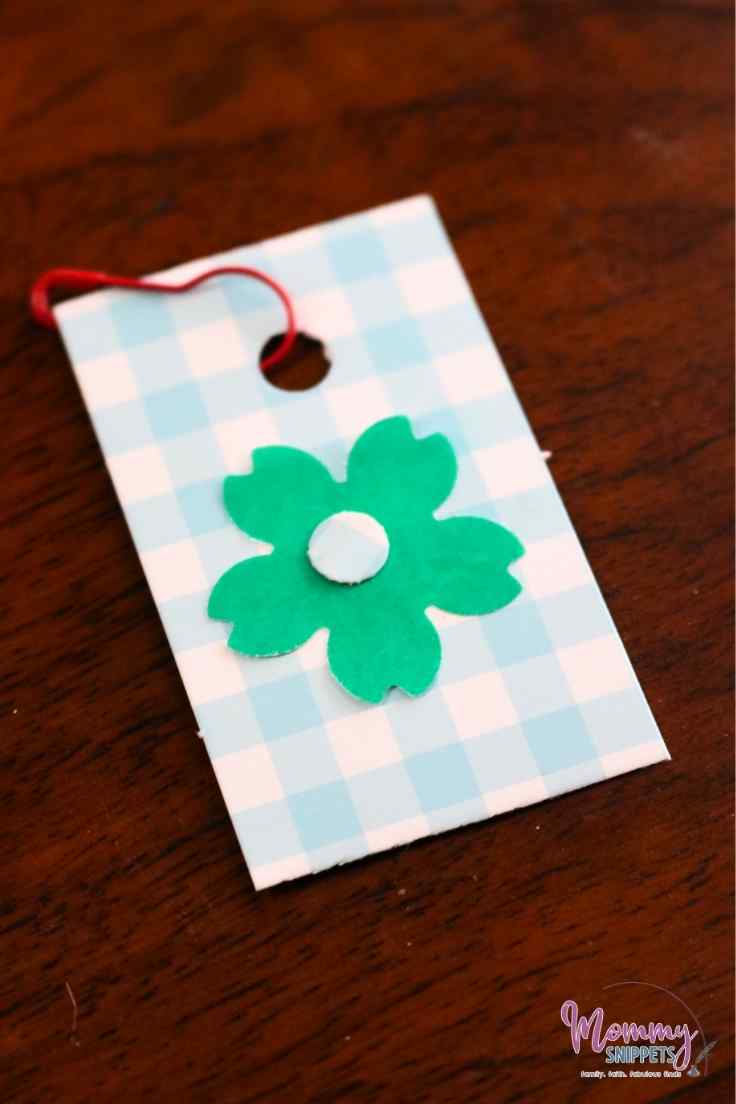
This is a simpler version of this SWAPS and does not require you to buy a pack of ladybug stickers.
If your daughter doesn’t have too many SWAPS to make, she can even draw the ladybug or even a butterfly.
 Here’s the printable version of our easy Girl Scouts SWAPS tutorial:

Easy Girl Scout SWAPS idea for a Spring event
Materials
- Colorful Card Stock Strips or Colorful Card Stock.
- Ladybug Stickers (optional)
- Colorful Paper (optional)
- Glue Stick
- Safety Pins- I like using no loop pins.
Tools
- 1" Flower Punch
- A Hole Punch
- A Ruler
- Scissors
Instructions
1. Start by cutting the card stock into 2" x 1.25" bars.
(We found some Easter craft chain strips at Hobby Lobby on clearance, so we used those.)
2. Punch a hole on the top of the card stock bar, ensuring the hole is in the center.
3. Now, take your choice of colorful paper, and using your flower punch, make a flower.
4. Glue this flower onto the bar. Align this to sit in the center of the bar, below the hole.
5. Add the sweet ladybug to the flower.
6. Finish off this SWAPS by looping the safety pin through the hole.
Who doesn’t love simple, right?
And your girl scout can customize this as much as she wants!
Easy Girl Scout SWAPS ideas

Does your daughter’s troop participate in Girl Scout Cookie Sales and Girl Scout Fall Sales?
If so, these Girl Scout Thank You cards are great to pass out to customers.
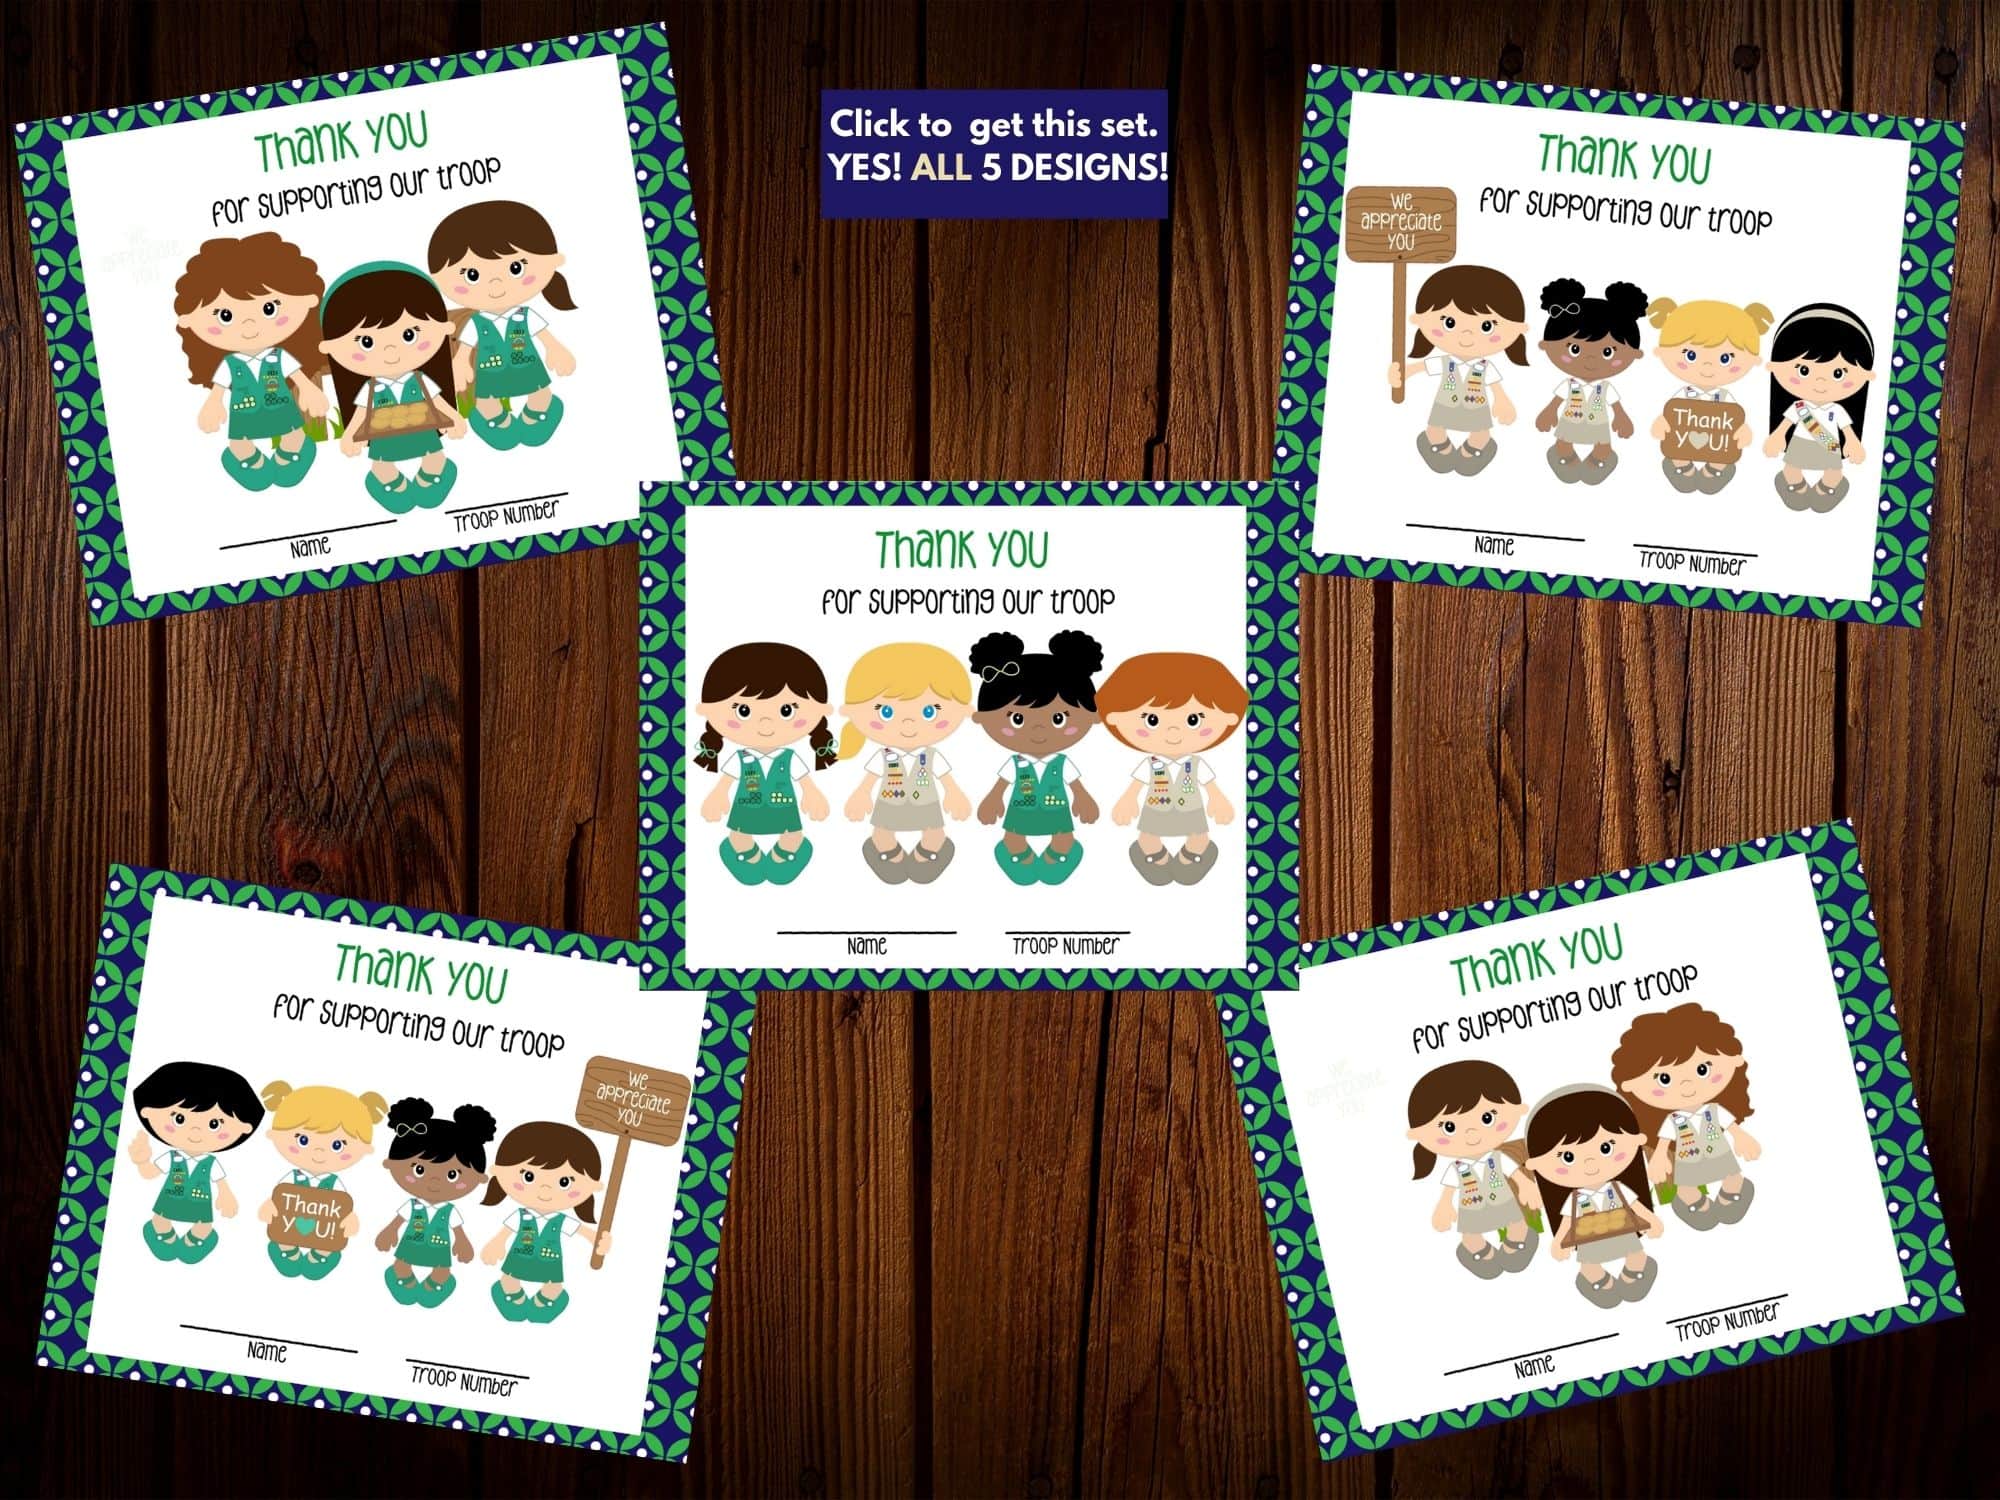
Don’t forget to check out our free Girl Scout Thank You Printable bookmarks.
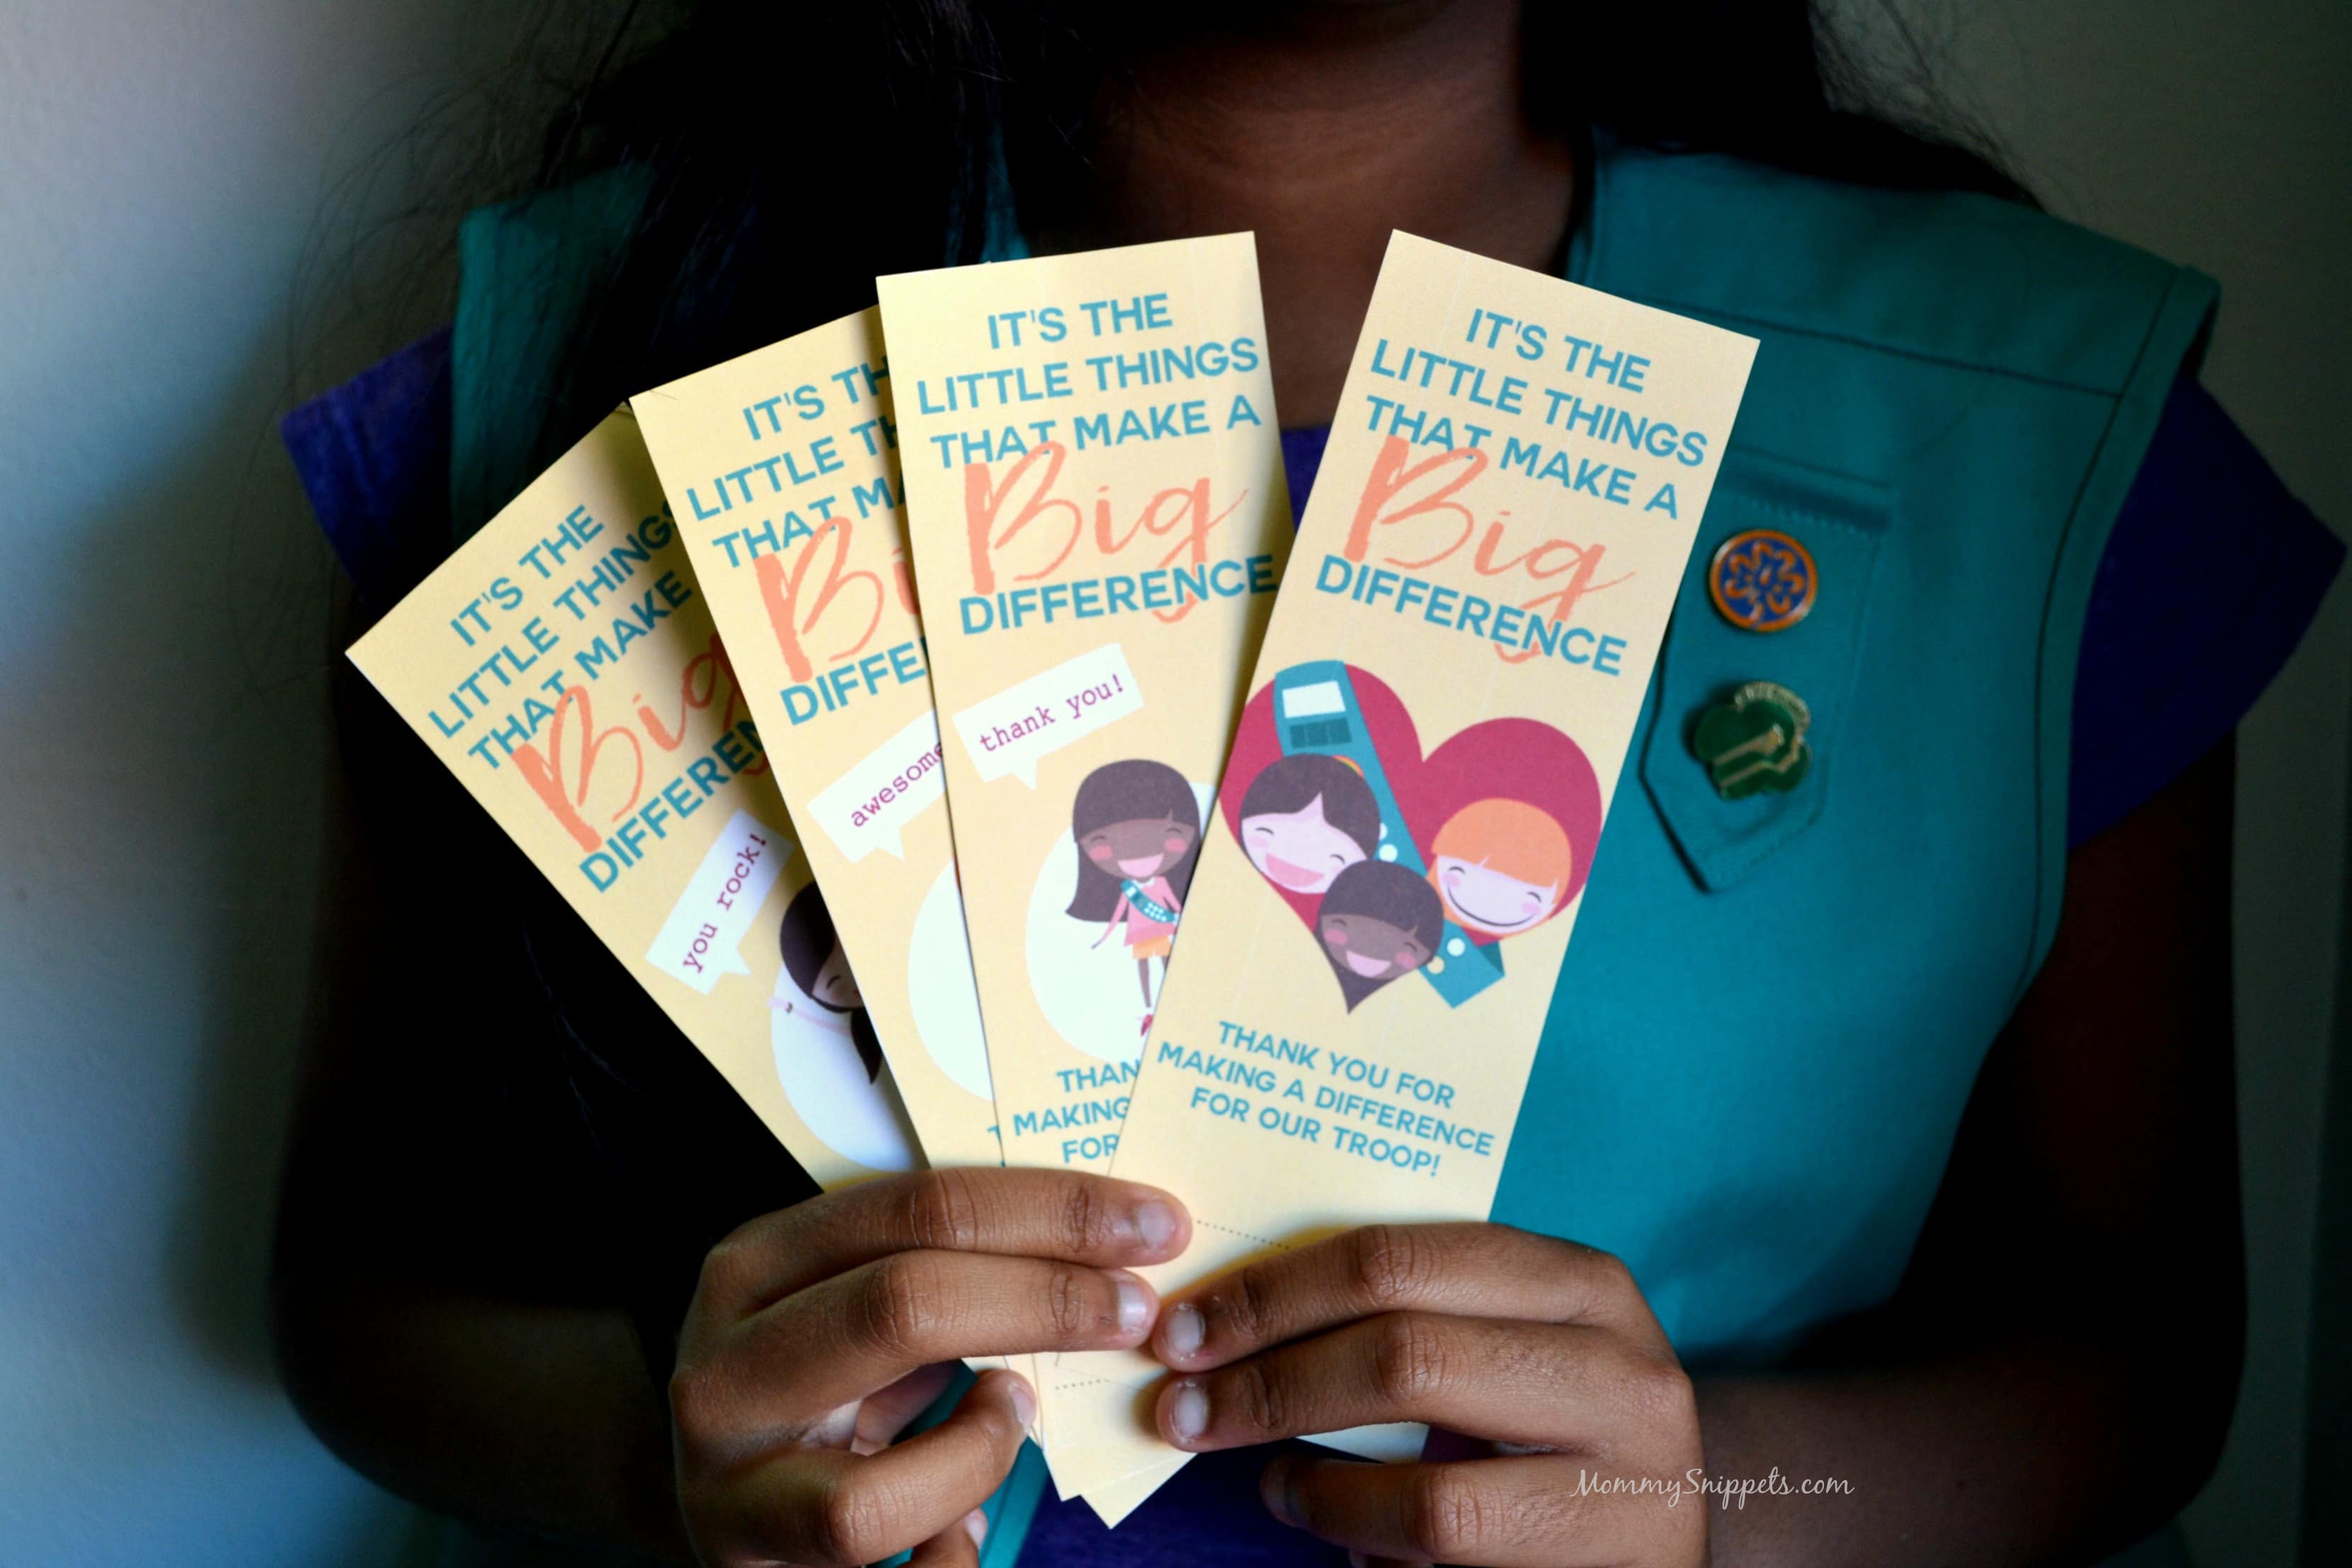
These are such sweet thank you gifts for the friends, family, and people of the community that support our girl scouts.