How to Make an Easy Valentine Pop up Craft
This post contains editorial samples and/or affiliate links to products I recommend. While this adds no additional cost to you, I will earn a small commission on any sales made.
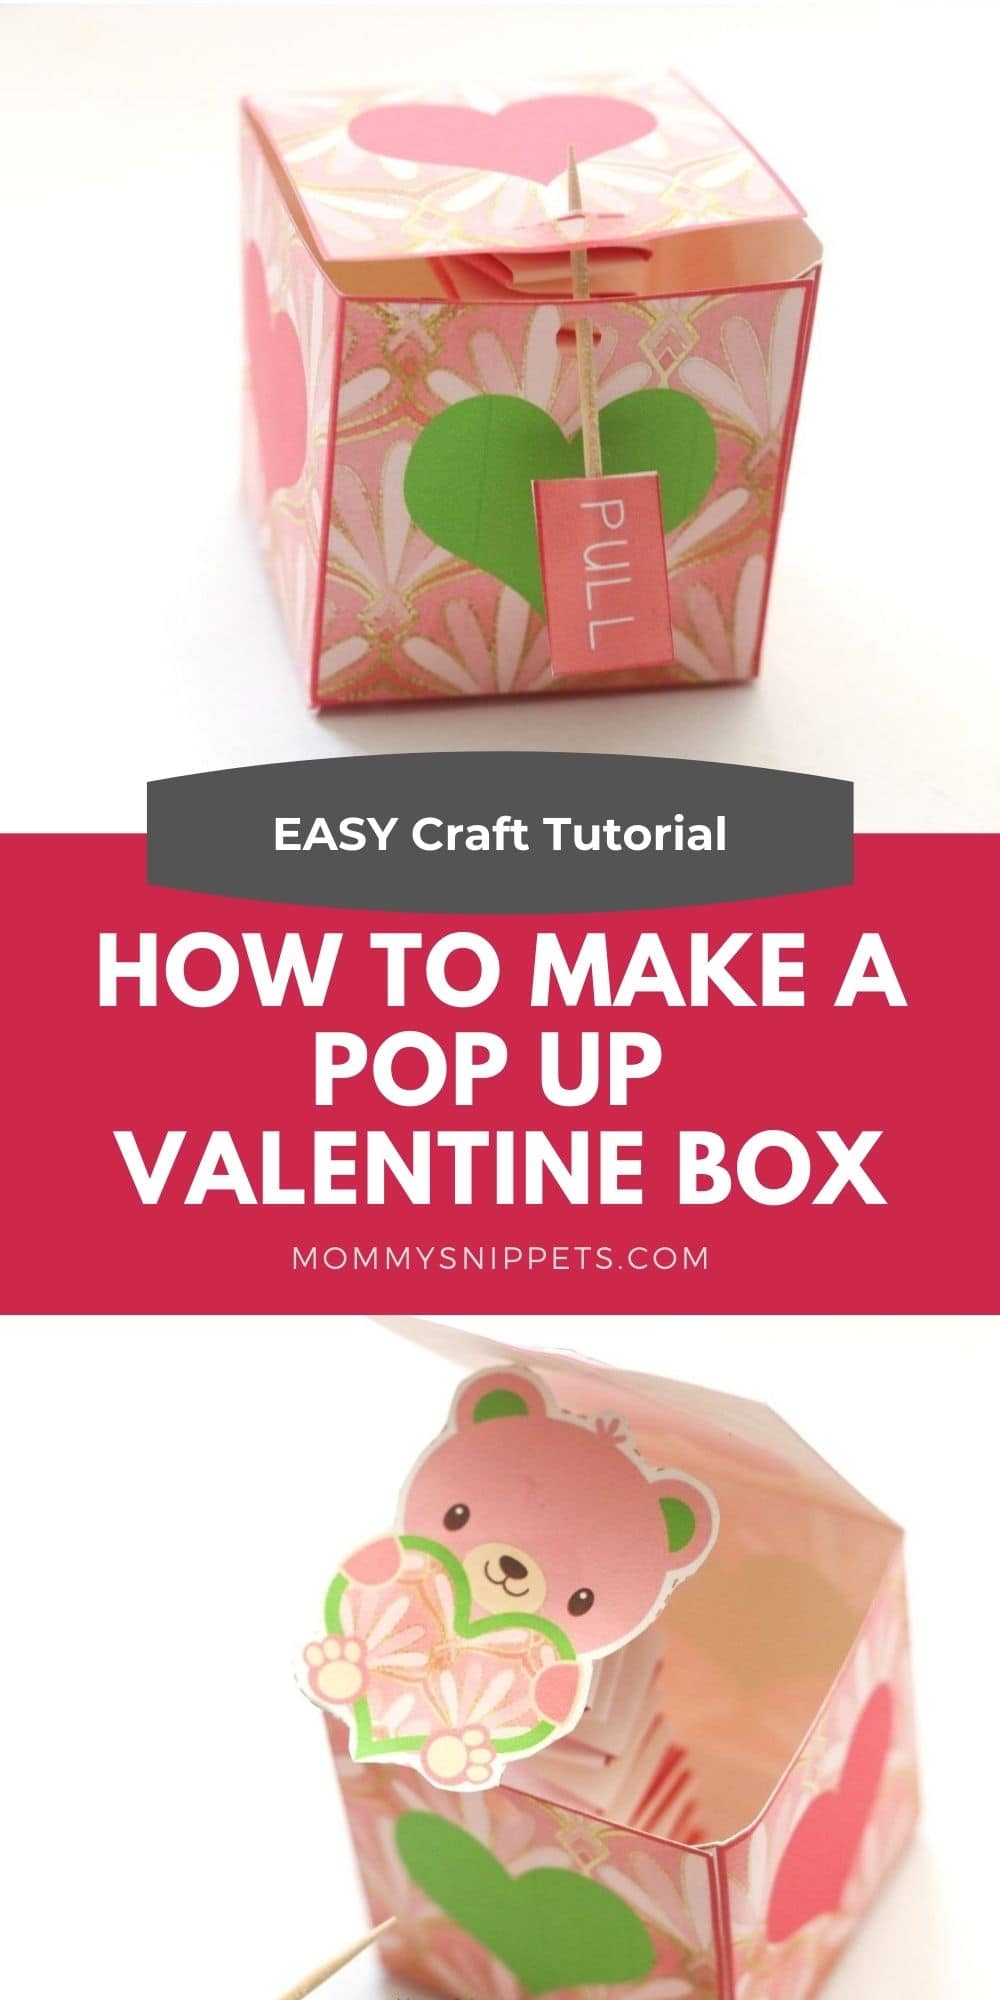
Put a smile on your child’s face, as you guide them through this easy Valentine pop up craft box tutorial.
My kids love doing crafts especially when there’s a fun element involved, like this sweet Valentine pop up Valentine craft.
The instructions are incredibly easy to follow.
Older kids won’t need any help, but your littles may need a little assistance gluing the box together, and creating the pop up paper spring.
Bring a little fun to your child’s valentine’s day celebrations, with this Valentine Pop up Craft
All you need to make this adorable craft is:
White cardstock-2 sheets
A pair of scissors,
A glue stick (I’m an Elmer’s mama all the way. You need to have crafts that stand strong several days after creating the same, and well, Elmer’s has always stood the test of time, in my house. Plus with this sweet deal on glue sticks, you can be sure I always have a good stock on hand!)
A toothpick and,
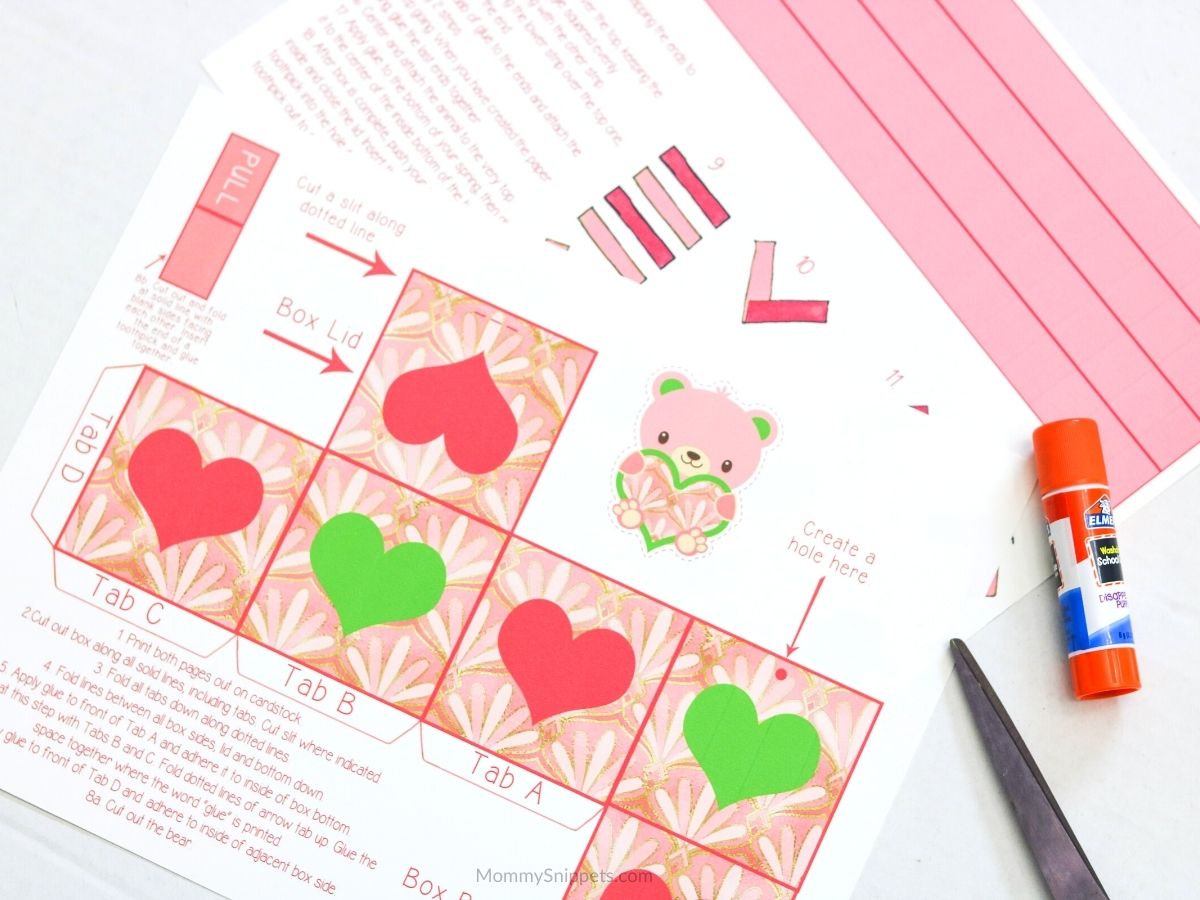
The most important must- This free printable 2 page pdf file to print out your Valentine pop up box.
For best results, print this file on A4 sized white cardstock.
Once you have the template printed out, follow the instructions below to make a pop up craft that will put a great big smile on your child’s face!
INSTRUCTIONS
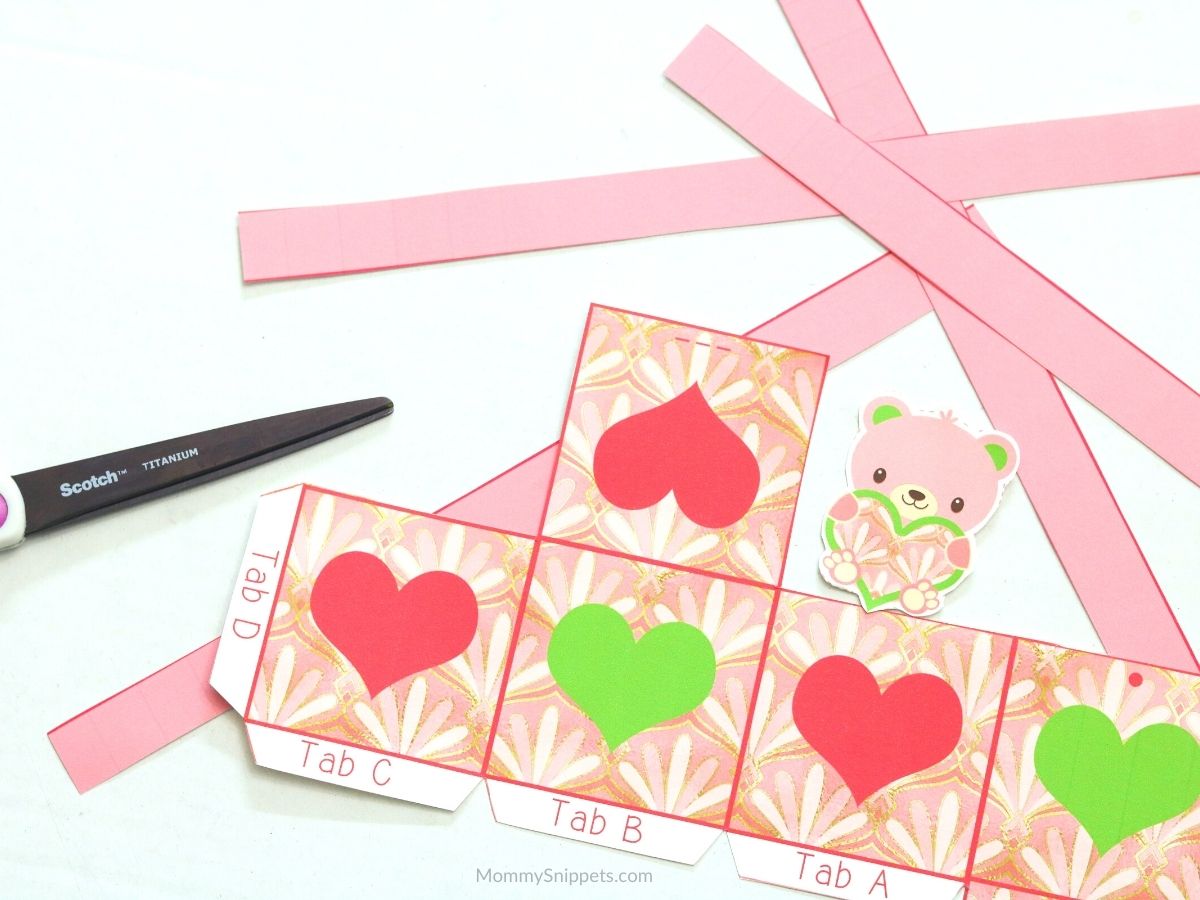
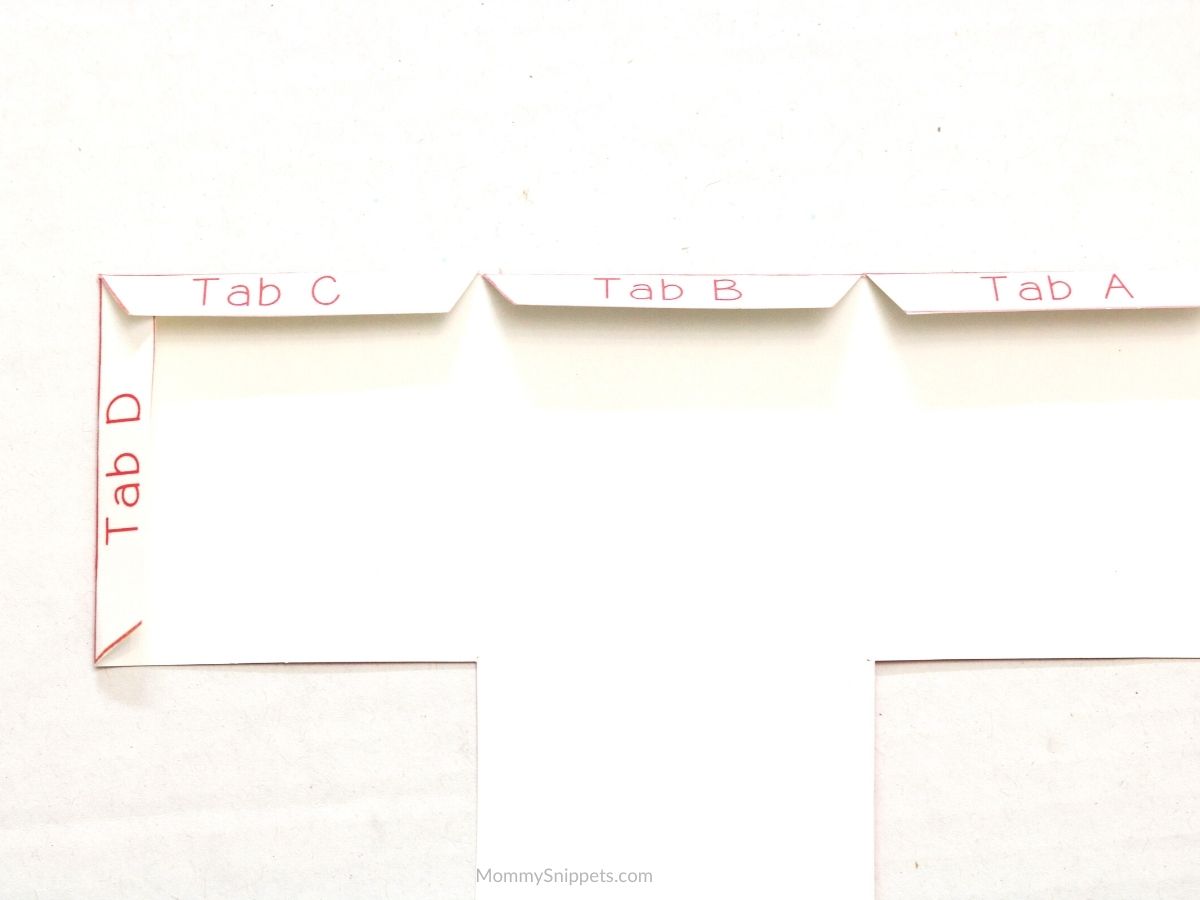
1. Cut out the box template, around all 4 sides, making sure you include the tabs.
Also cut around the outline of the pink bear, the “Pull” tab.
Once done, cut out the 4 pink strips on page 2, as well.
2. Fold all the tabs down, along the dotted lines.
3. Carefully fold along the lines, within the box- all four sides and the lid and bottom of the box.
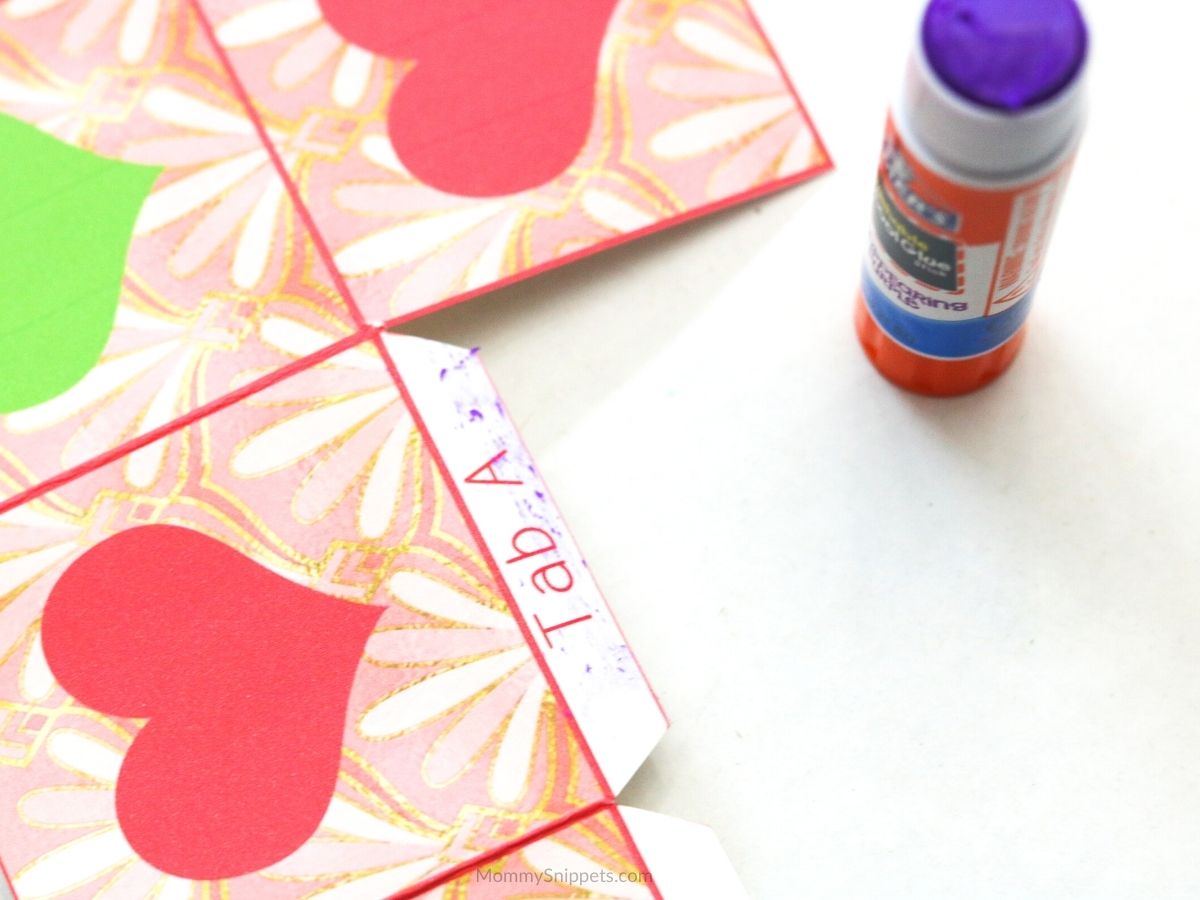
4. Glue tab A to the bottom of the box.
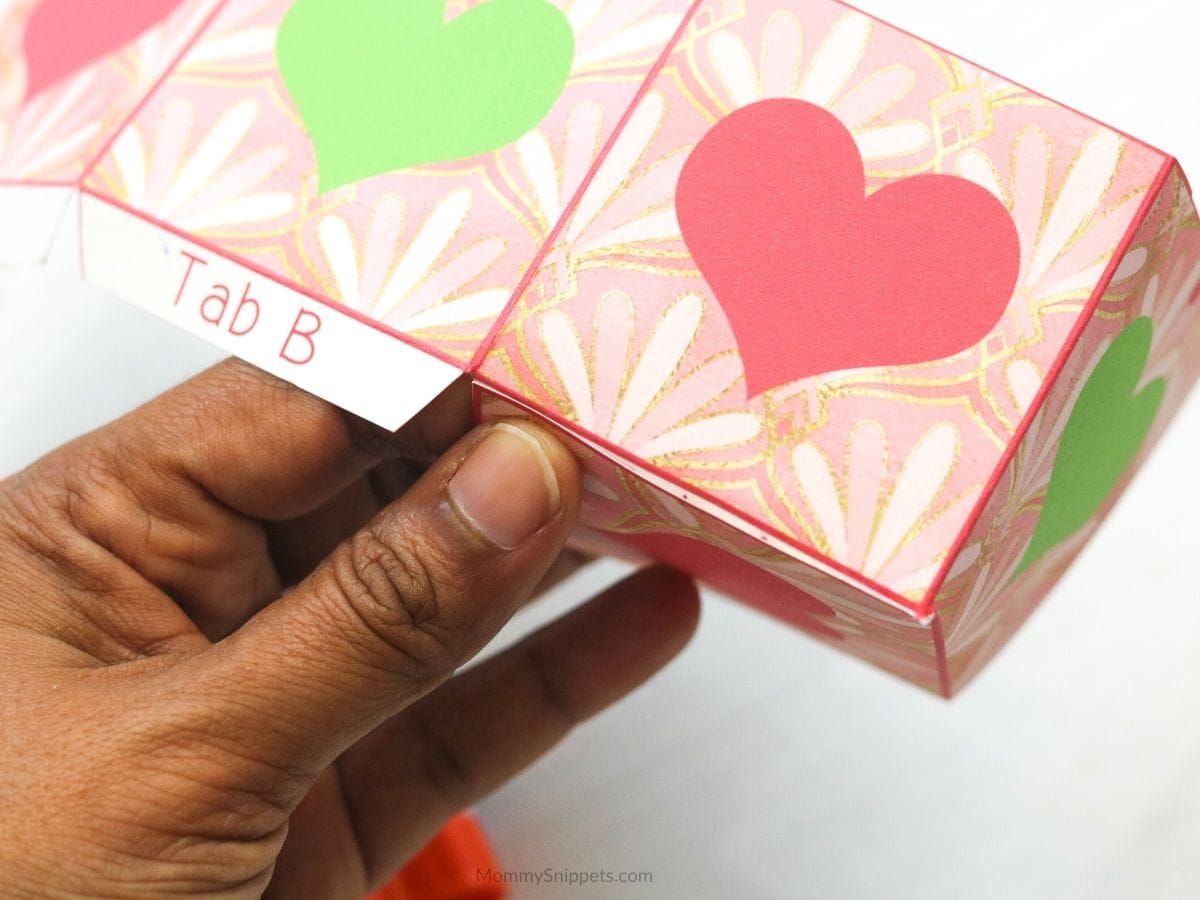
5. Do the same with Tab B and C.
6. Glue tab D to the inside of the adjacent side of the box.
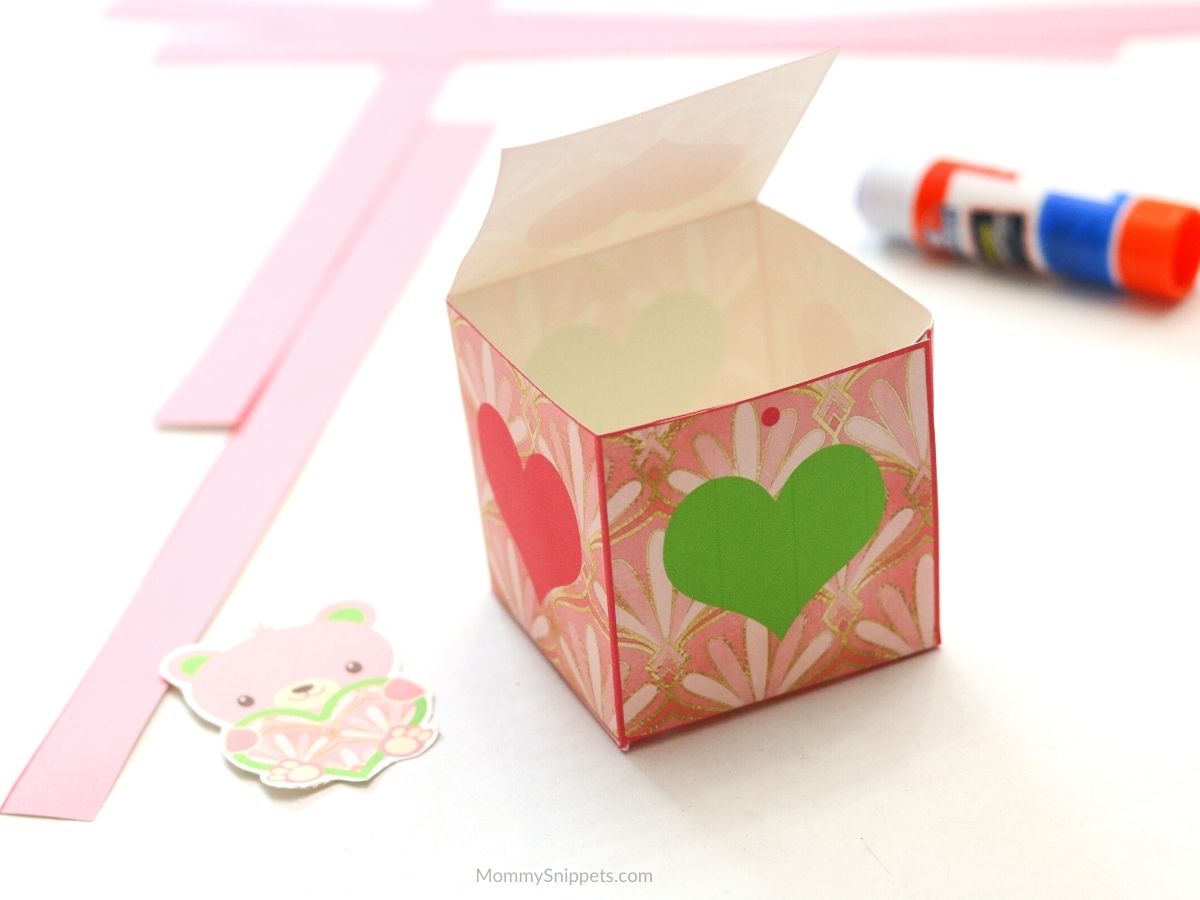
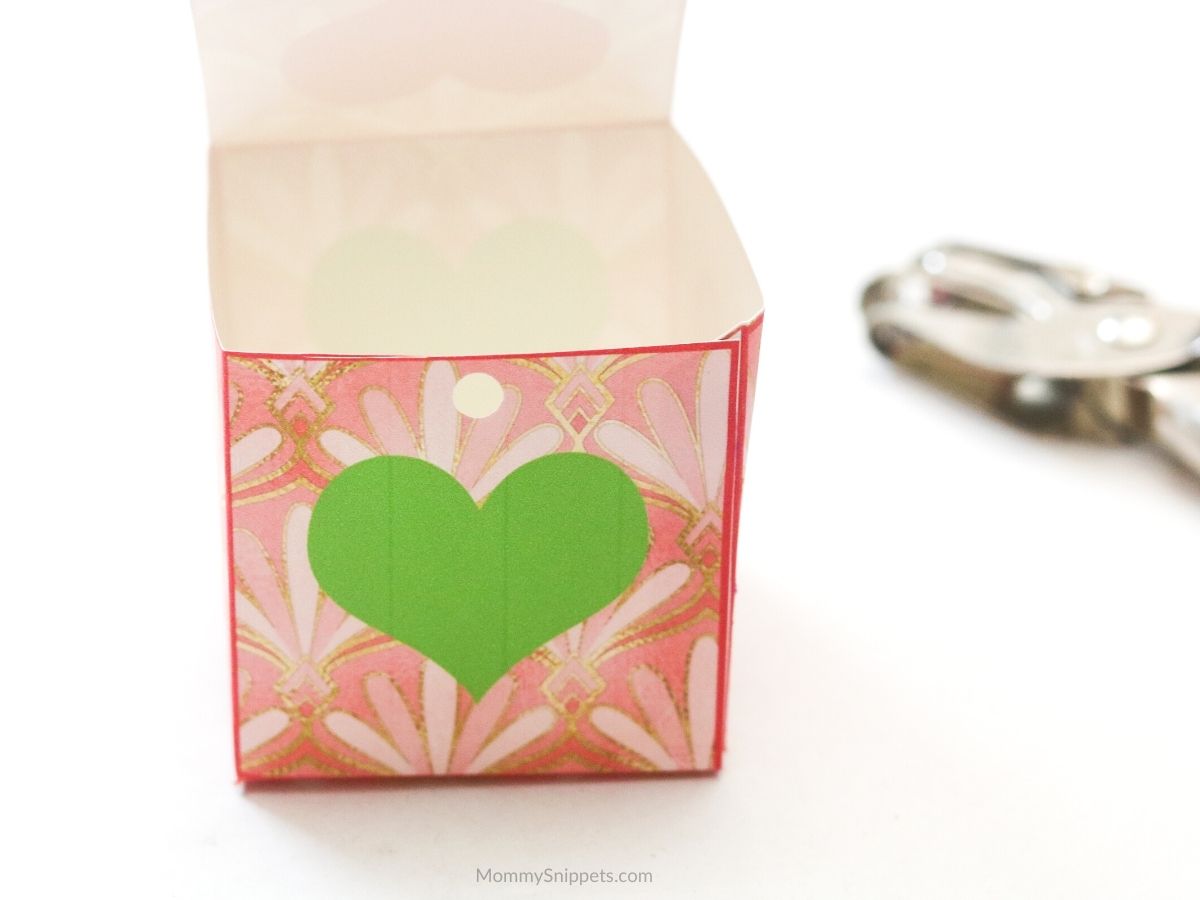
Your box is now complete.
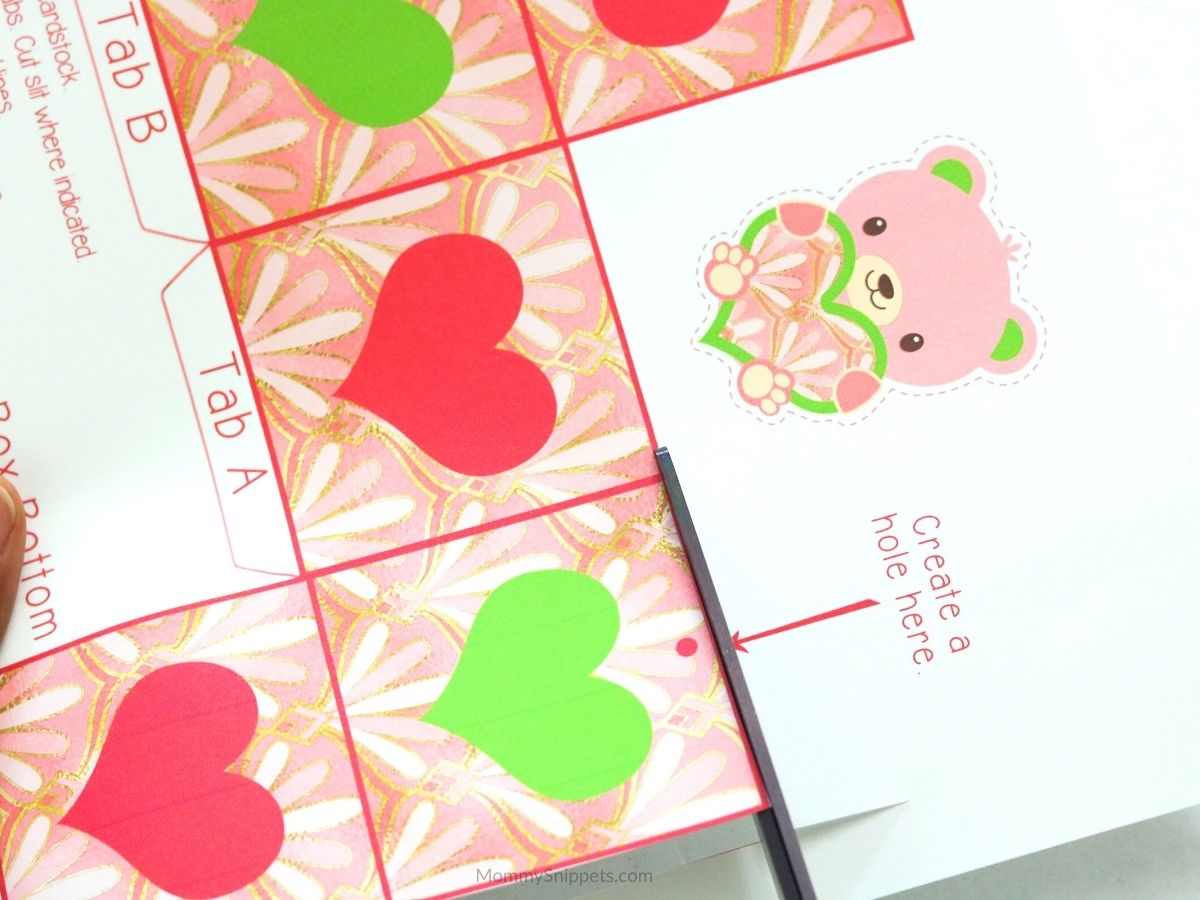
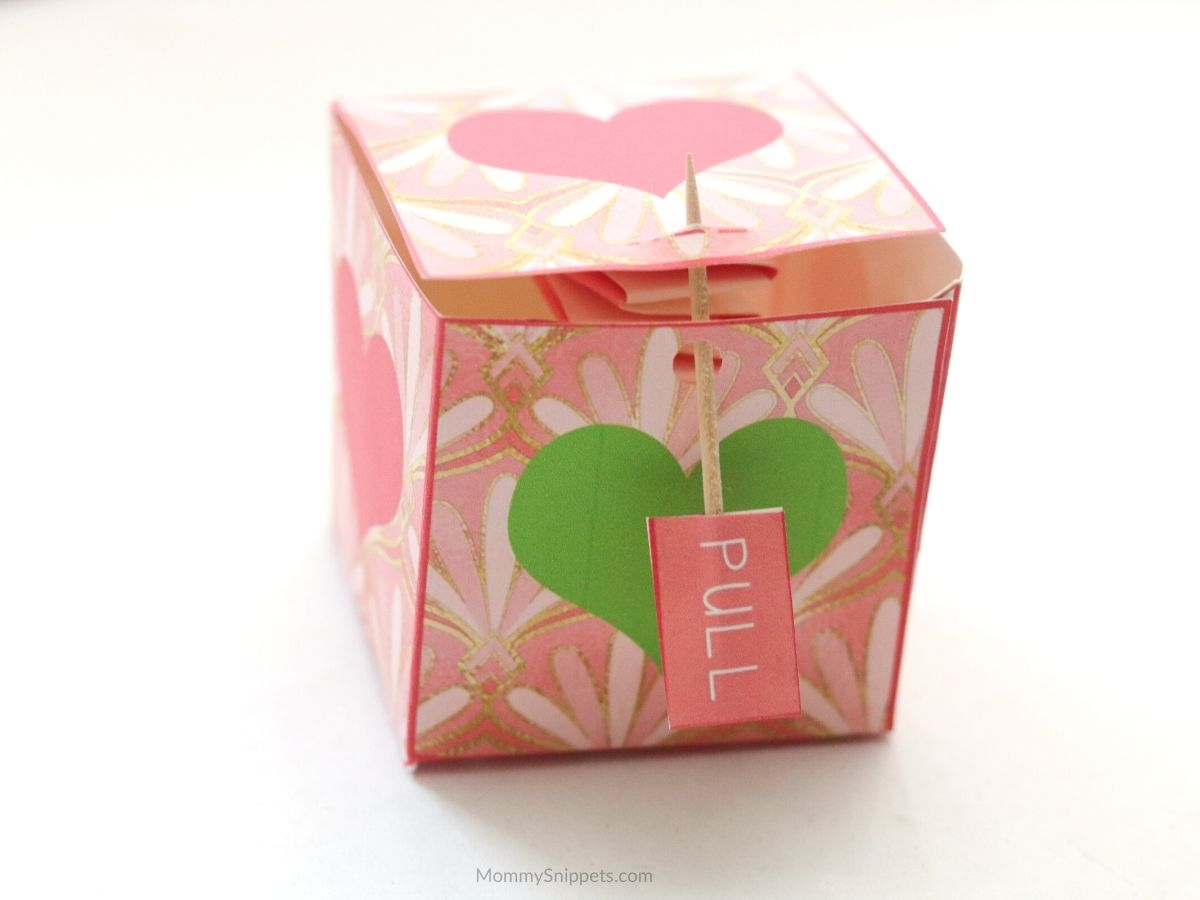
Before you set it aside, make a hole on the marked area, using the hole punch.
Also ensure you carefully cut along the dotted lines on the lid, to create a slit.
And done!
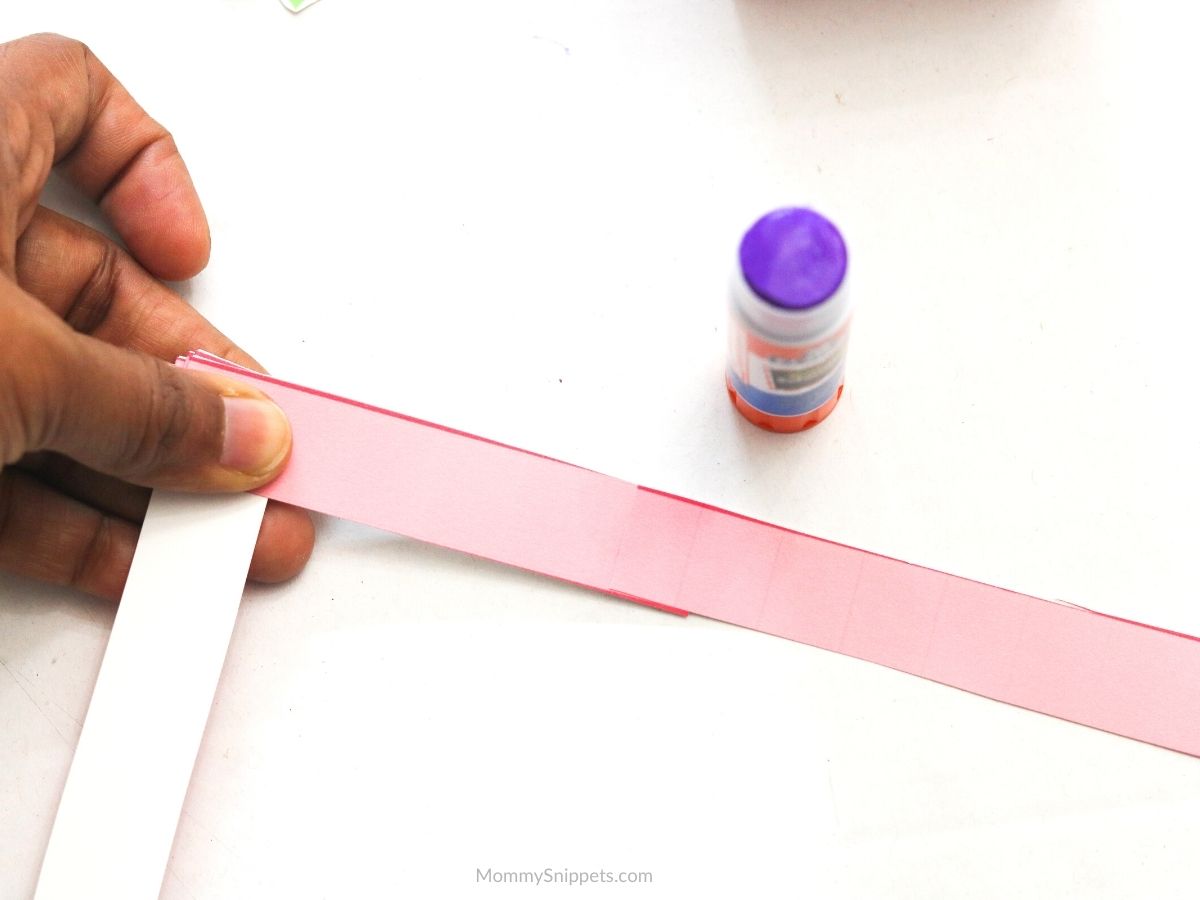
7. Now take 2 pink strips.
Glue two ends together, ensuring the ends overlap to form a right angle.
8. Fold the bottom strip over the top, keeping the pieces tight, and the angle squared with precision.
9. Continuing folding the lower strip over the top, till you reach the ends of the strips.
10. Glue the remaining two strips onto either end of the strips being folded.
11. Continue the folding process, as outlined in step 9
12. Once you reach the end of the strips, glue the ends together.
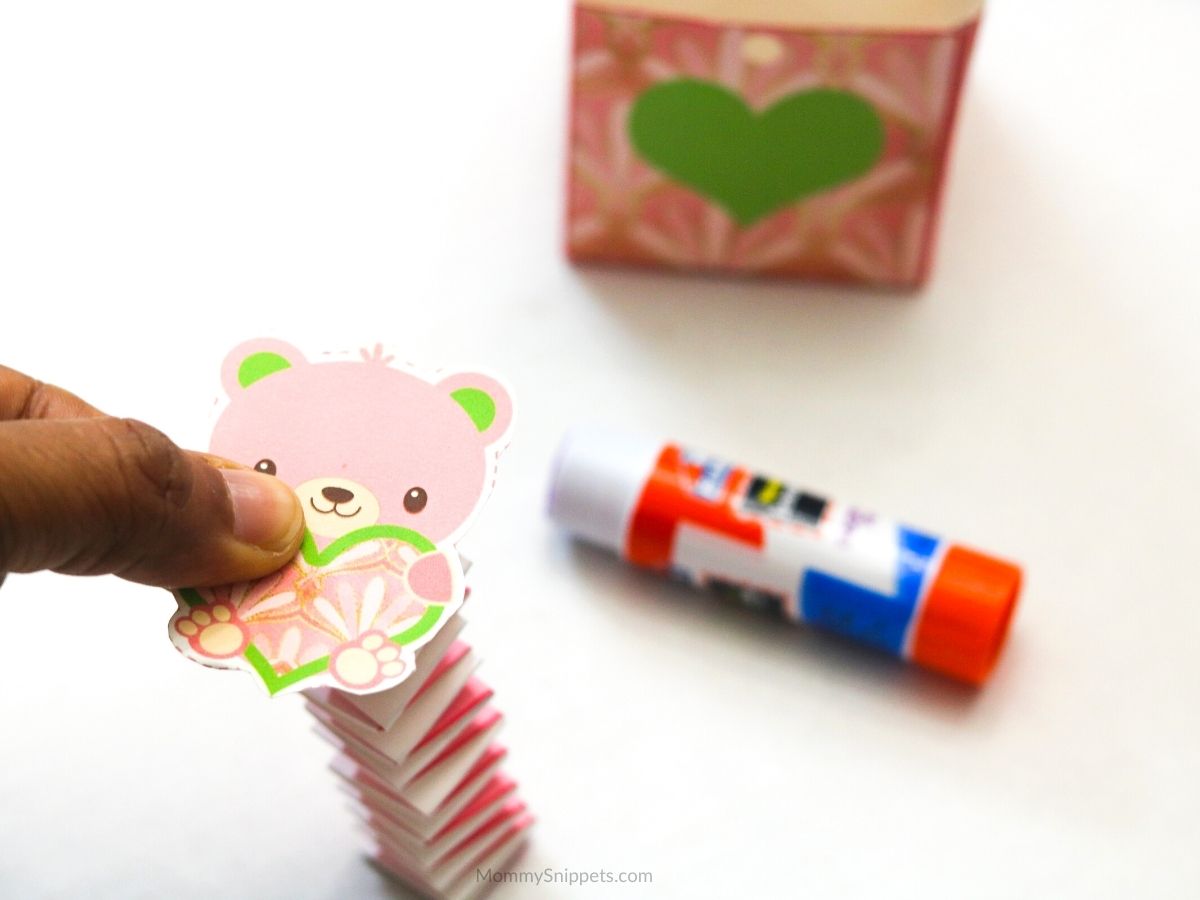
13. Your paper spring is now ready to be glued to the base of your box.
When doing so, ensure the spring is aligned to the center.
(Note: You can choose to do this step either before gluing the bear to the top of the spring, or after.)
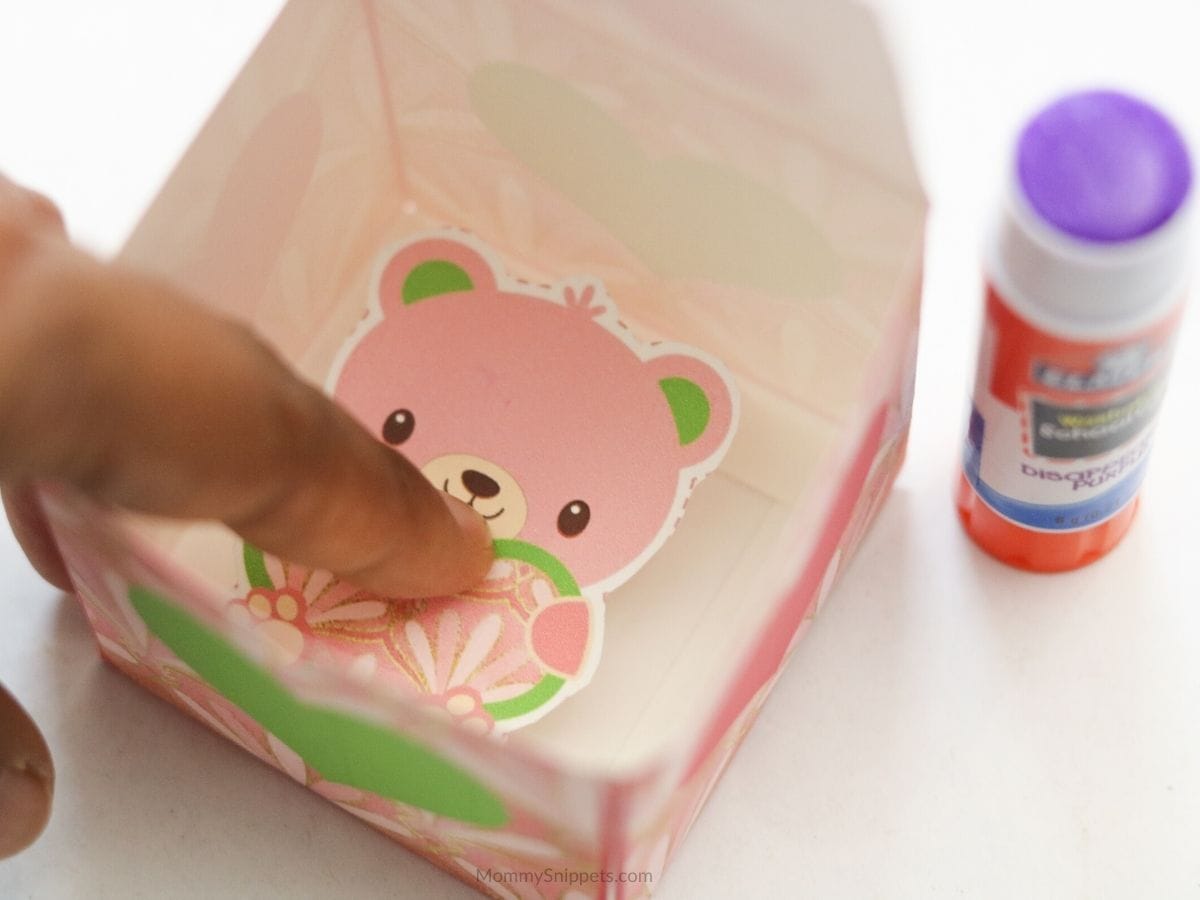
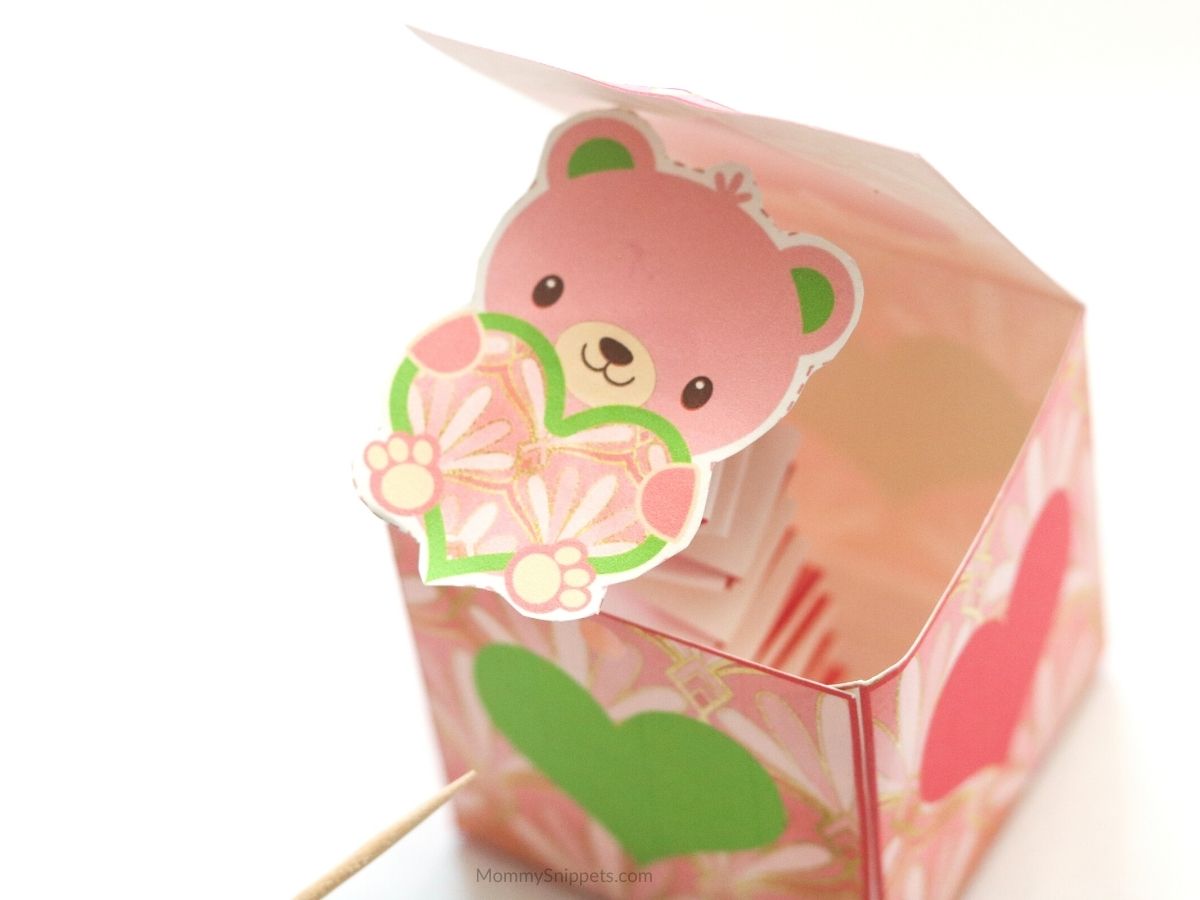
14. Now take the bear, and apply glue on the back surface.
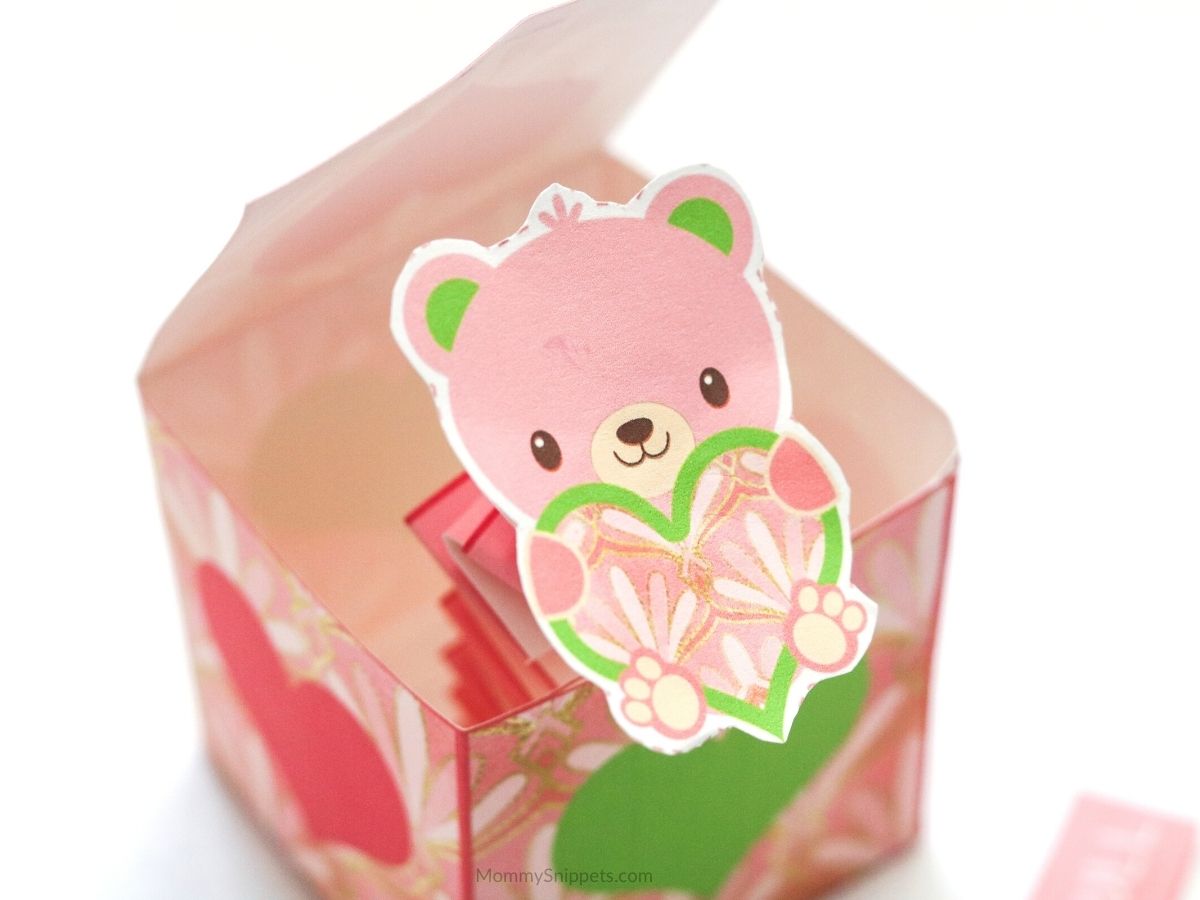
15. Carefully align it to the center of the paper spring popping out of the box.
Feel free to adjust the position based on how smoothly it pops out of the box.
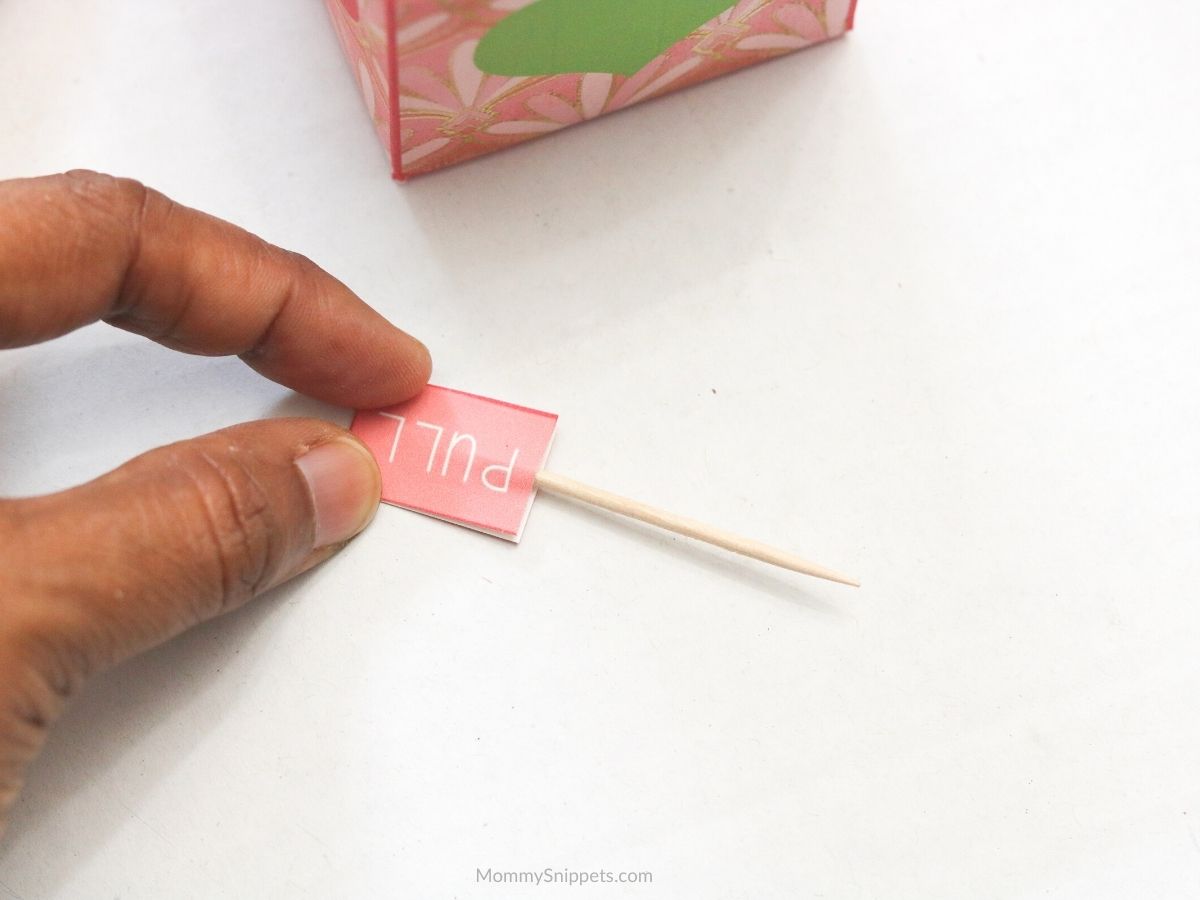
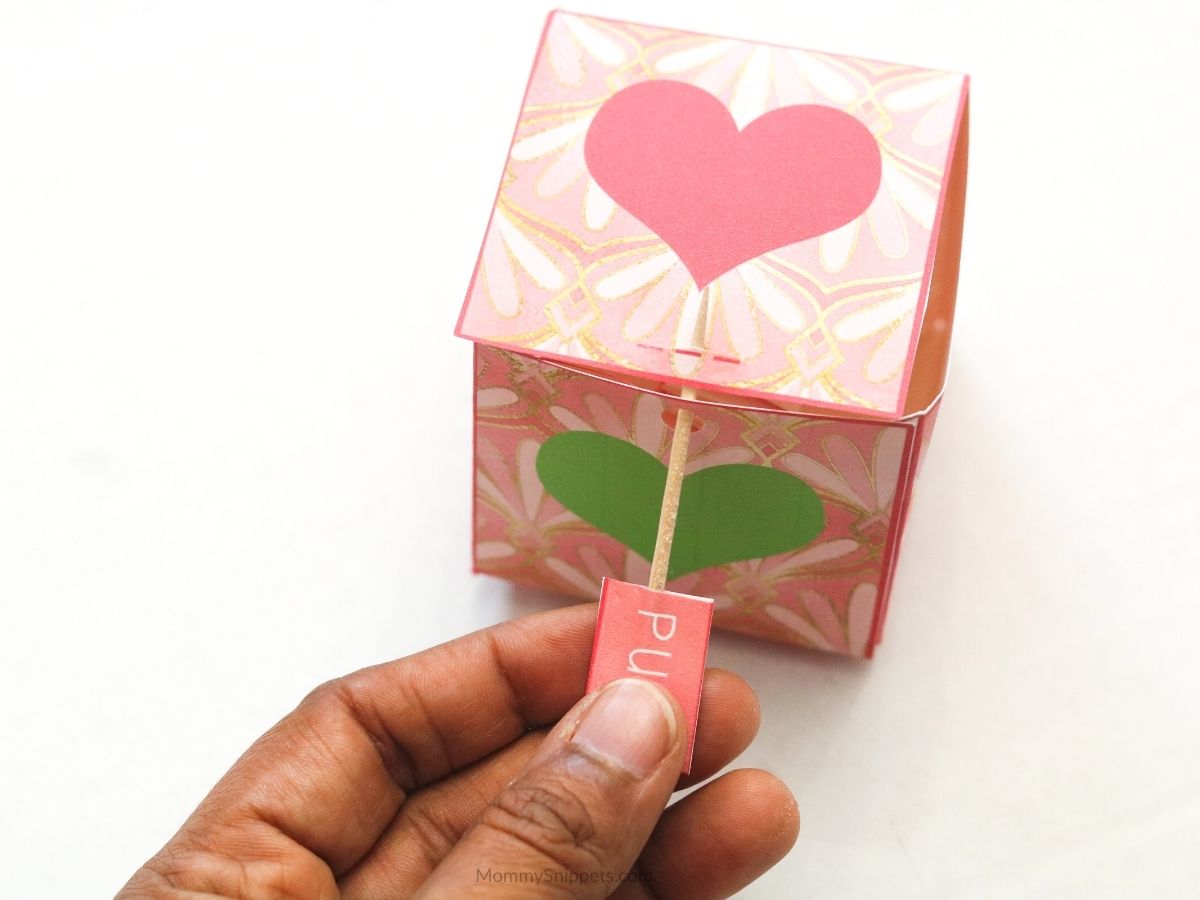
16. To create a functional craft, you will need to create a pull tab. To do this, glue the paper tab onto one end of a toothpick, ensuring both ends of the tabs overlap on either side of the toothpick.
Use this tab to open the box,
and watch your kids’ faces light up, as the bear pops out to greet them.
And there you have it-
an easy Valentine pop up craft, the kids will adore!
Here’s a printable version of the craft tutorial:
An easy Valentine pop up craft tutorial with a sweet bear. 1. Cut out the box template, around all 4 sides, making sure you include the tabs. Also cut around the outline of the pink bear, the "Pull" tab. Once done, cut out the 4 pink strips on page 2, as well. 2. Fold all the tabs down, along the dotted lines. 3. Carefully fold along the lines, within the box- all four sides and the lid and bottom of the box. 4. Glue tab A to the bottom of the box. 5. Do the same with Tab B and C. 6. Glue tab D to the inside of the adjacent side of the box. Once done, ensure you make a hole on the marked area, using the hole punch. Also ensure you carefully cut along the dotted lines on the lid, to create a slit. 7. Set the box aside, and take 2 pink strips. Glue two ends together, ensuring the ends overlap to form a right angle. 8. Fold the bottom strip over the top, keeping the pieces tight, and the angle squared with precision. 9. Continuing folding the lower strip over the top, till you reach the ends of the strips. 10. Glue the remaining two strips onto either end of the strips being folded. 11. Continue the folding process, as outlined in step 9 12. Once you reach the end of the strips, glue the ends together. 13. Your paper spring is now ready to be glued to the base of your box. When doing so, ensure the spring is aligned to the center. 14. Now take the bear, and apply glue on the back surface. 15. Carefully align it to the center of the paper spring popping out of the box. Feel free to adjust the position based on how smoothly it pops out of the box. 16. To create a functional craft, you will need to create a pull tab. To do this, glue the paper tab onto one end of a toothpick, ensuring both ends of the tabs overlap on either side of the toothpick. Use this tab to open the box and watch your kids' faces light up, as the bear pops out to greet them.Easy Valentine Pop up Craft
Materials
Tools
Instructions
Have your kids tried making these easy Valentine craft tutorials, yet?
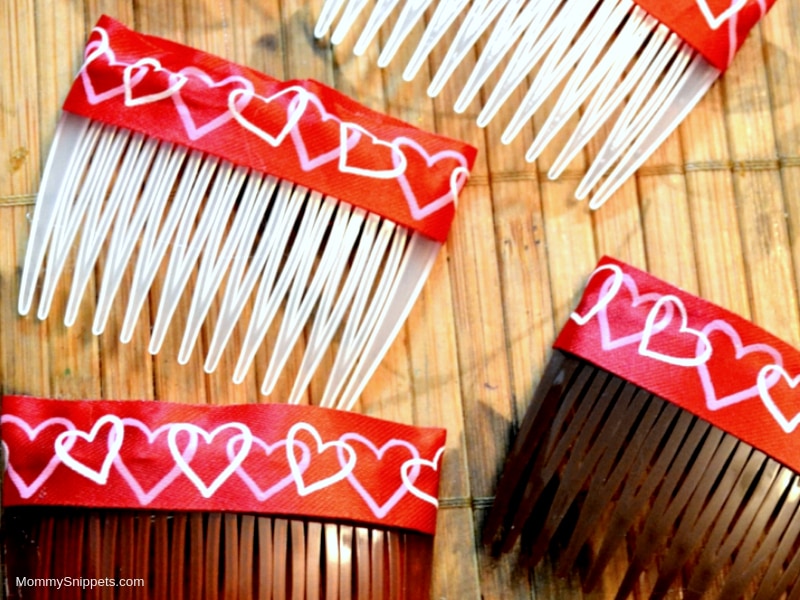
These Valentine hair accessories will be fun for your older kiddos to make.
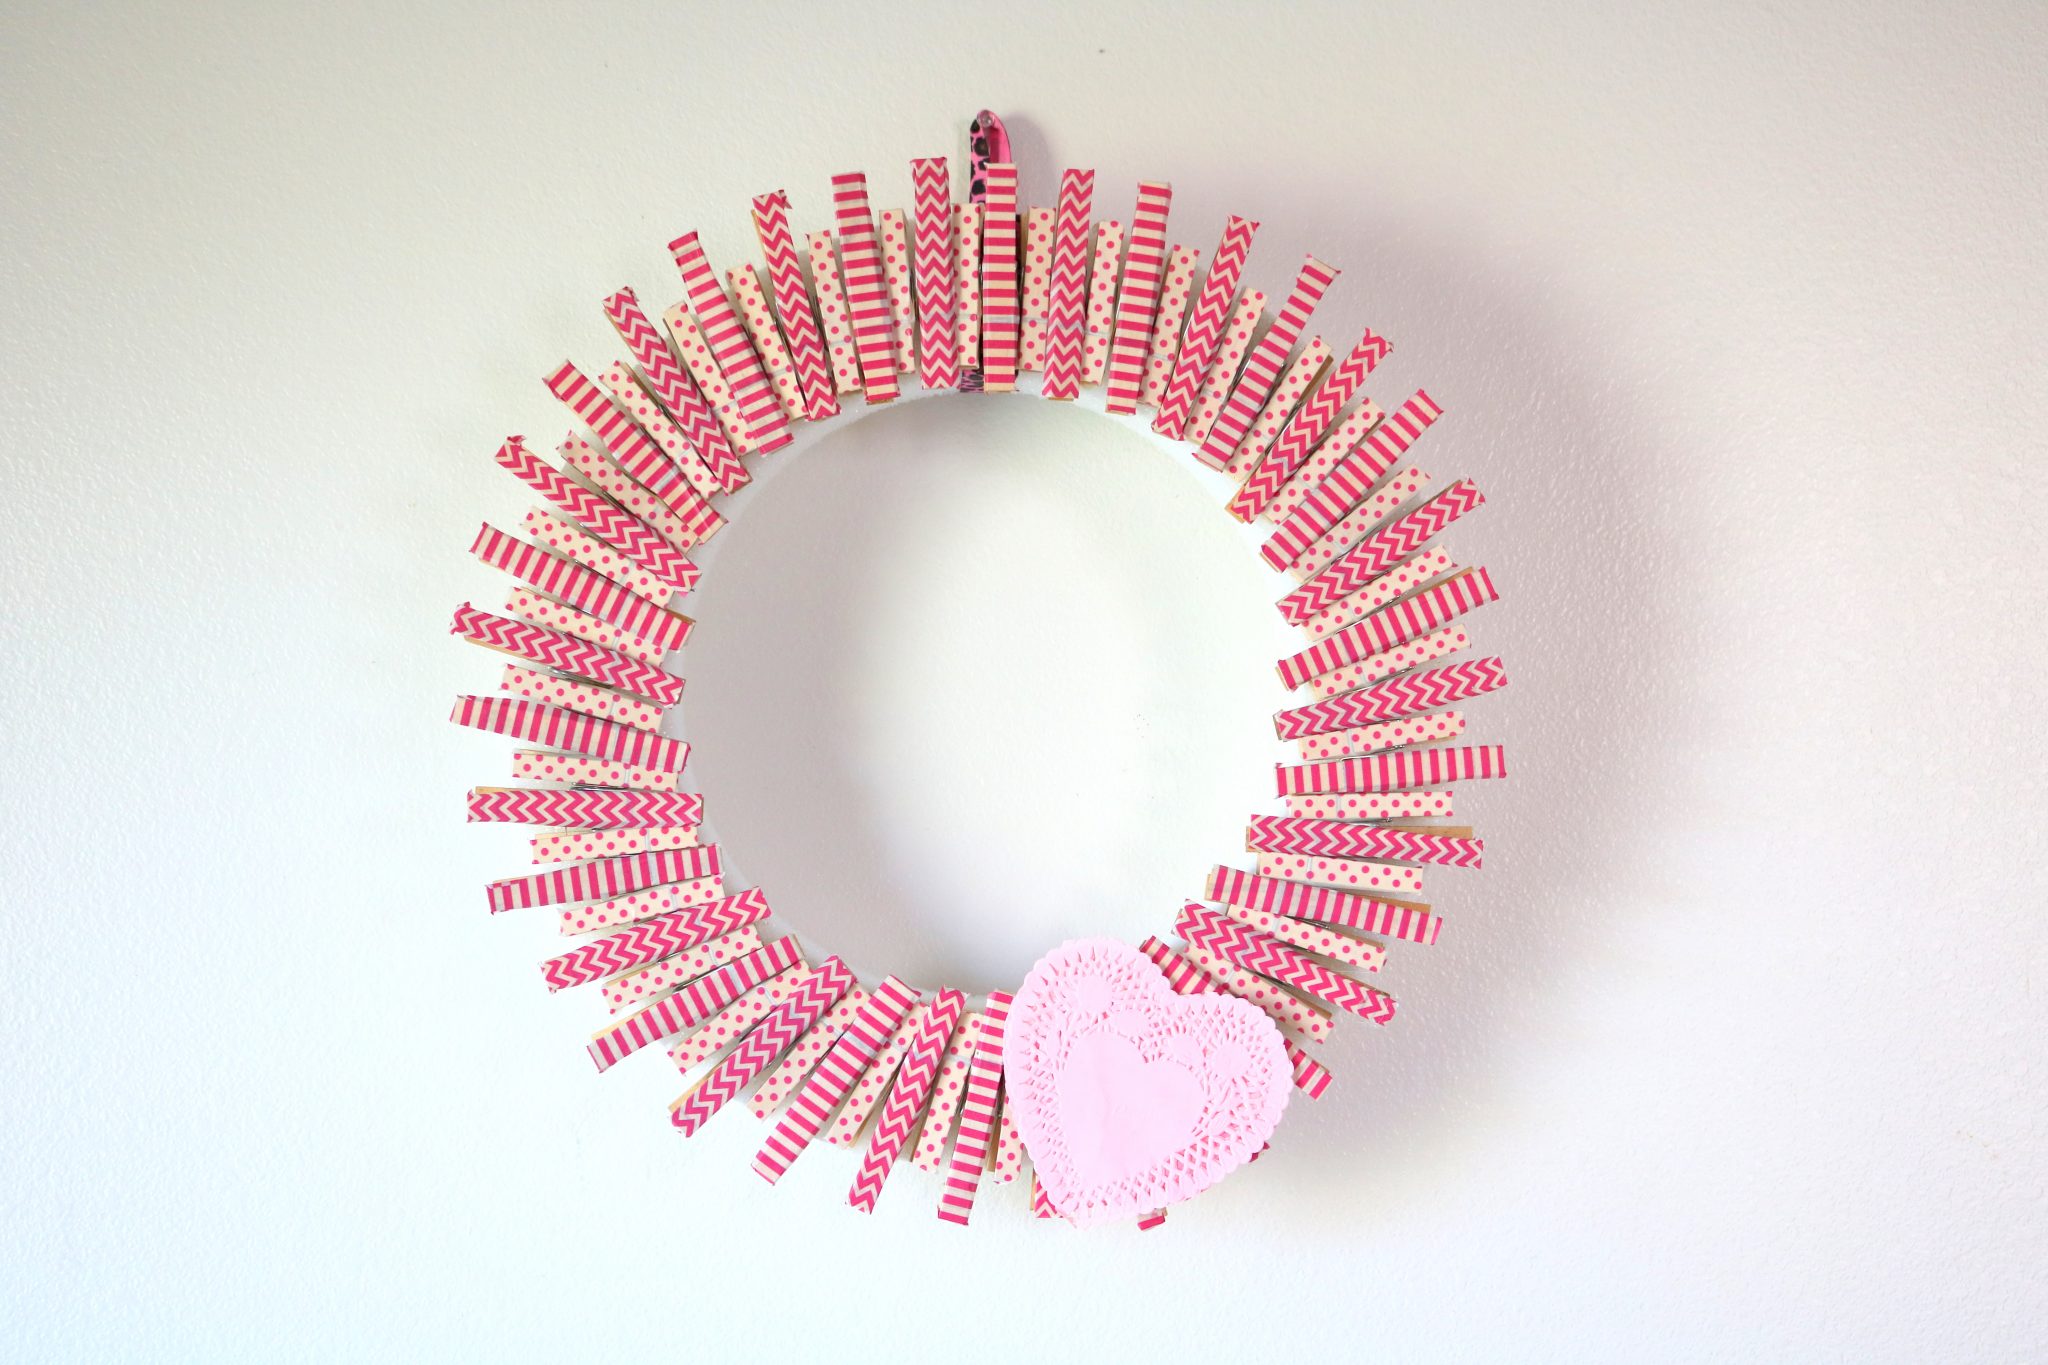
Or perhaps this easy Valentine Clothespin Wreath?
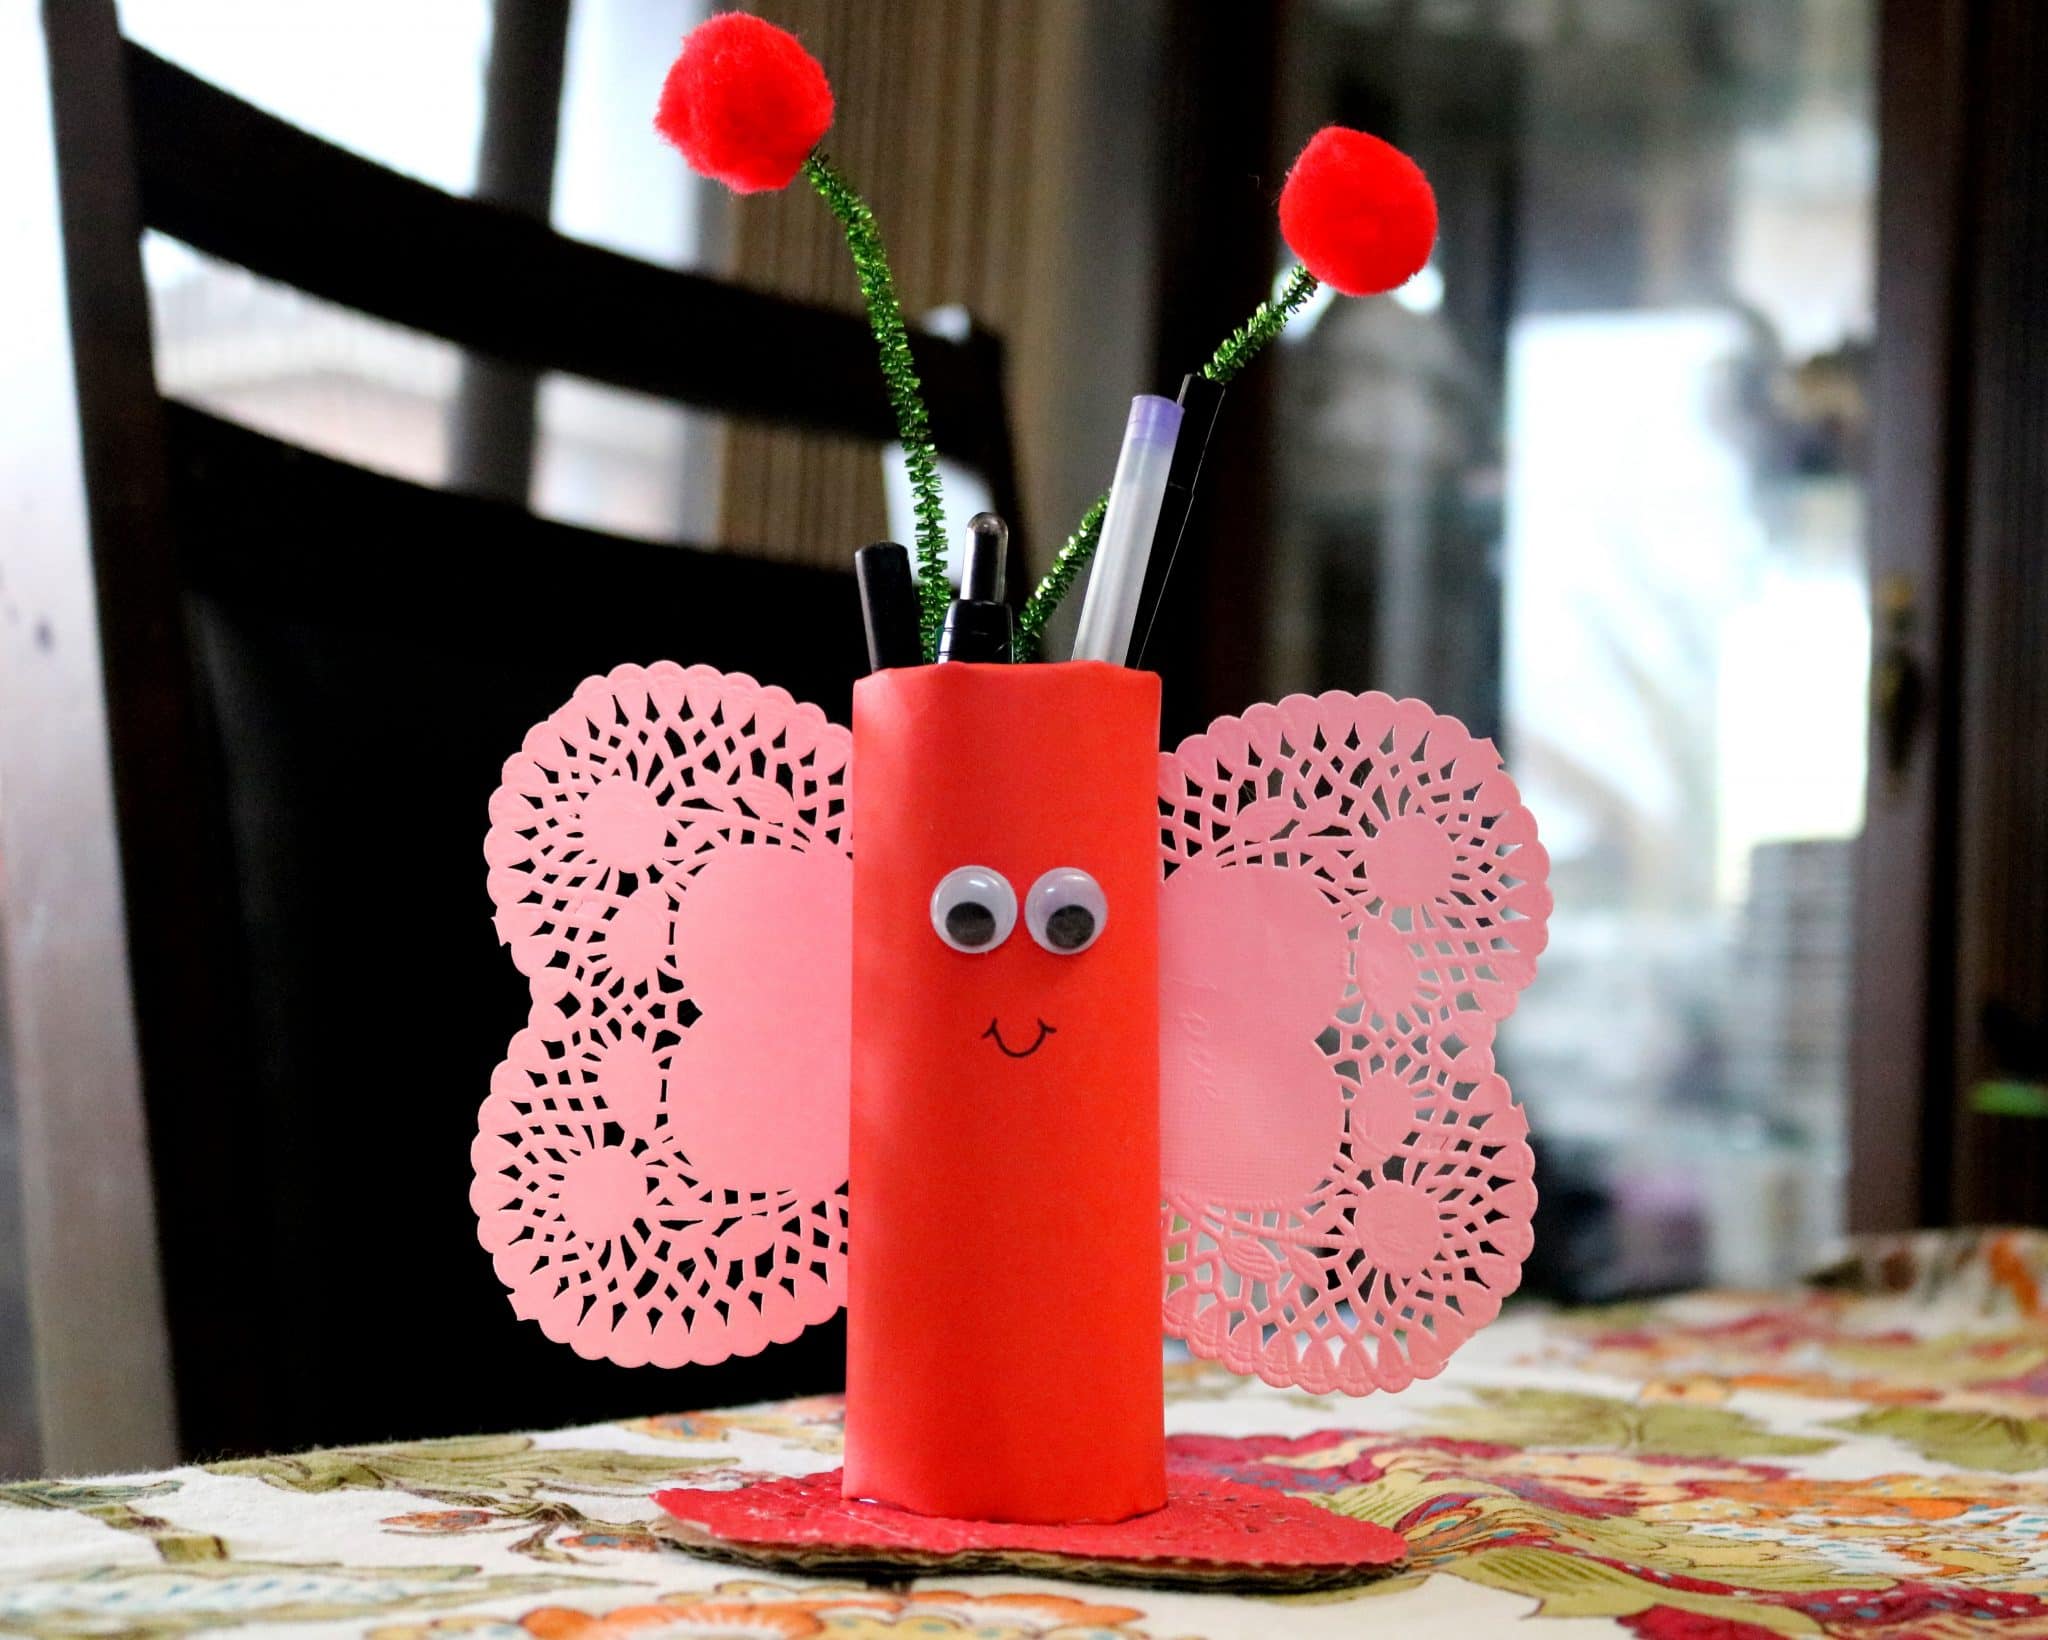
Little ones will love making this Valentine Toilet Paper Roll Butterfly.
One way to make good use of all those toilet paper rolls, ha!
And don’t forget to download and print our free Valentine coloring sheets, games and more!
For more Valentine Resources, visit our Valentine 101 Hub.
