How to make a unique crayon art holder
This post contains editorial samples and/or affiliate links to products I recommend. While this adds no additional cost to you, I will earn a small commission on any sales made.
With Baby Girl starting preschool I look forward to all the crayon art coming home. Being the youngest I know she puts in that extra effort to be just like her big brother and sister. I know it wasn’t easy to walk into a new school for the first time but she did so bravely because she saw her older siblings walk into their classes with a big smile. To make her feel extra special I wanted to showcase all her crayon masterpieces she will be bringing home in a unique way and what better way than with a crayon art holder?
This feature is sponsored by Westcott. All opinions are my own.
How to make a unique crayon art holder
To make your crayon holder you will need:
40 crayons (Buy the pack of 64 crayons from Dollar Tree for a dollar)
Westcott’s hot glue gun (Low Temp Intensity)
Jumbo popsicle sticks
A pipe cleaner/chenille stem
A pair of scissors.
1. Begin by arranging 4 popsicles sticks to form a square, to create the frame. 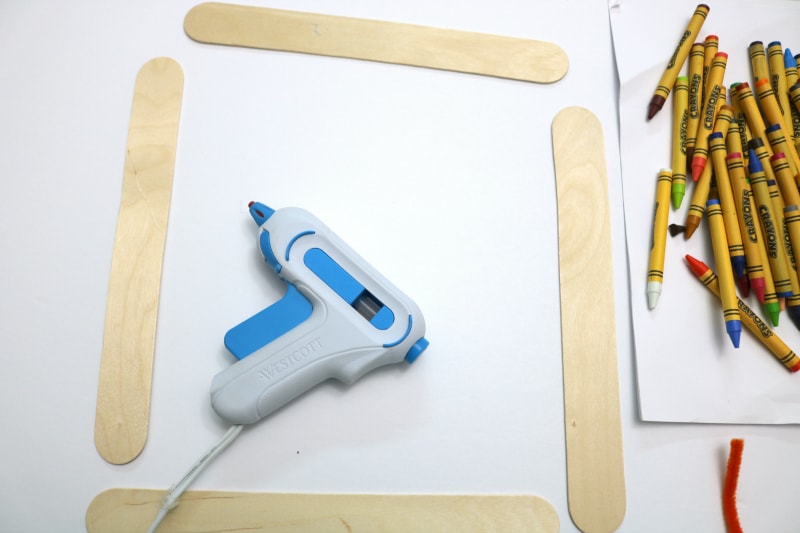
We will first work on gluing the top of the frame and the sides. Glue each end to the other using the Westcott low temp hot glue gun. (This reaches a temperature of 170 degrees Fahrenheit which works for this project. For projects requiring stronger adhesion, using the high temp glue gun, which reaches a temperature of 400 degrees Fahrenheit.)
While we’re talking about the glue gun, I just have to add that I love the non-stick tip and built in stand feature. Makes this so much more convenient and less messy.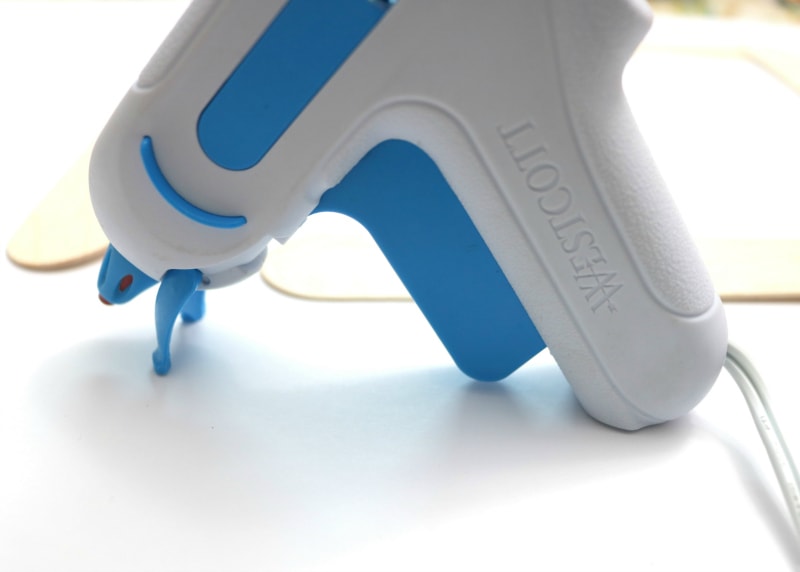
Ooh, if you think this is neat, you really should check out Westcott’s Hot Glue Pen. Gamechanger when it comes to looking for a more compact tool and ease of use for craft projects.
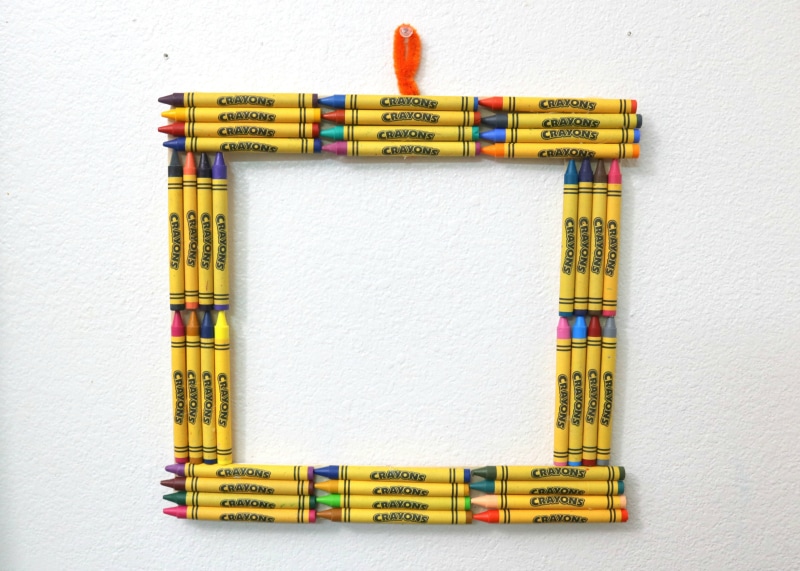
2. Once the top and the sides of the frame are in place, tie the chenile stem, in the middle of one popsicle stick, and form a loop. Cut off the extra end and glue the loop to the frame.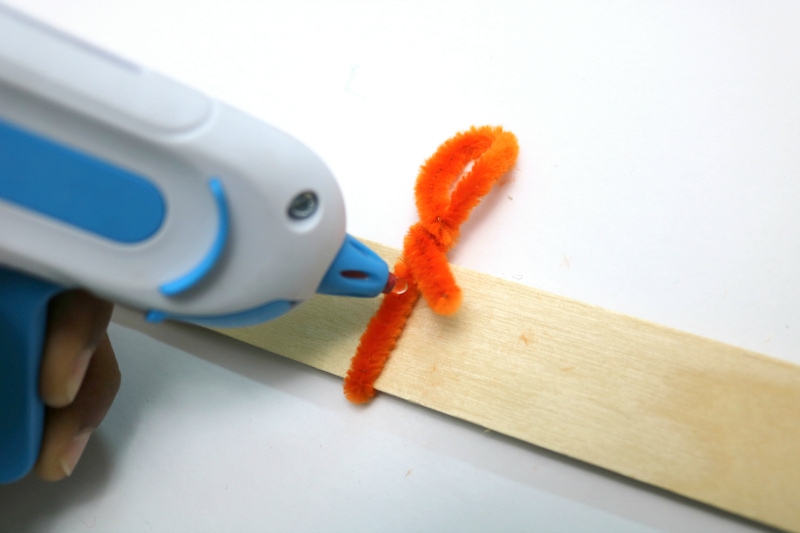
3. Now taking the crayons out of the box, arrange a few on the top of the frame, making sure the crayons stay proportionate on either side. Start by gluing the middle set of crayons. (The popsicle stick size I used allowed me to place 4 crayons in a column and 3 per row.)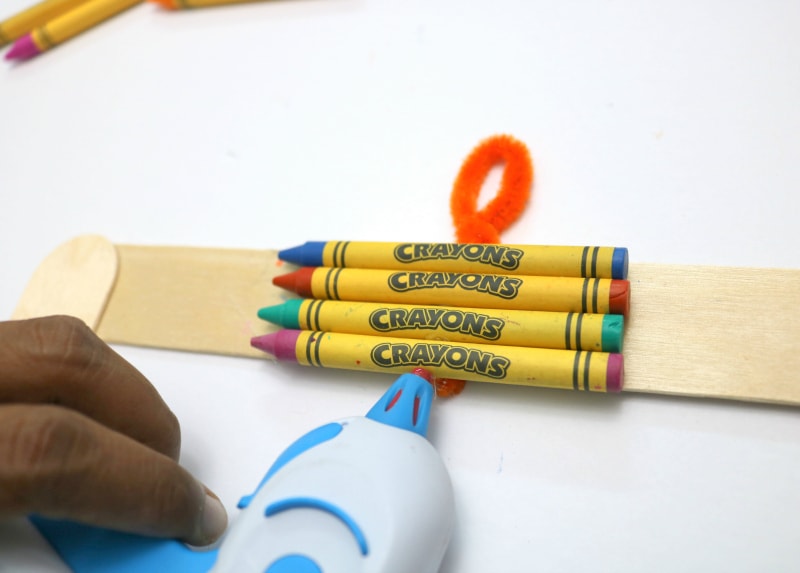
4. Complete doing the top of the frame before positioning the sides. Once you position the crayons on either side, you will have an idea where to position and glue the bottom of the frame.
After gluing the same you may have ends sticking out. Don’t worry about it as you can cut this off easily.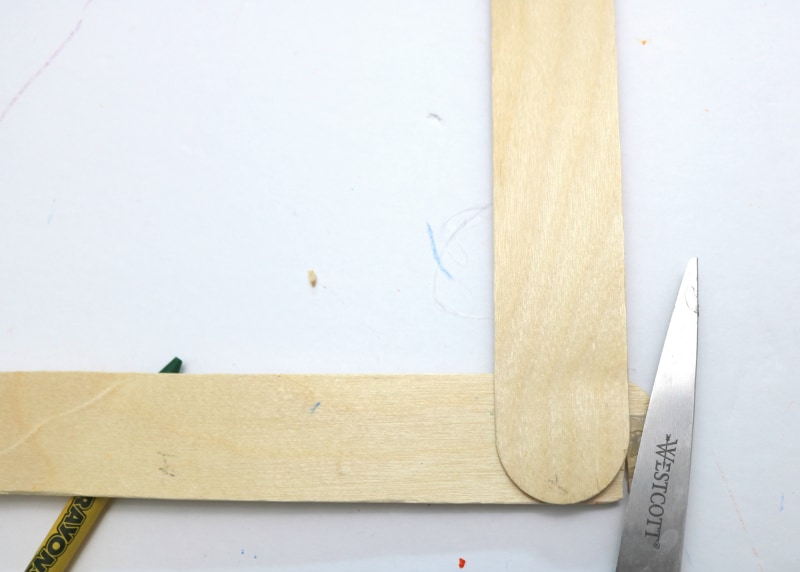
5. Now finish gluing the crayons to the bottom of the frame
and finally the sides.
This would even make a sweet gift to give your child’s teacher. (Think photo frame! Pop in a photograph of your child and her teacher in the same.)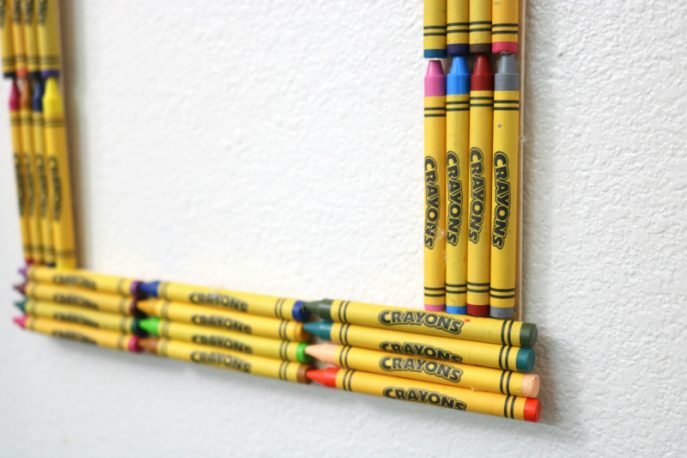
Now here’s what I love about this. The crayon art framing is the perfect accent to showcase your child’s artwork. 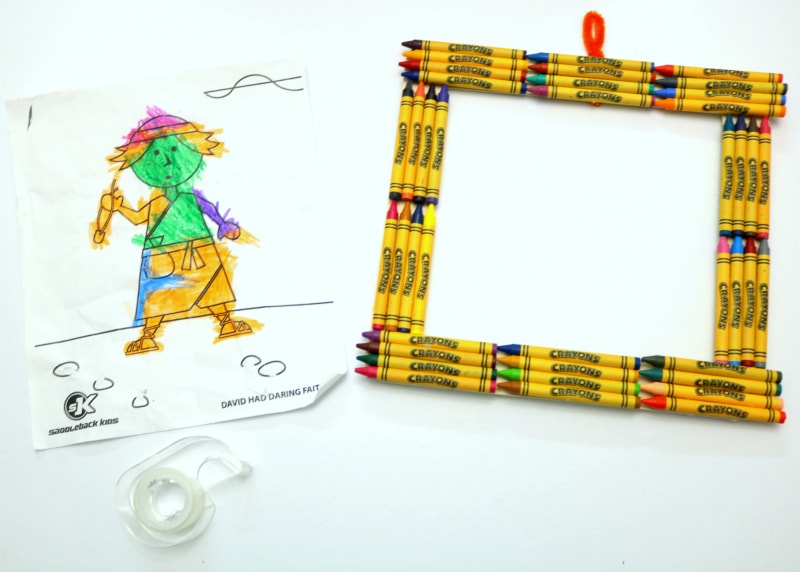 Plus you can swap out the art/masterpiece as often as you want as it only requires taping onto the back of the frame.
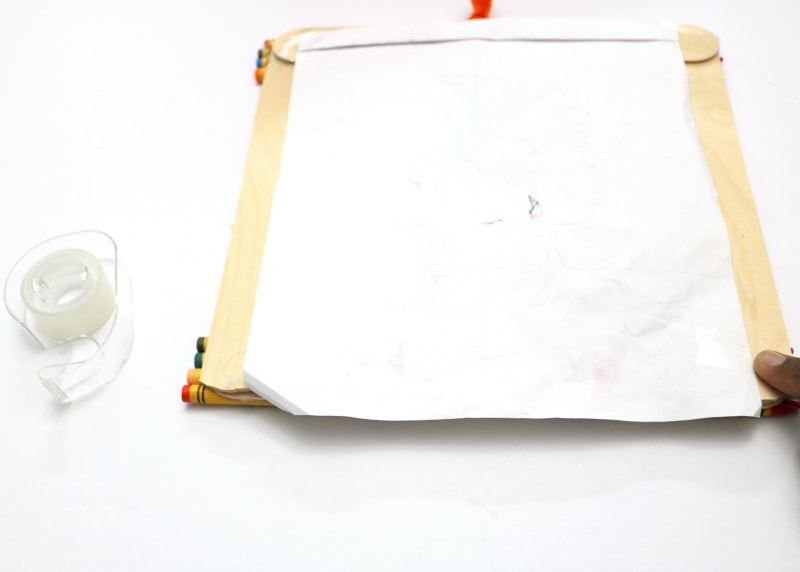
Such an easy project and the finished product is super cute, don’t you think? 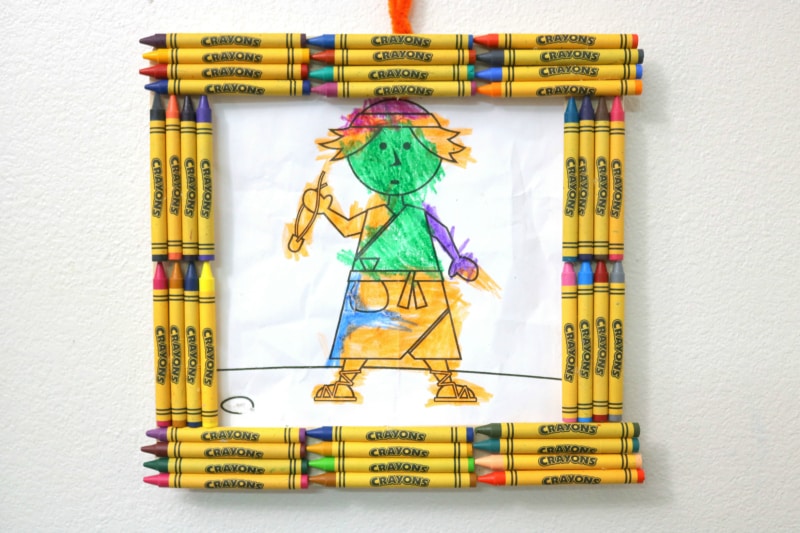
Baby Girl was thrilled with the outcome and insisted we hung up her Sunday School art in the same. I’m sure we’ll be swapping out pictures even before the end of the day to display more of her artistic creations.
As the new school year swings back into session, Westcott has several tools you won’t want to handle the year without. You can shop for that snazzy hot glue pen and other products here.
Don’t forget to check out the Westcott Creativators site to explore the beautiful, unique and innovative craft projects featured. I’m sure it will inspire the birth of many more amazing craft projects.
I’d love to hear from you. Hop over to chat with me on Facebook and/or Twitter
What an easy and fin craft!