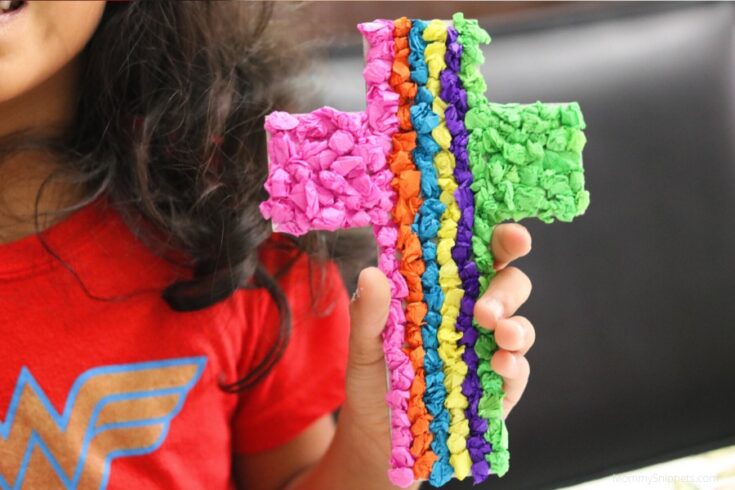
How to make a Palm Cross Out Of Paper for Palm Sunday
This post contains editorial samples and/or affiliate links to products I recommend. While this adds no additional cost to you, I will earn a small commission on any sales made.
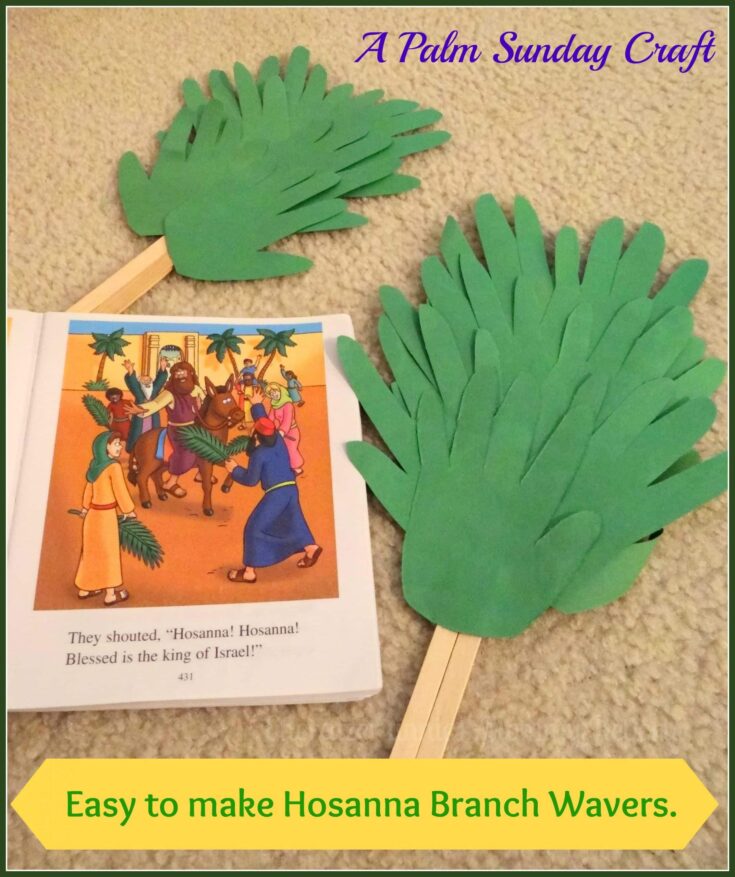
We worshiped in an Anglican church while growing up.
This meant every Palm Sunday the children would be given palm branches to wave while we joined the priest in a procession around the church.
At the end of the service, every congregation member was invited to take home a palm cross.
Each cross was lovingly woven together by a few members from the church, earlier on in the week.
Each year, without fail, my mother sends us Easter cards and doesn’t forget to add palm crosses for each member in our family.
I thought it would be fun to show the kids how to make their own palm crosses, but with paper.
These will make a fun craft to do with the kids at home or even at Sunday School,
on Palm Sunday,
or maybe even Vacation Bible School, during the summer.

How to make a Palm Cross for Palm Sunday
I love the ease of this craft as you really don’t need anything but
Green construction paper or light card stock,
A pair of scissors and
A ruler if you don’t trust your skills in cutting considerably even strips!
Or just use a handy paper cutter.
 Feel free to use other colors too!
This tutorial is incredibly easy to follow.
Use the video below for reference:
Click on the tutorial collage to enlarge the pictorial instructions and then follow the steps outlined below.
And yes, drop me a line if you need any step in the process detailed out further.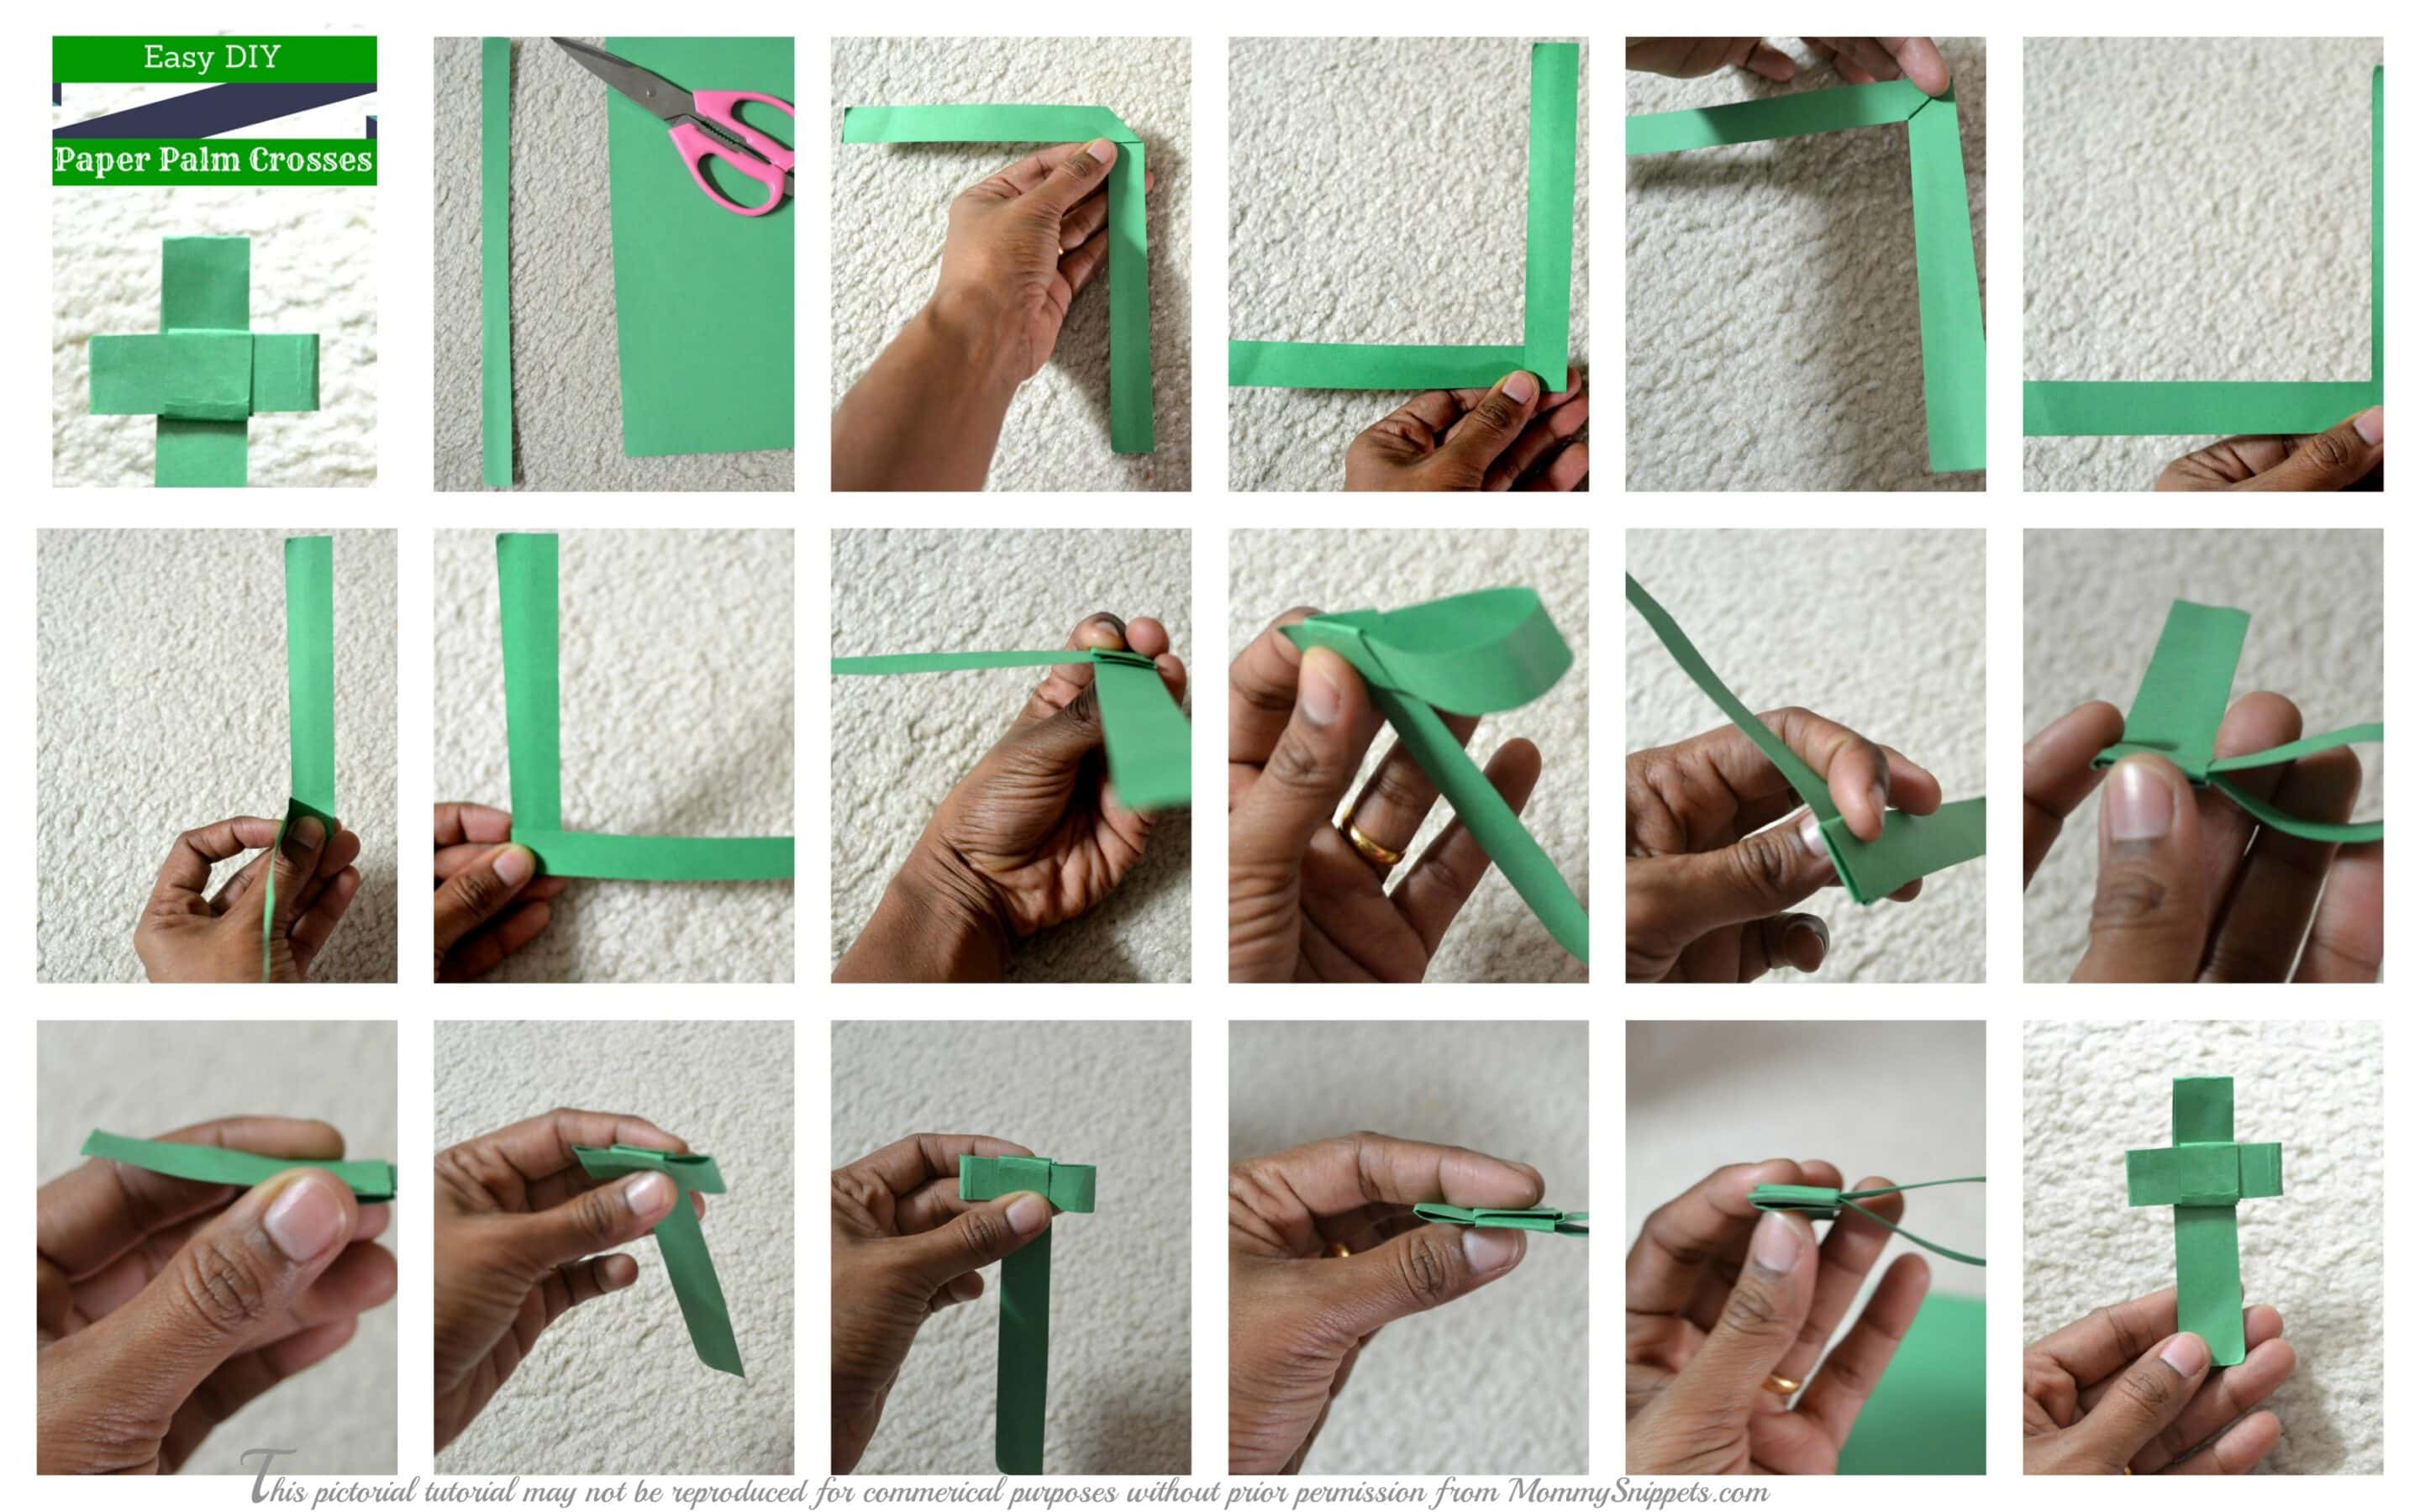
Instructions:
- Cut a long strip of cardstock/craft paper, approximately 0.5-1″ in width and close to 12″ or more in length.
- Take the strip and fold it in the middle to form an inverted right angle/ an upside down L.
- Now take the vertical strip and fold that up.
- Turn that reverse L over to form a 7 and then fold the vertical end over again.
- Then take the horizontal end and fold it over.
- Now when you look in the back you will notice you have made a small square pocket of sorts.
- Take the horizontal arm and slide it through the pocket from the back, all the way to the end and gently tug at it to ensure it’s firm.
- Now slide half the horizontal end to form one arm of the cross.
- Take the other end and fold it in to form the second arm of the cross. (Make sure both arms are of equal length)
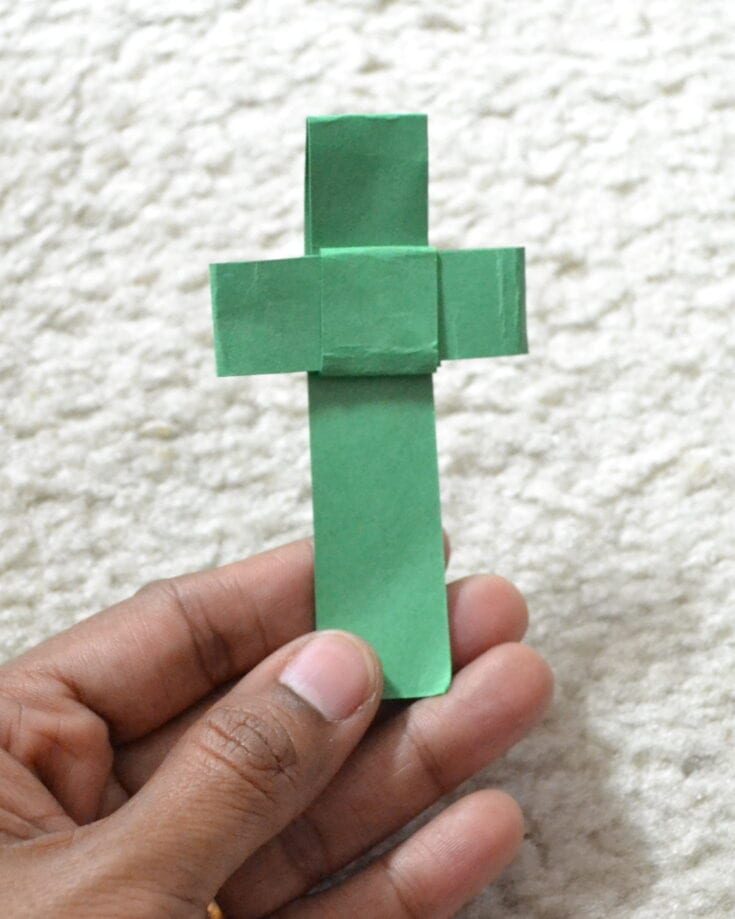
- Now turn the cross over and take the vertical end of the cross and gently slip it through the pocket slit from the back. Leave as much of it on top as you would like and adjust the remaining through the slit to form the foot of the cross.
- And there you have it, your paper Palm Cross is ready!
For a printable version of the instructions, please click below:

How to make a Palm Cross Out Of Paper for Palm Sunday
An easy way to make a palm cross out of paper
Materials
- Green construction paper
Tools
- A pair of scissors
- A ruler (optional)
Instructions
Cut a long strip of cardstock/craft paper, approximately 0.5-1" in width and close to 12" or more in length.
Take the strip and fold it in the middle to form an inverted right angle/ an upside down L.
Now take the vertical strip and fold that up.
Turn that reverse L over to form a 7 and then fold the vertical end over again.
Then take the horizontal end and fold it over.
Now when you look in the back you will notice you have made a small square pocket of sorts.
Take the horizontal arm and slide it through the pocket from the back, all the way to the end and gently tug at it to ensure it's firm.
Now slide half the horizontal end to form one arm of the cross.
Take the other end and fold it in to form the second arm of the cross. (Make sure both arms are of equal length)
Now turn the cross over and take the vertical end of the cross and gently slip it through the pocket slit from the back. Leave as much of it on top as you would like and adjust the remaining through the slit to form the foot of the cross.
And there you have it, your paper Palm Cross is ready!
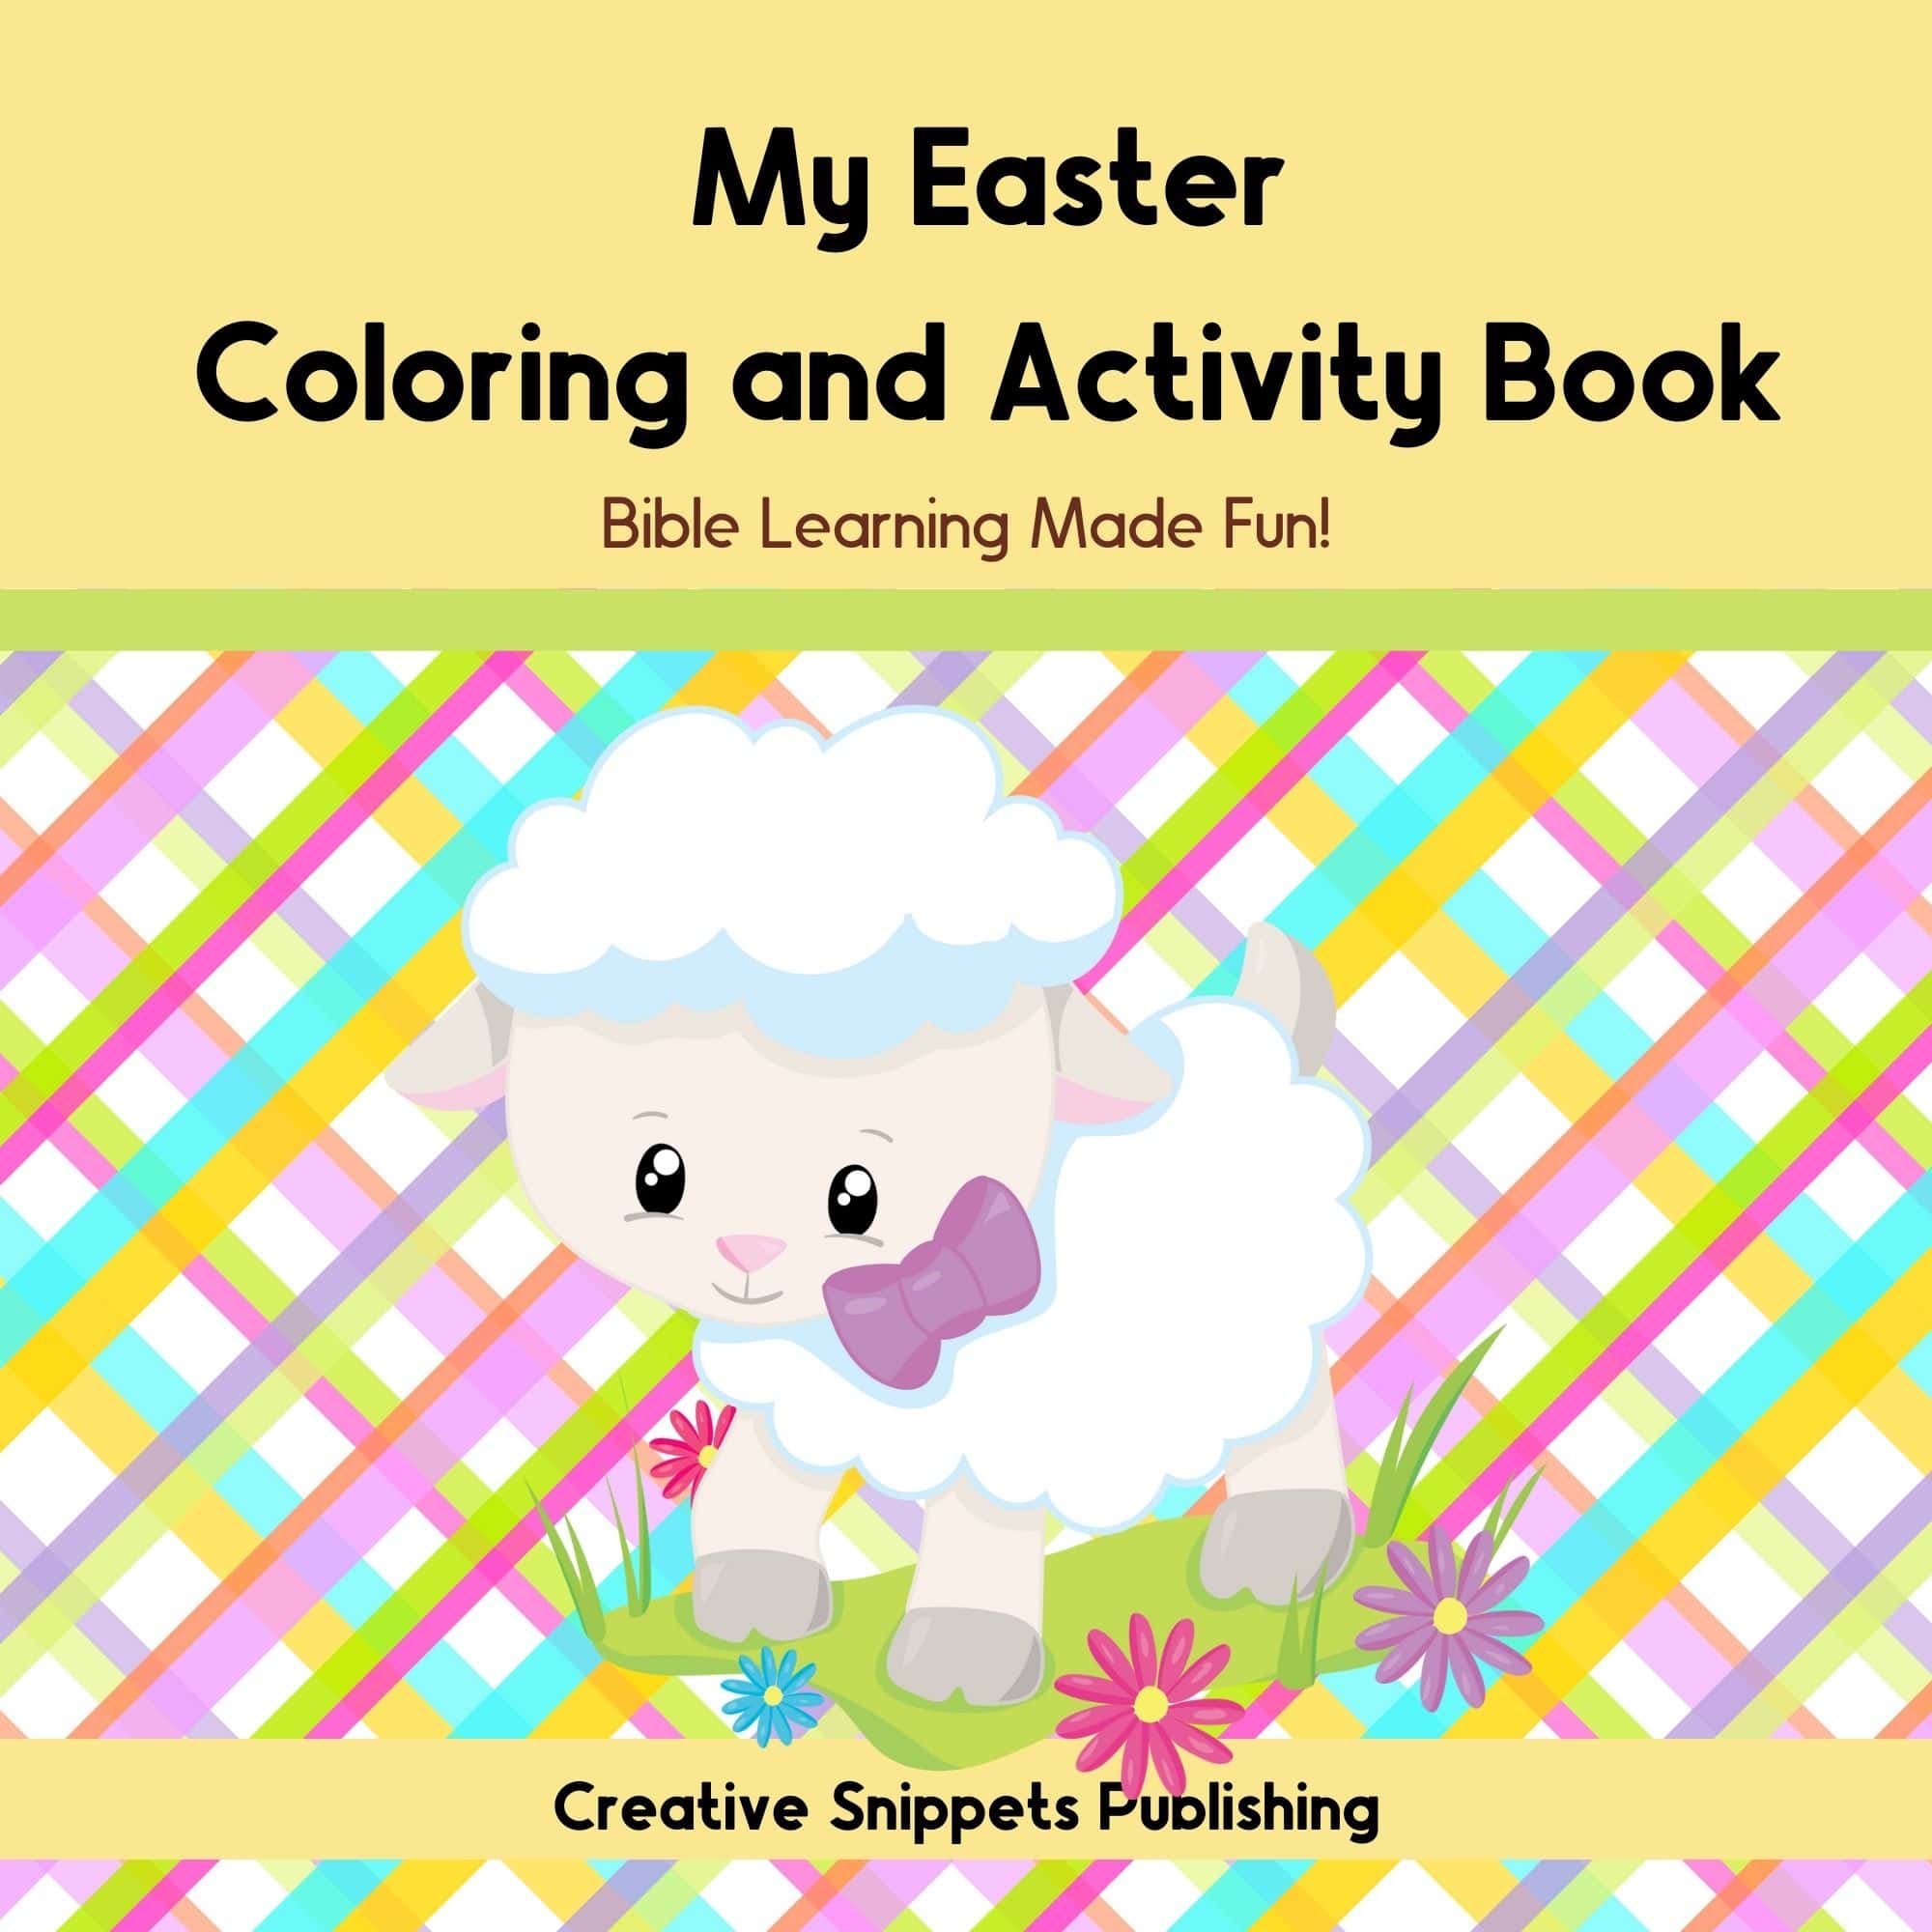
This would be a neat craft to do as you prepare your child for Easter.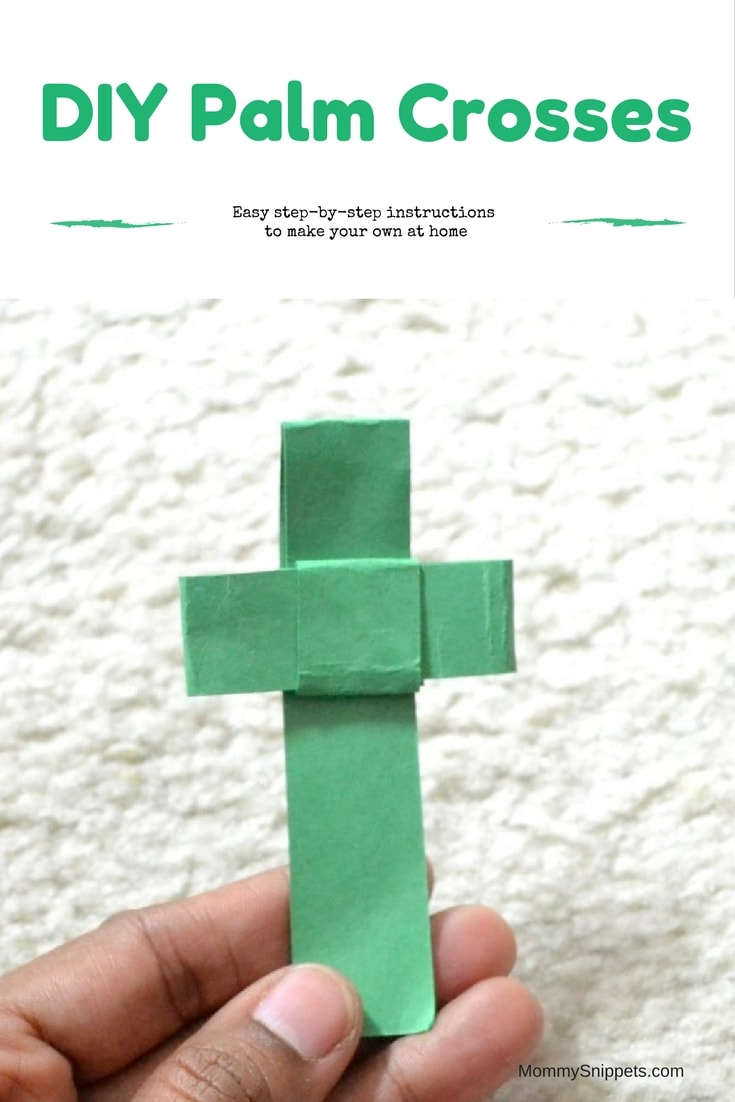
If you’re looking for a good Bible to introduce to your little ones I highly recommend The Beginner’s Bible.
I’ve used this Bible with my 11 year old and 6 year old when they were younger. Now my 3 year old loves the pictures and the stories are short enough to keep her attentive from beginning to end.
The Beginner’s Bible Collector’s Edition is FANTASTIC!
The Bible comes packaged with a DVD and Audio CDs to carry along for those road trips. Three different ways to introduce God’s Word to your child.
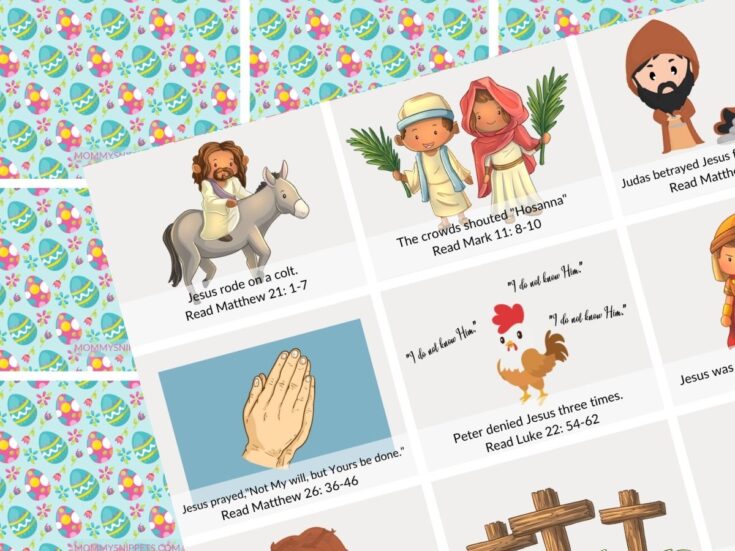
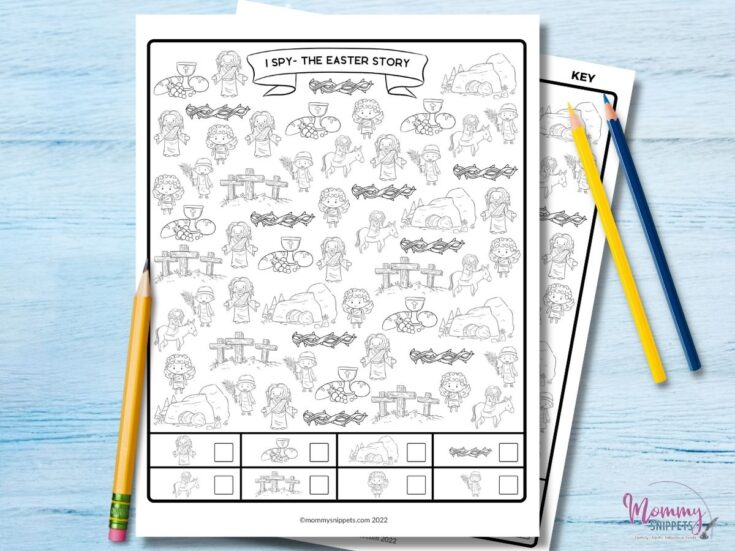
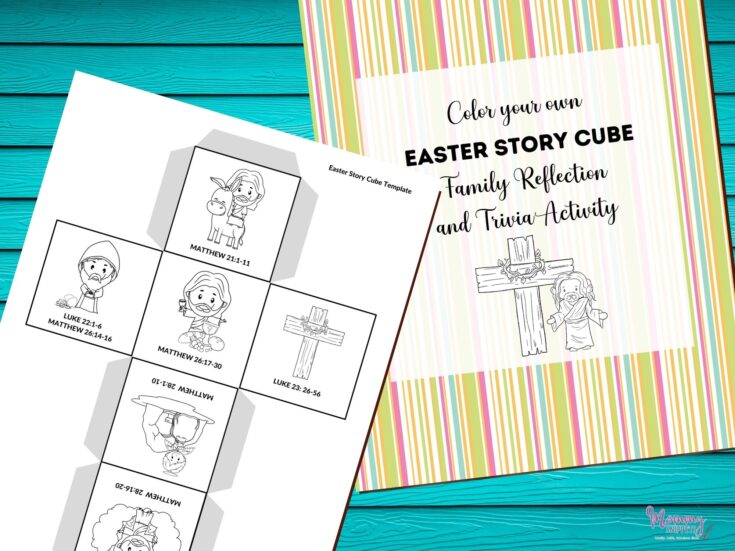
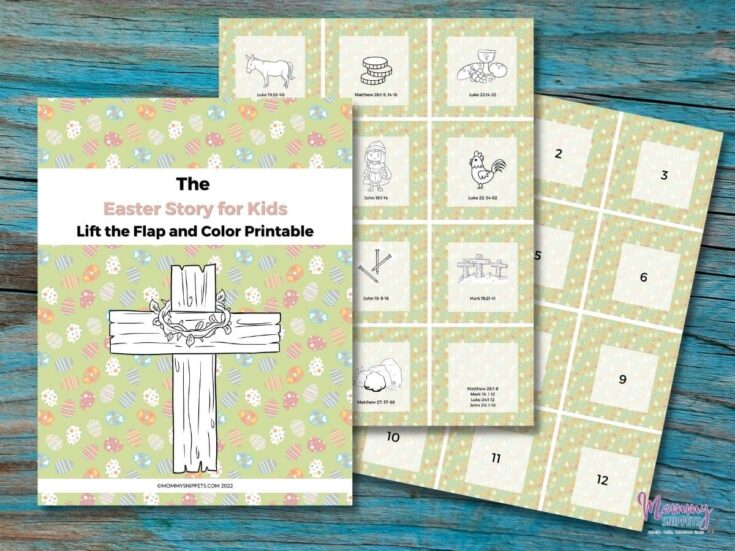
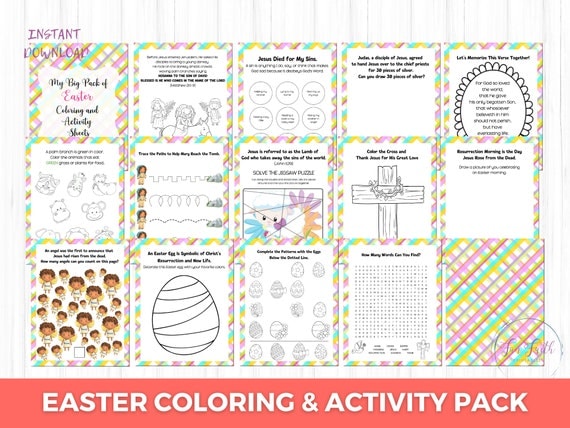
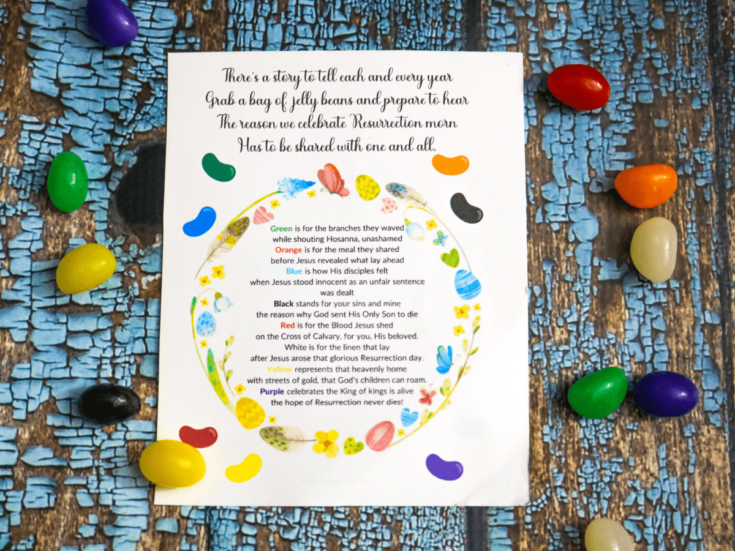
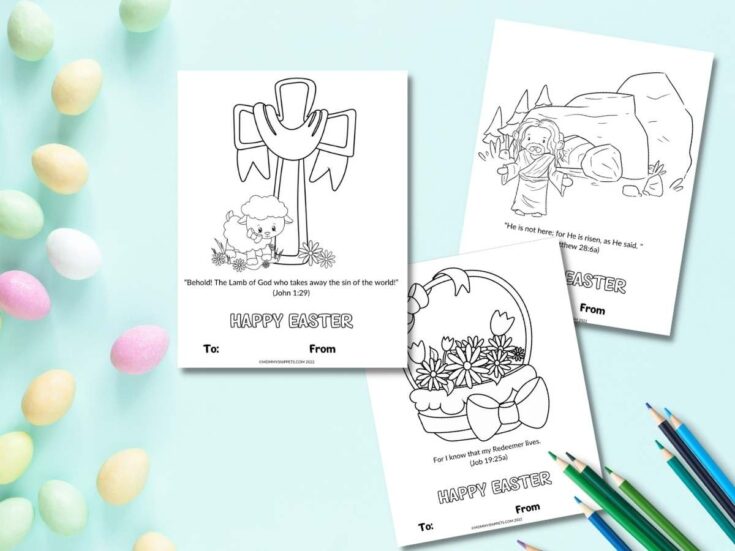
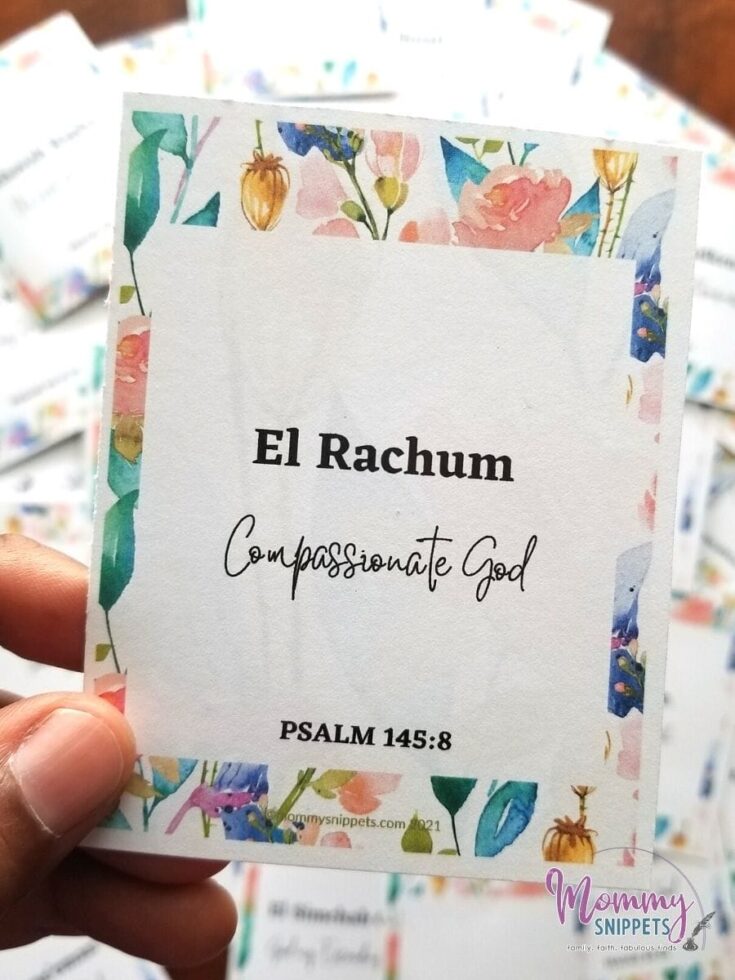
Have you looked at the other Easter resources on the blog?
FOR MORE RESOURCES TO TEACH KIDS THE EASTER STORY AND CELEBRATE CHRIST’S RESURRECTION, VISIT THESE LINKS
Visit my Etsy store: Fun Faith Printables for some great printable Easter resources for your family.
Easter Resources
An easy way to make a palm cross out of paper


I’d love to hear from you. Hop over to chat with me on Facebook and/or Twitter.